Campervan February update

Even I can dedicate few hours at week, I am progressing with the van building:

  • wardrobe has been installed, need the doors
  • driver side upper cabinet is ready to be installed (hopefully tomorrow!)
  • the kitchen structure is ready to be assembled


Lights and fans have been tested too, with good results.

Campervan Forniture 3d Projects

As long the floor is ready, I can start to create the forniture.

The main structure will be made by 34×34 and 34×68 PSE timber, doors and hinges from B&Q Kitchen range.


Campervan Floor

Campervan December Update

Walls and ceiling are ready!

The next step is going to be the construction of the upper cabinets, and the setup the service lights.

Service lights are blue and will illuminate the side step and the rear ceiling. The side step has been carpeted and will be completed soon.

Meanwhile, some pictures of the ceiling with recessed lights (touch switch) and recessed alarm sensors.

Campervan: October updates

Bike rack has been finally installed, thanks to the custom made attachments provided by Tim from Stainless Design and Fabrications

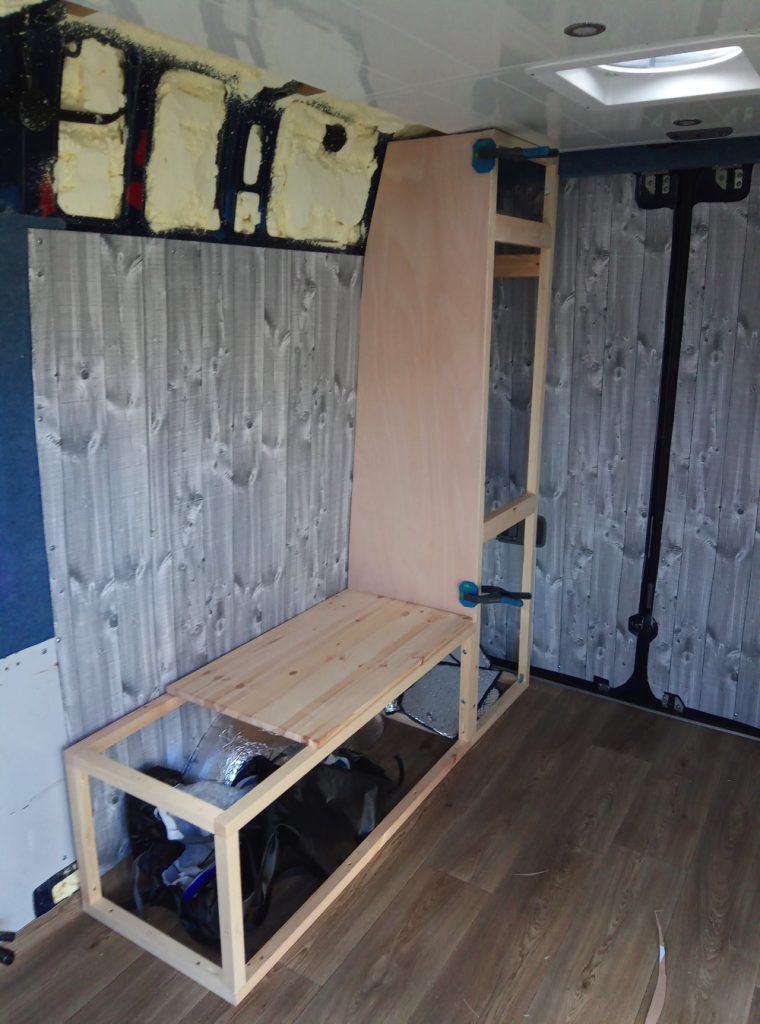
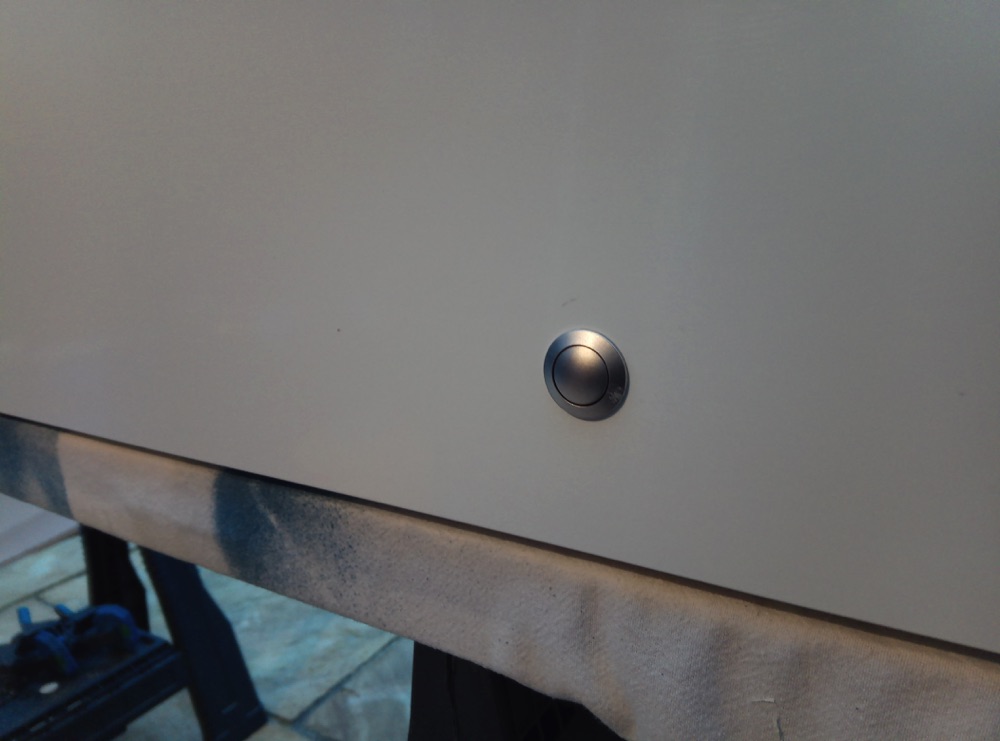
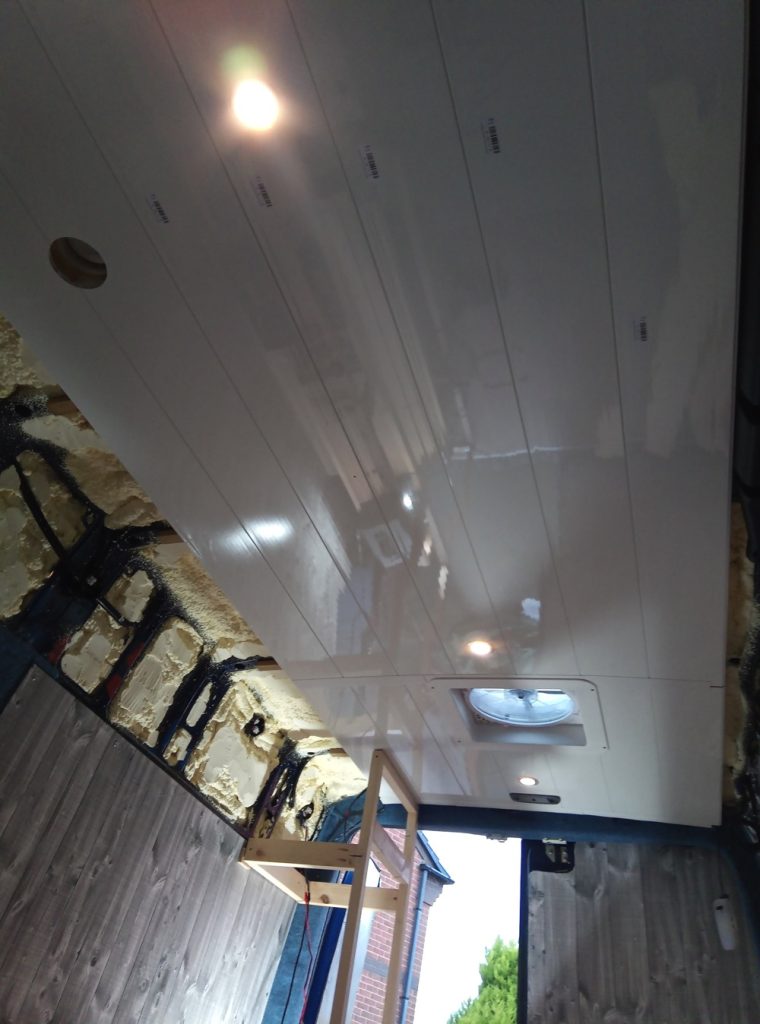
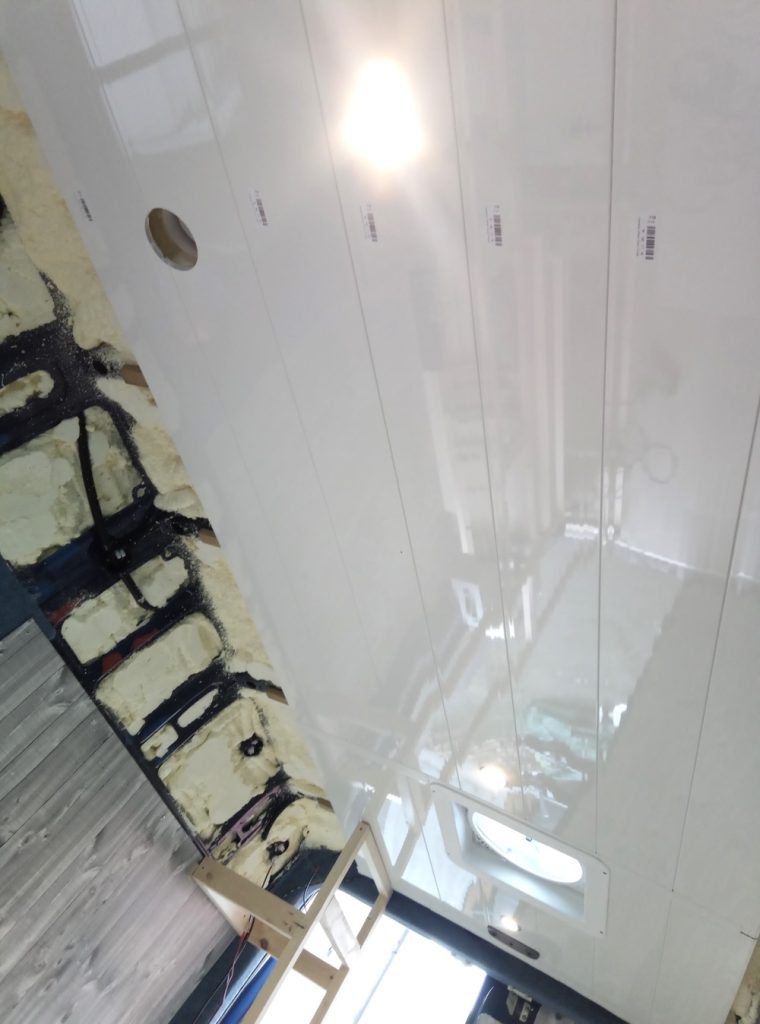
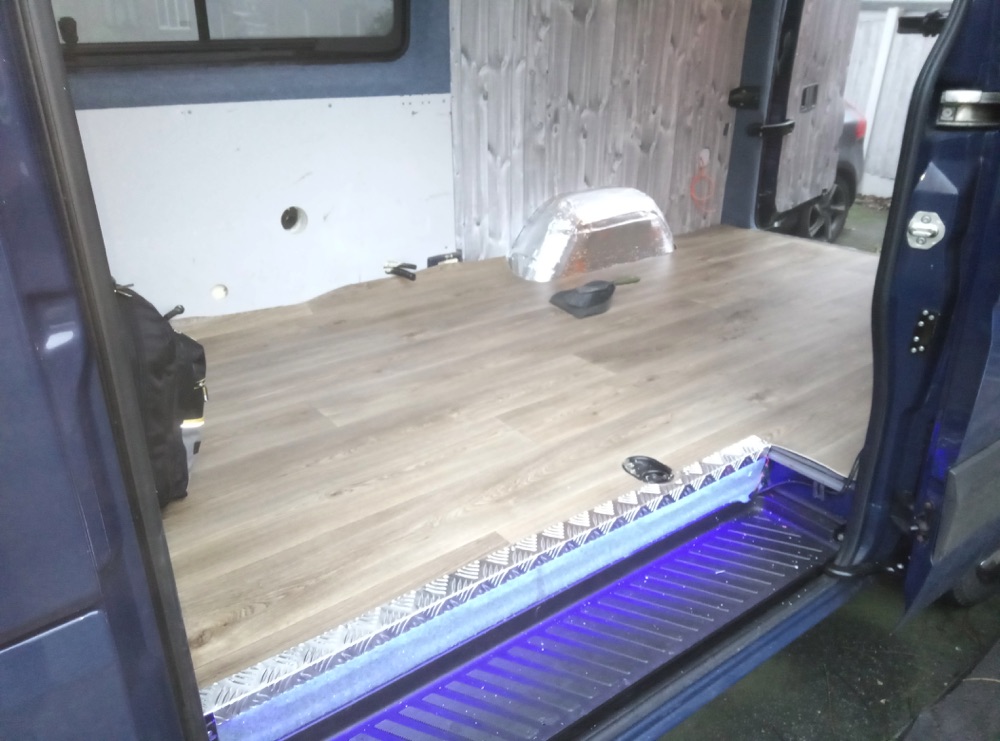
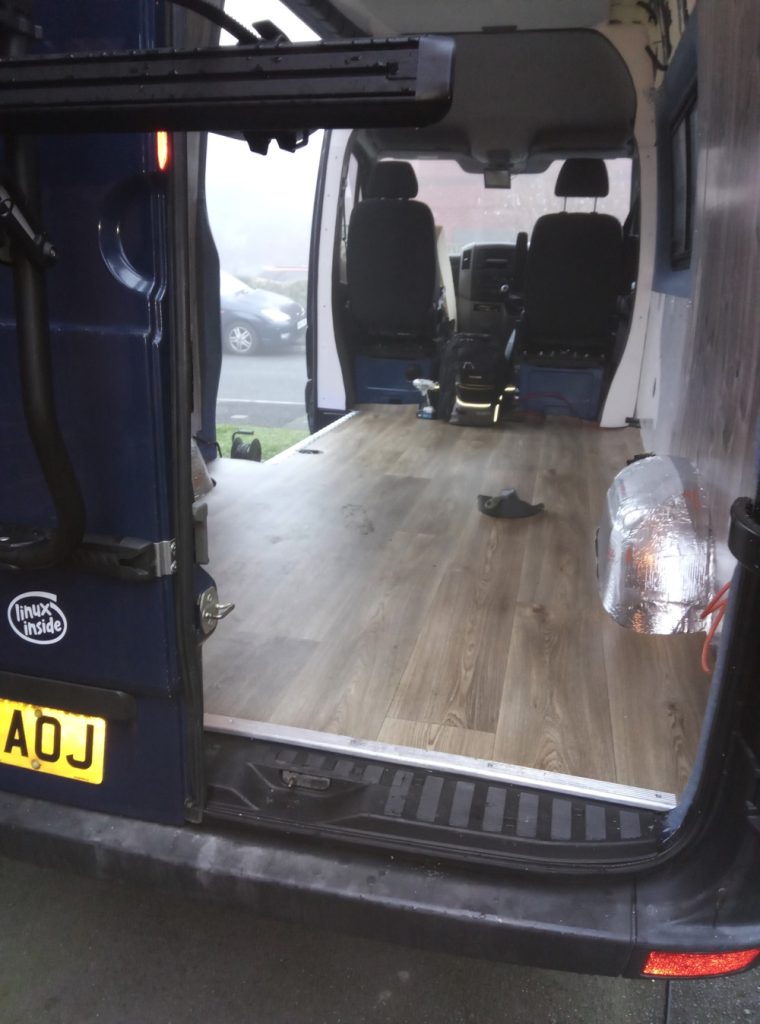
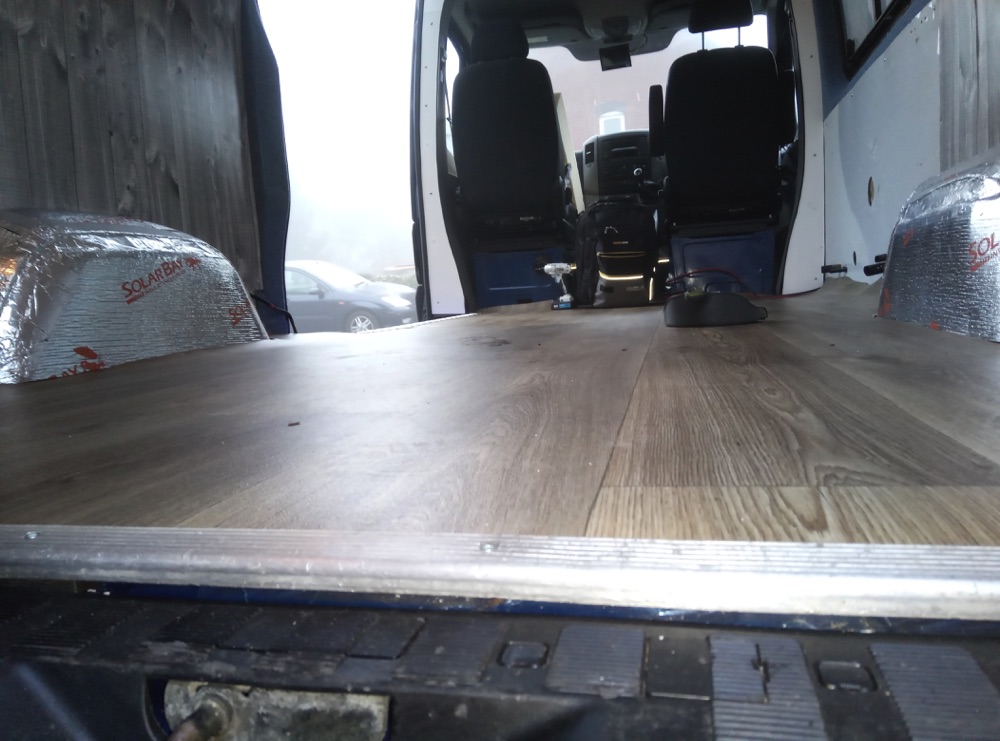
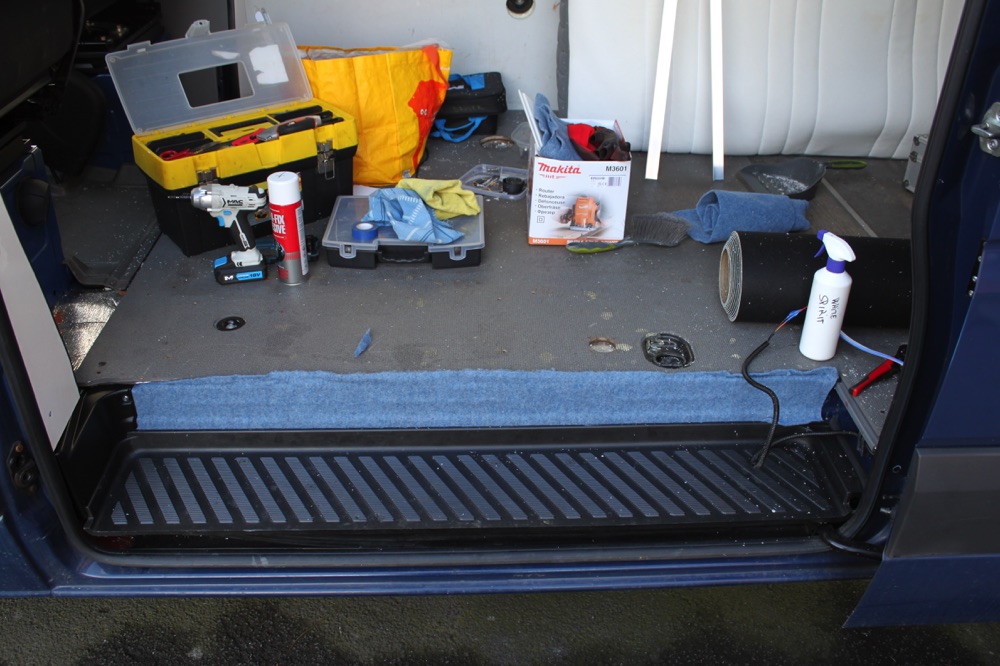
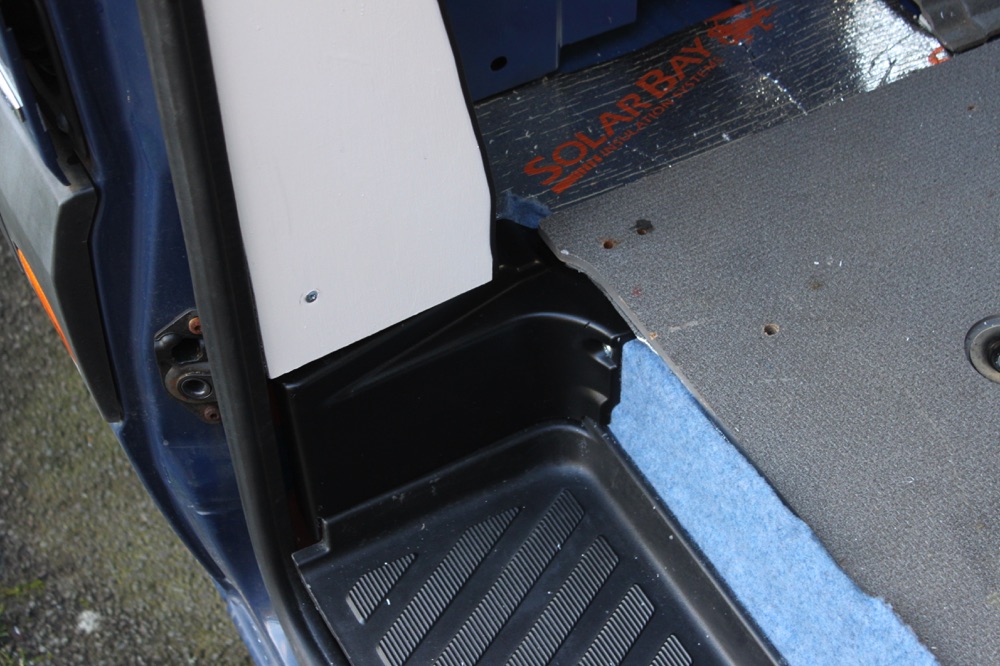
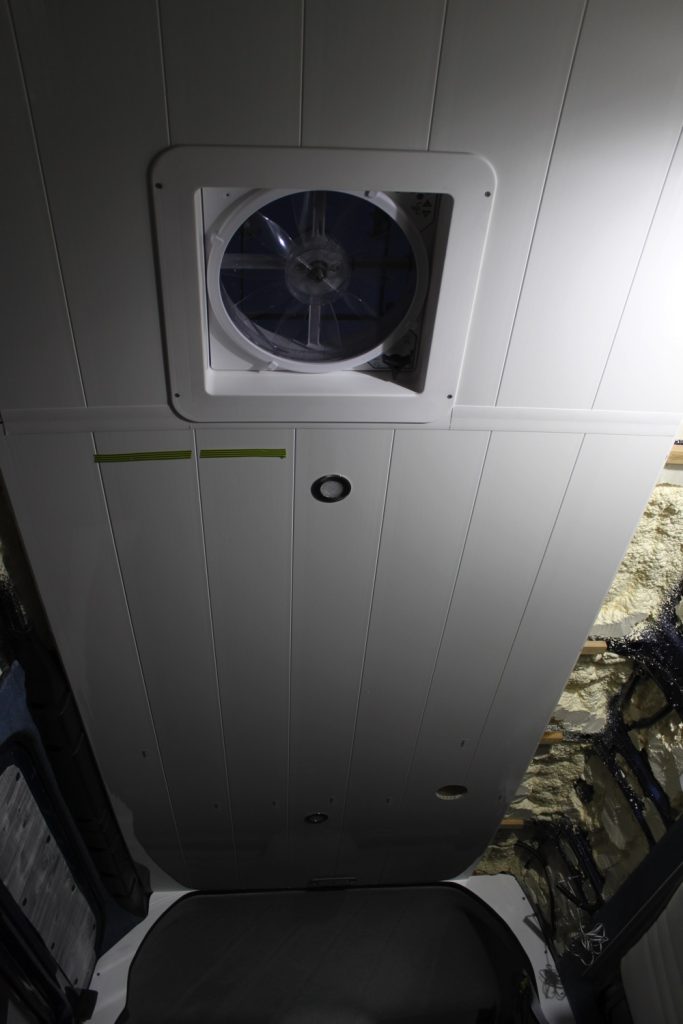
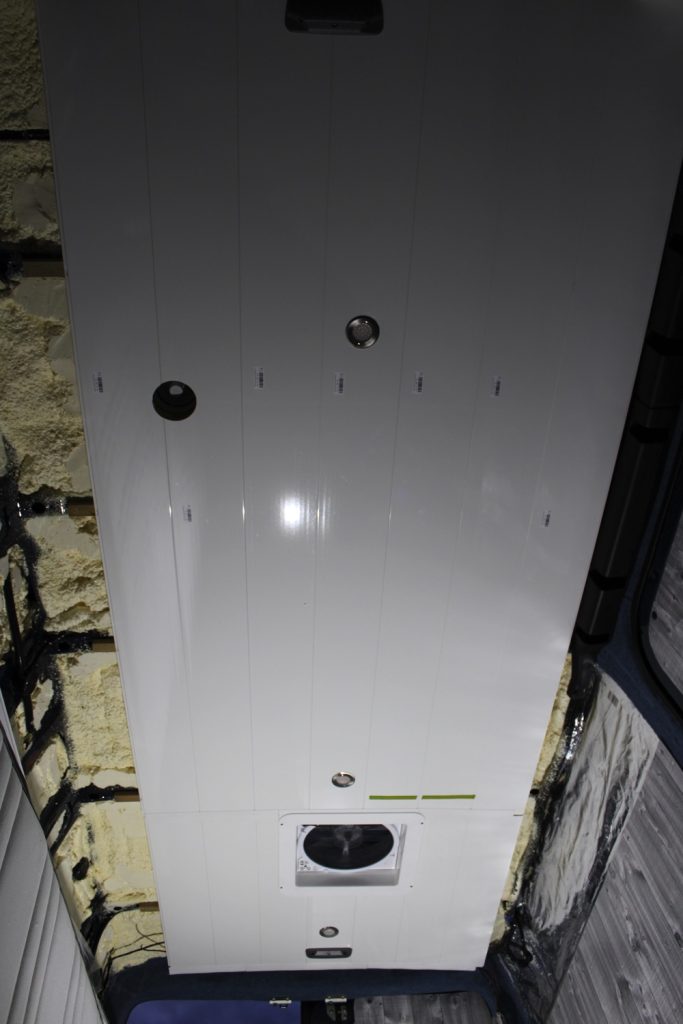
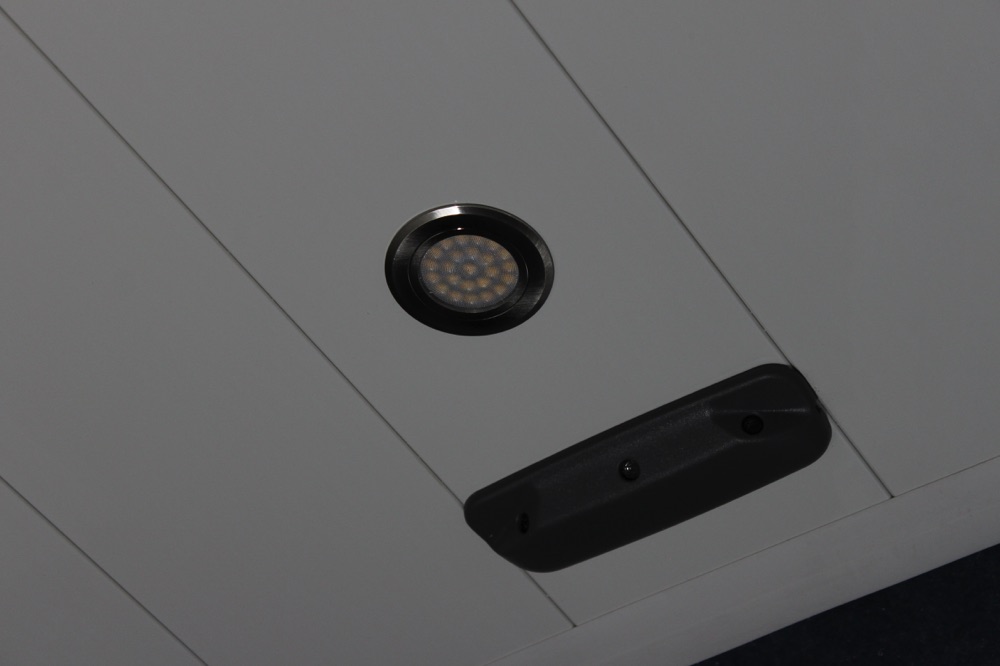
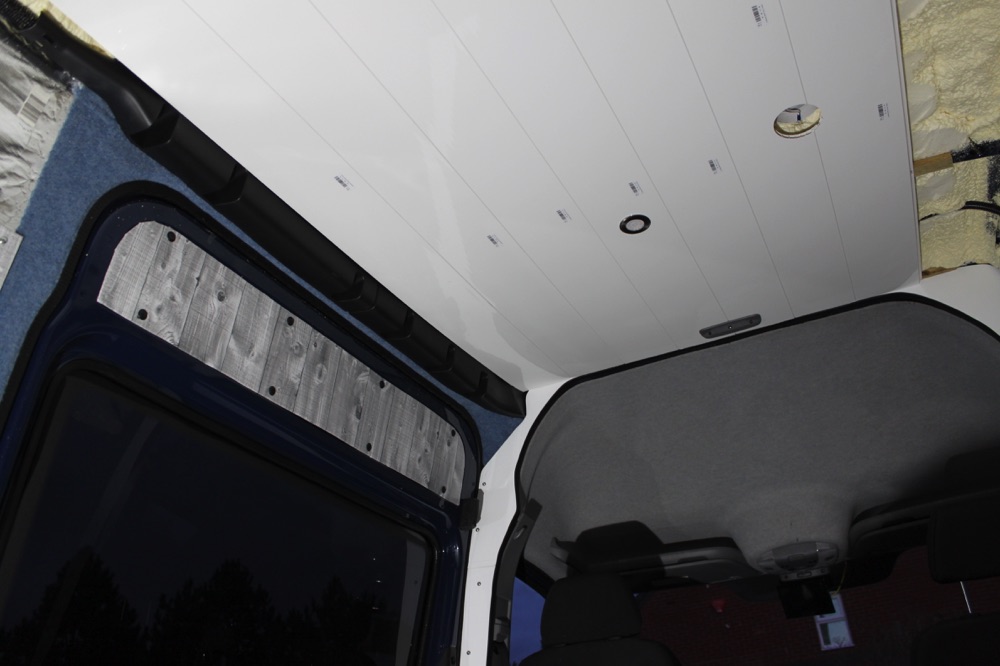
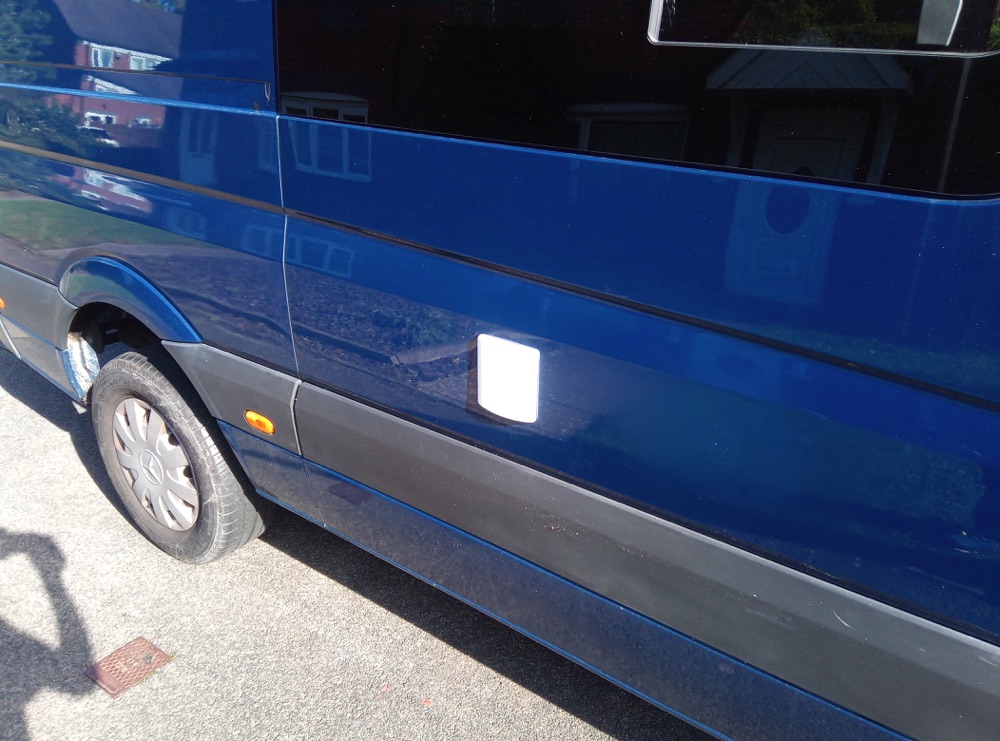
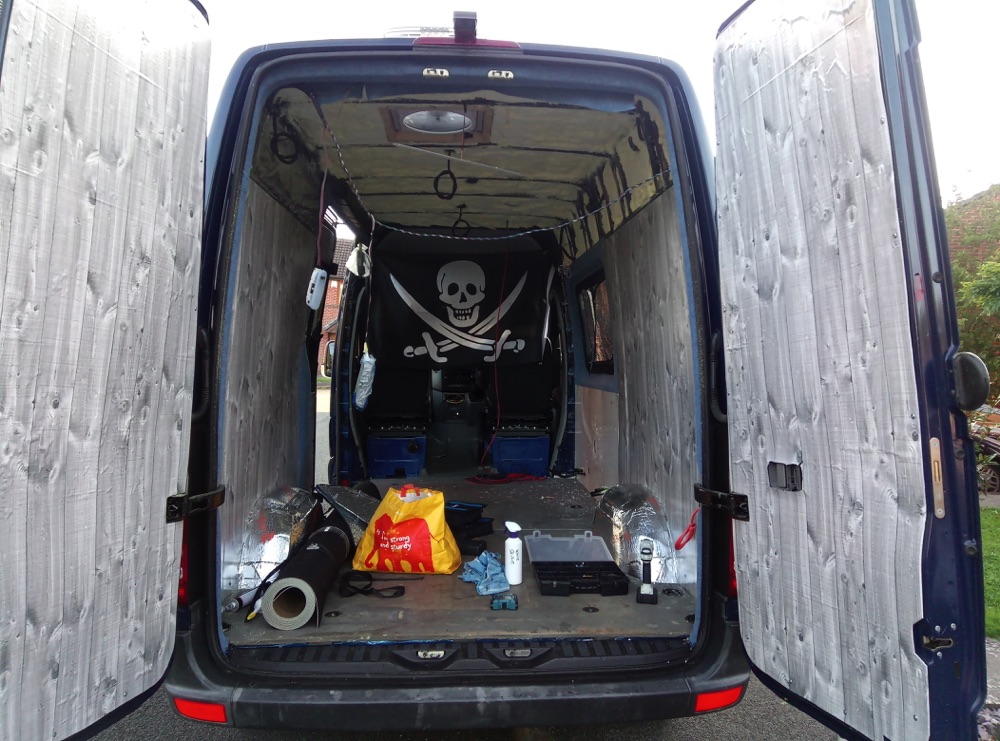
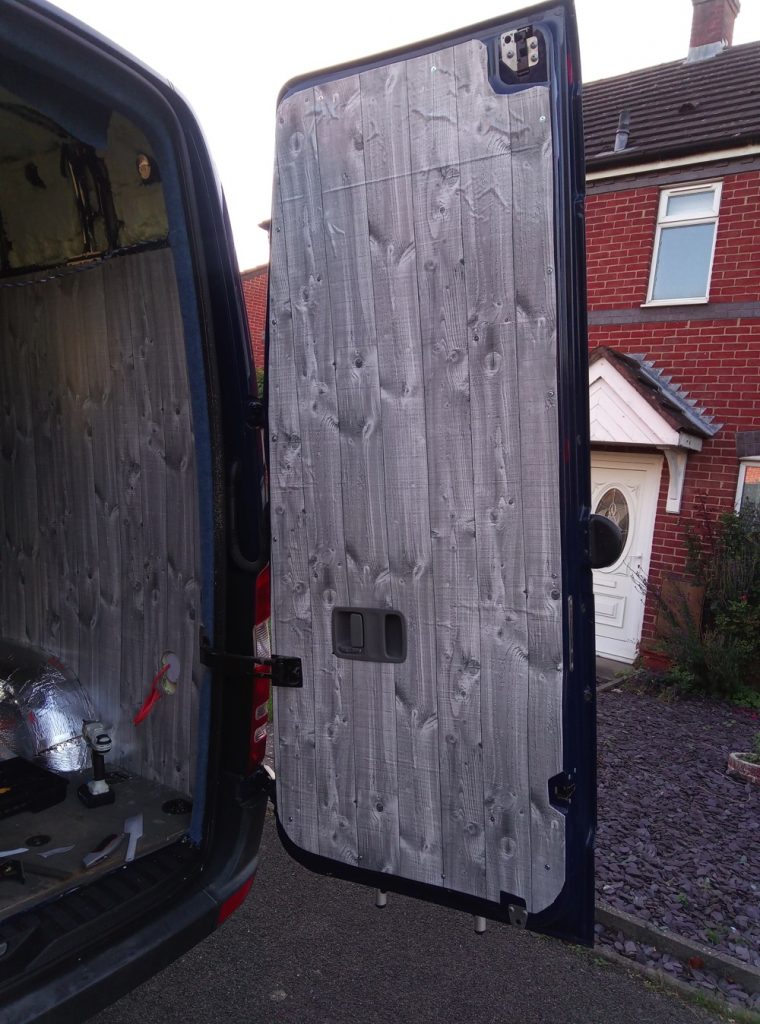
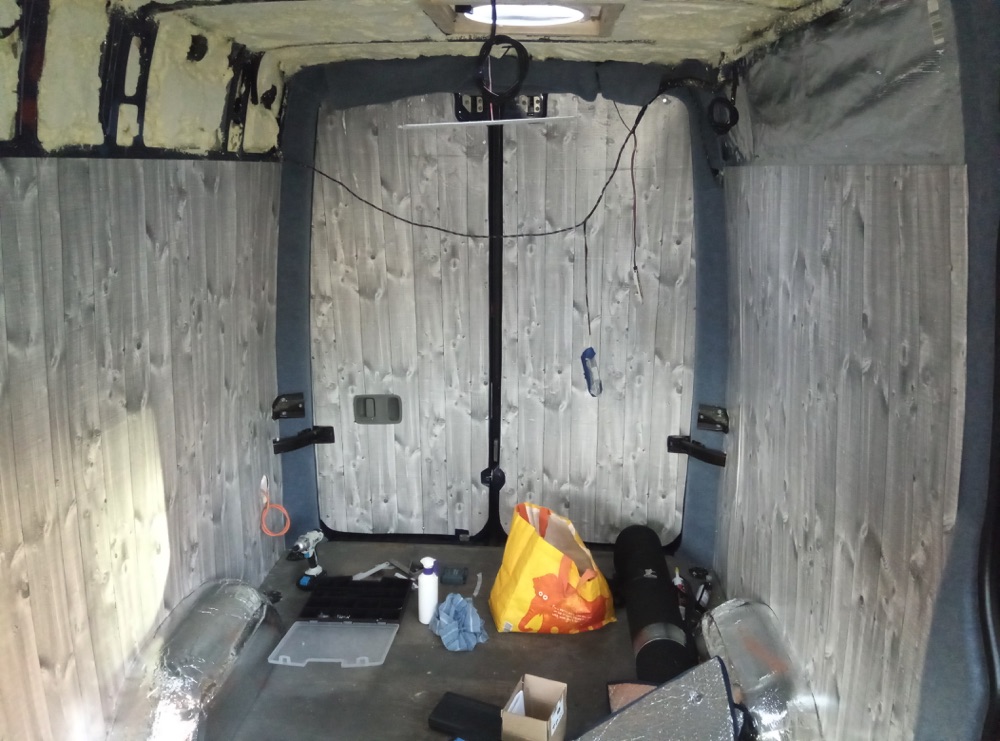
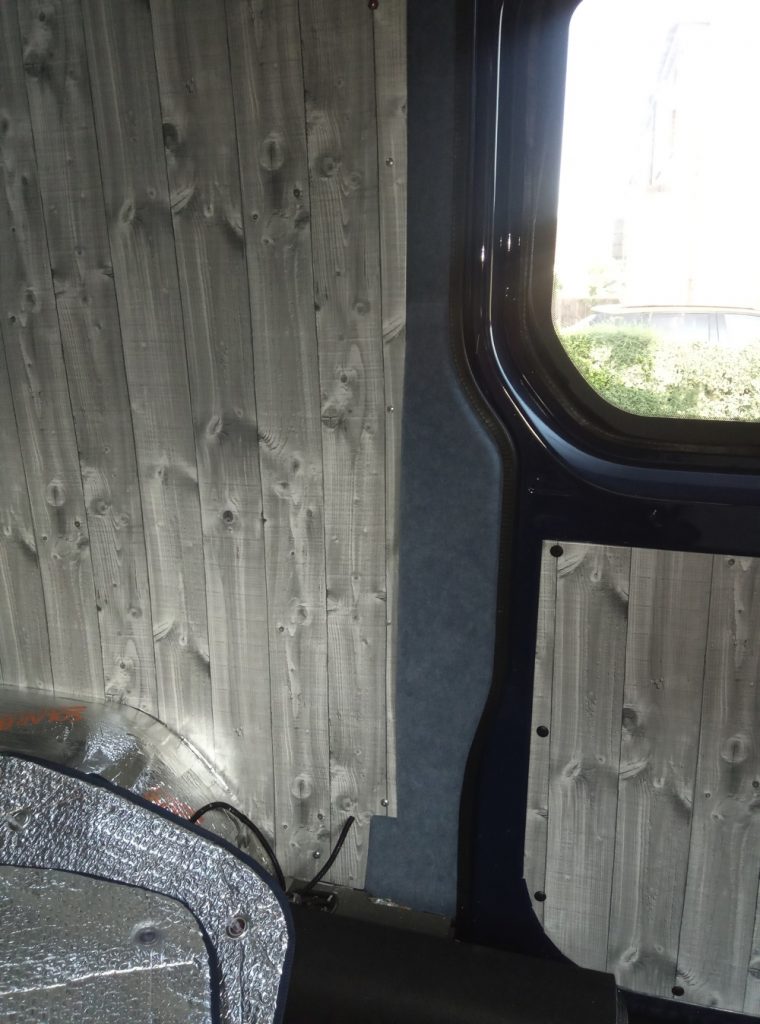
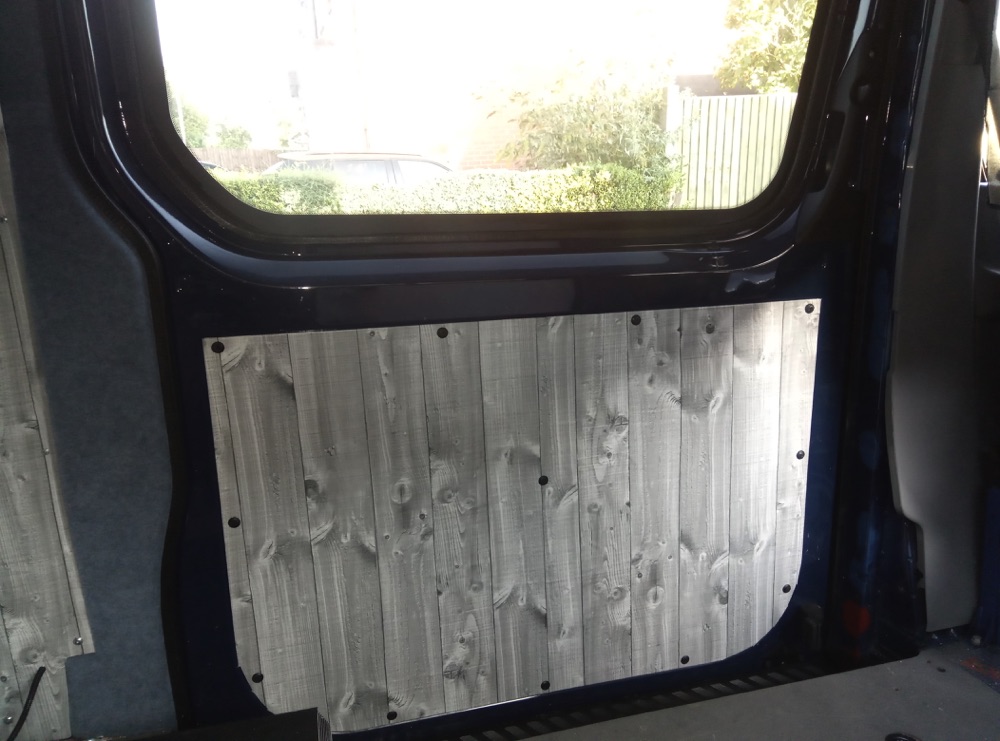
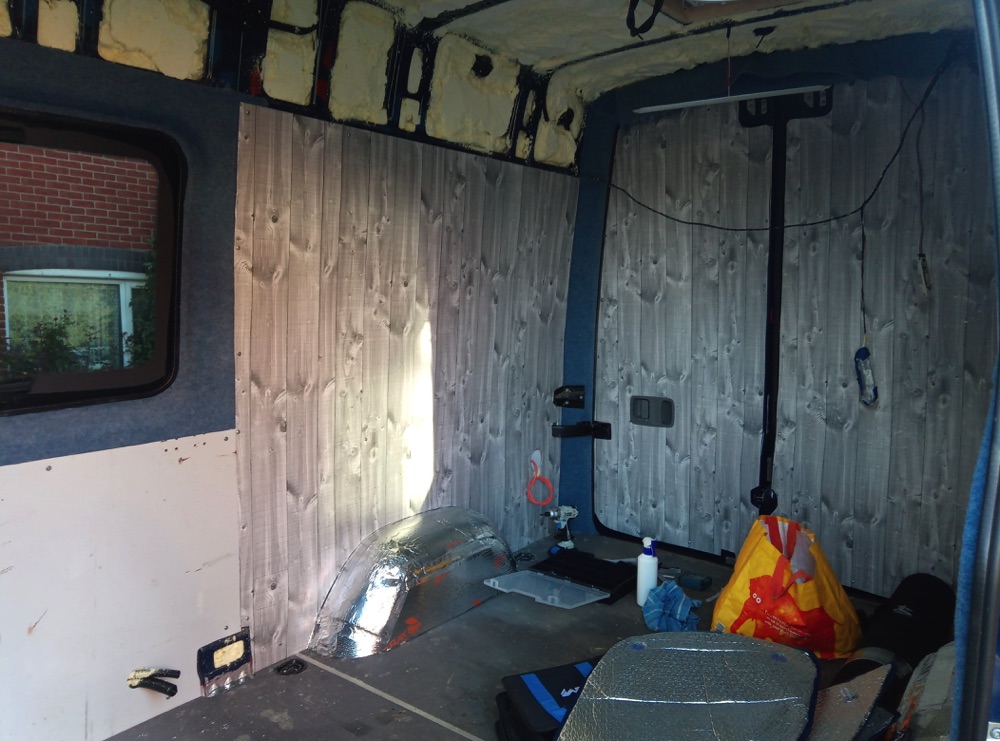
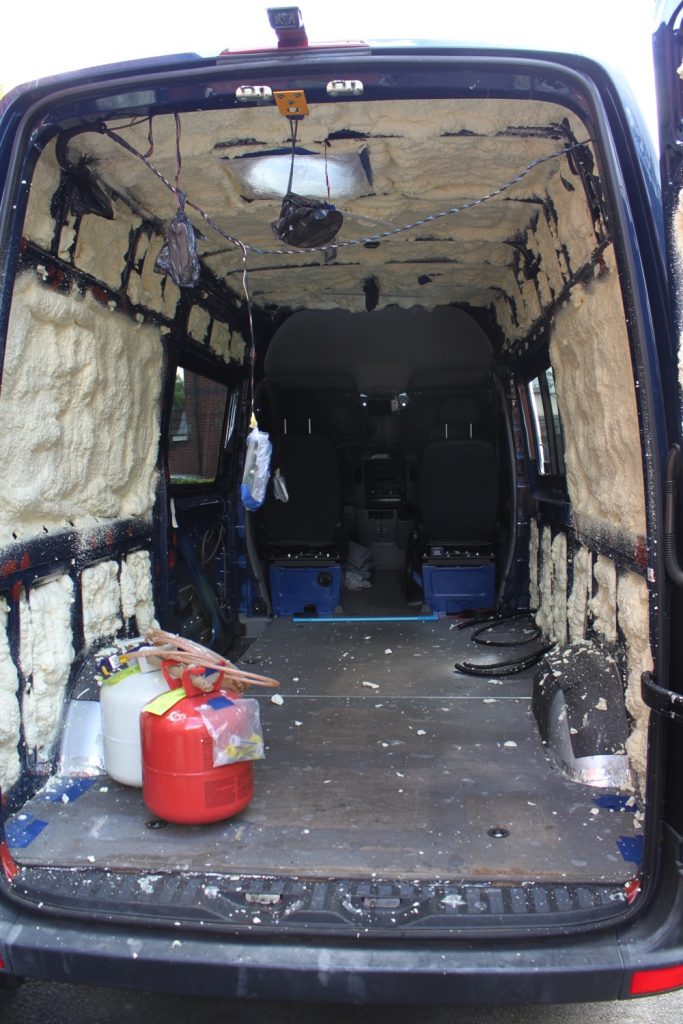
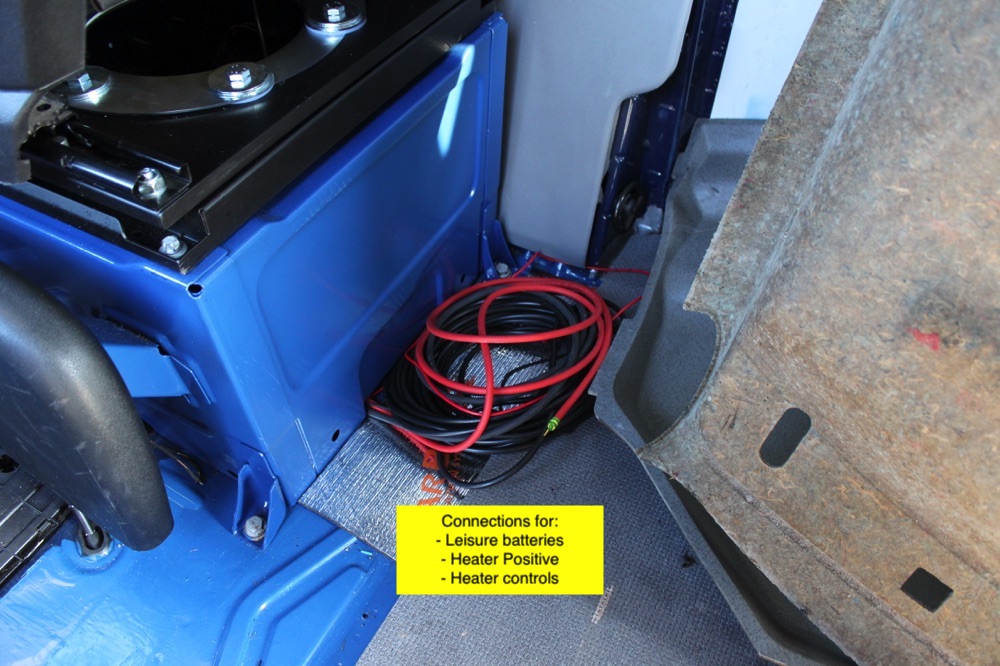
Wall panels have been installed and covered with PVC sheets. Some parts of the wall have been carpeted and the arch between driving area and cargo installed. Power socket and water inlet are ready too.

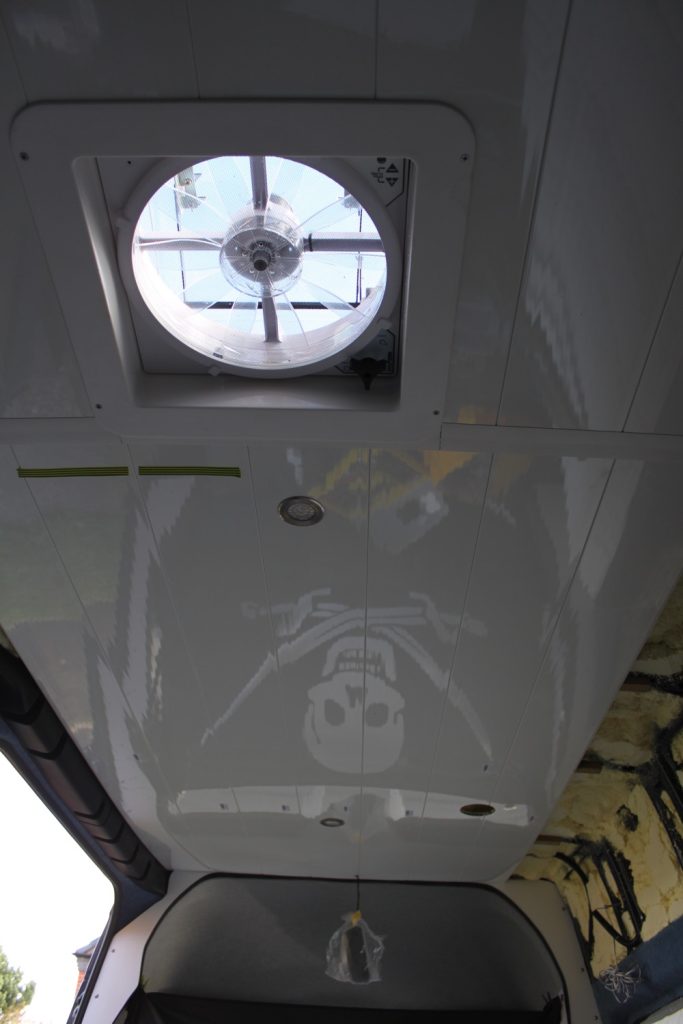
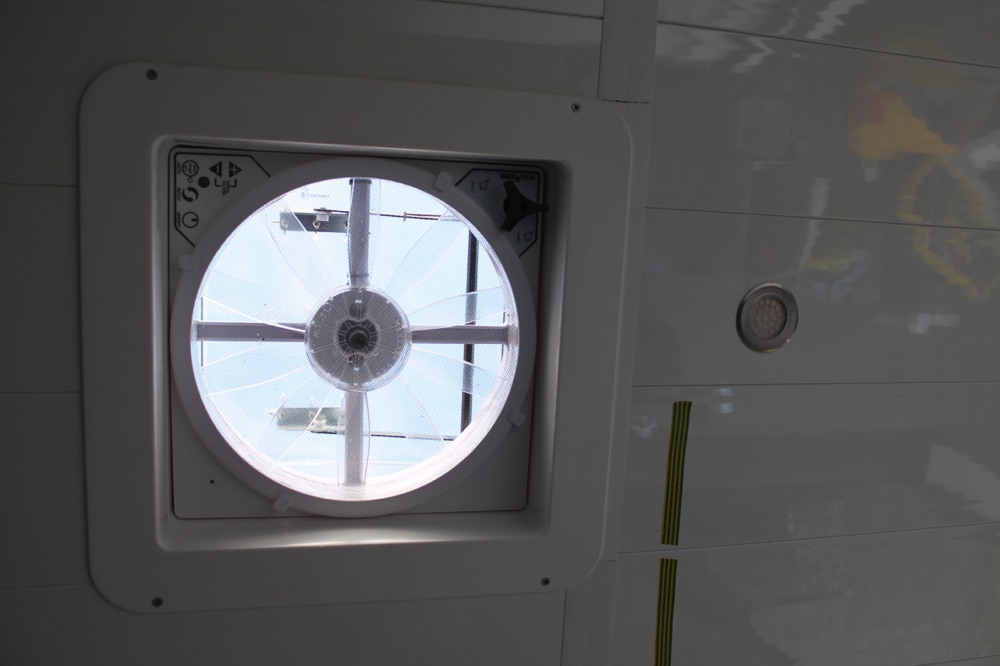
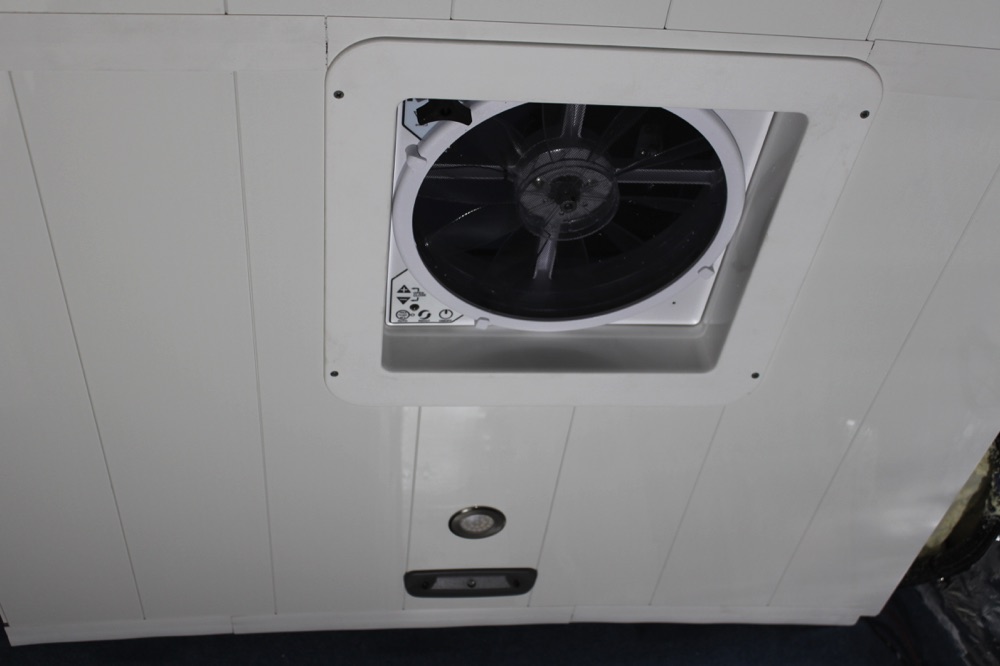
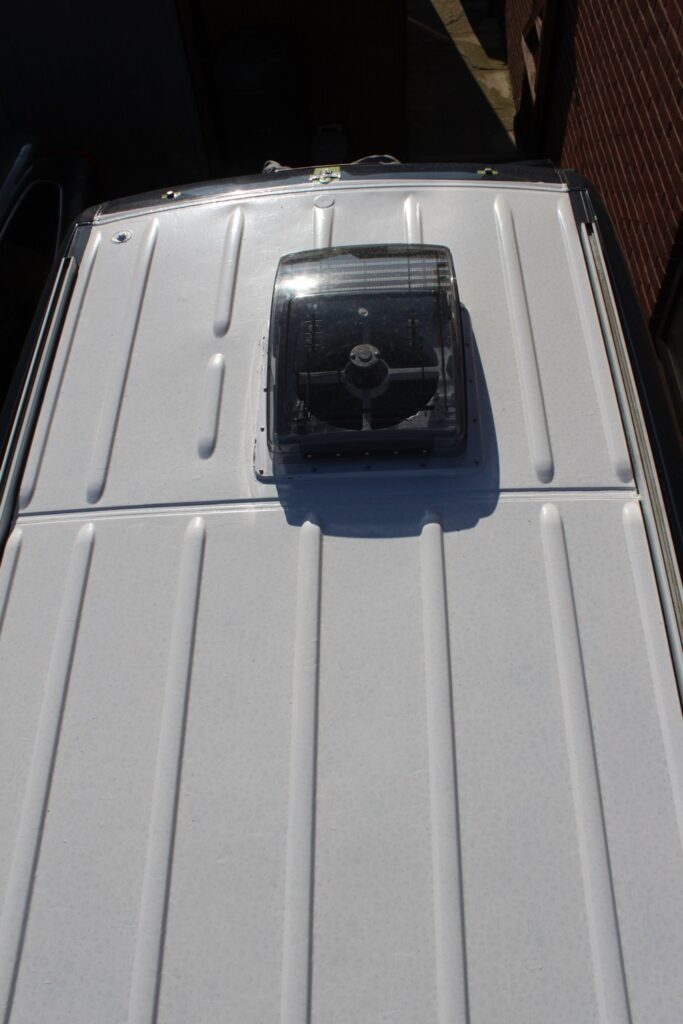
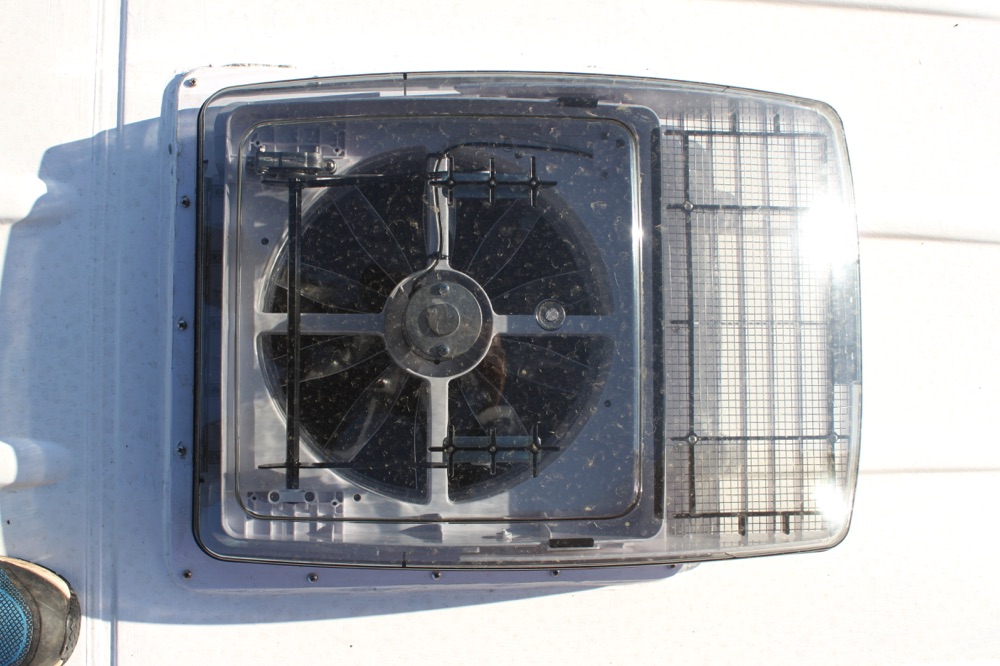
The roof is ongoing, hopefully will be ready by November.

Campervan: July updates

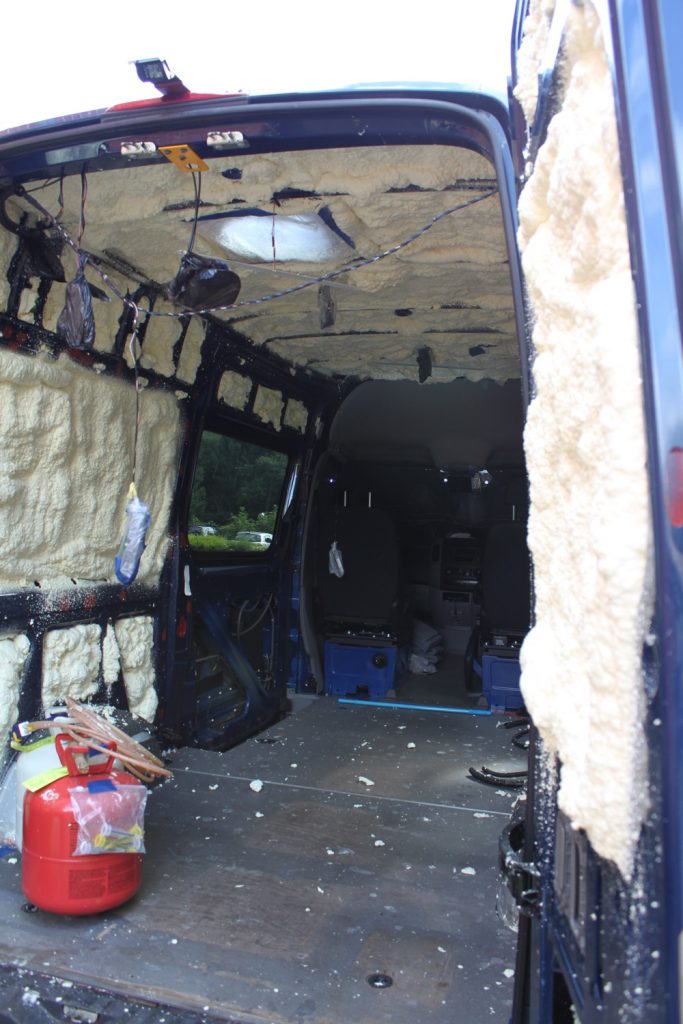
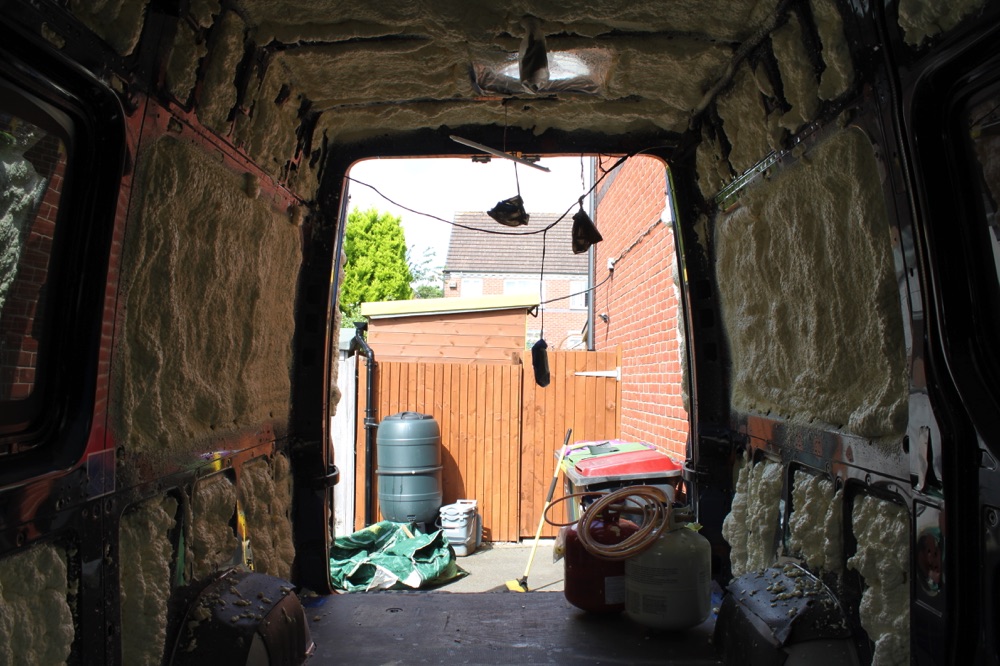
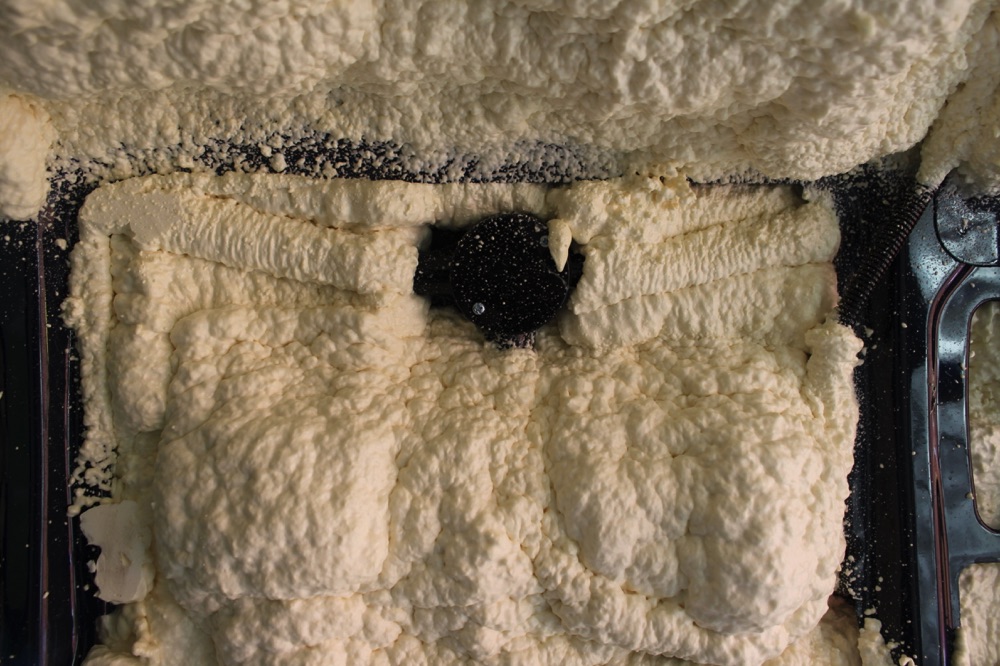
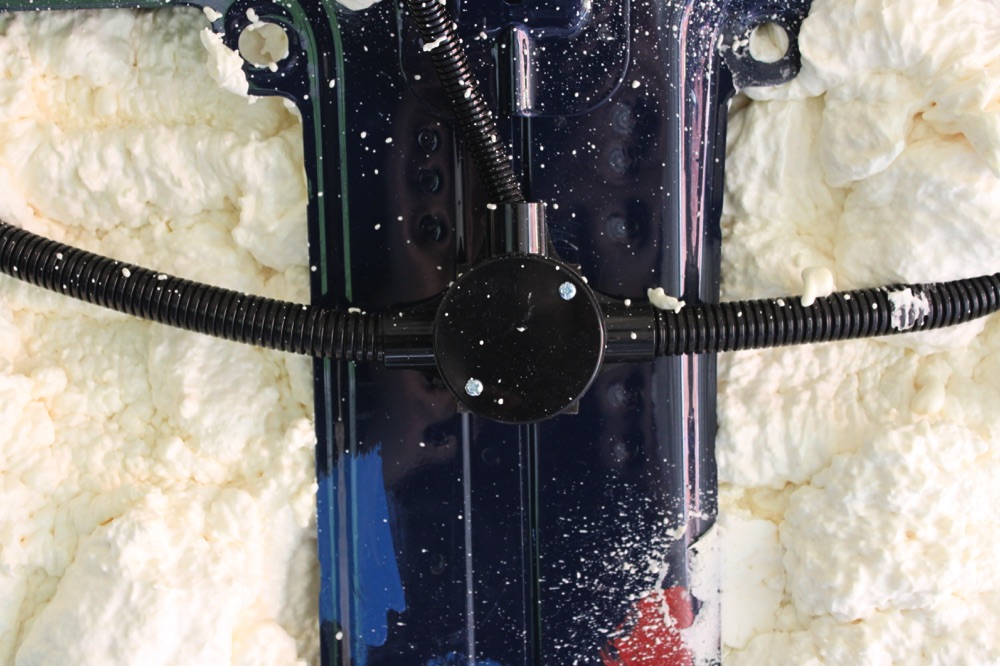
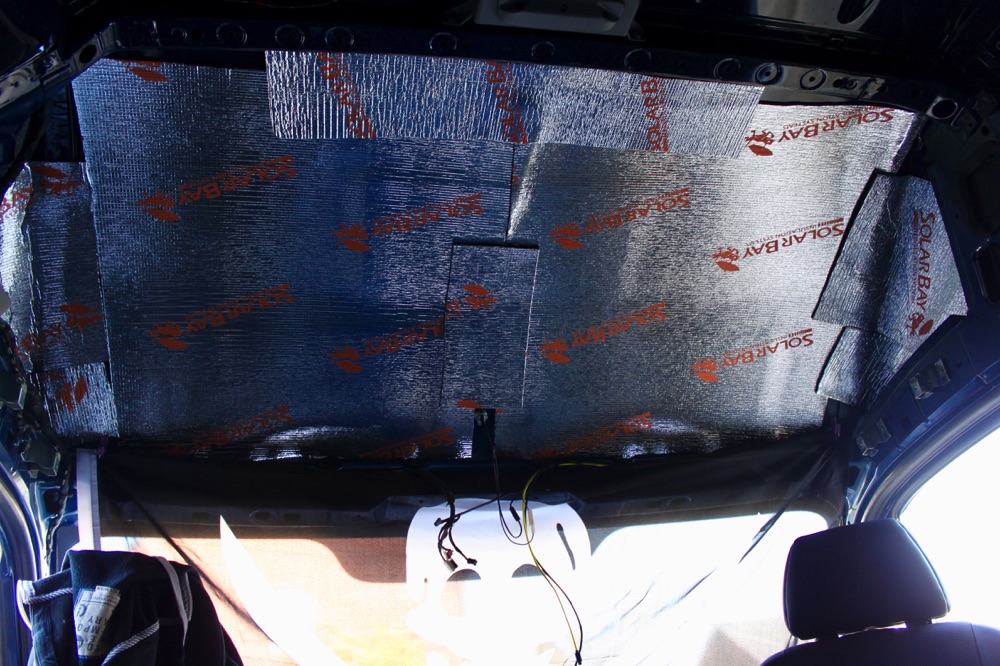
So far, the insulation has been done using a close cell spray foam.

It provide a good thermal and acoustic insulation, but is a bit messy to apply and quite expensive. I won’t use it again and go for thermal panels next time.

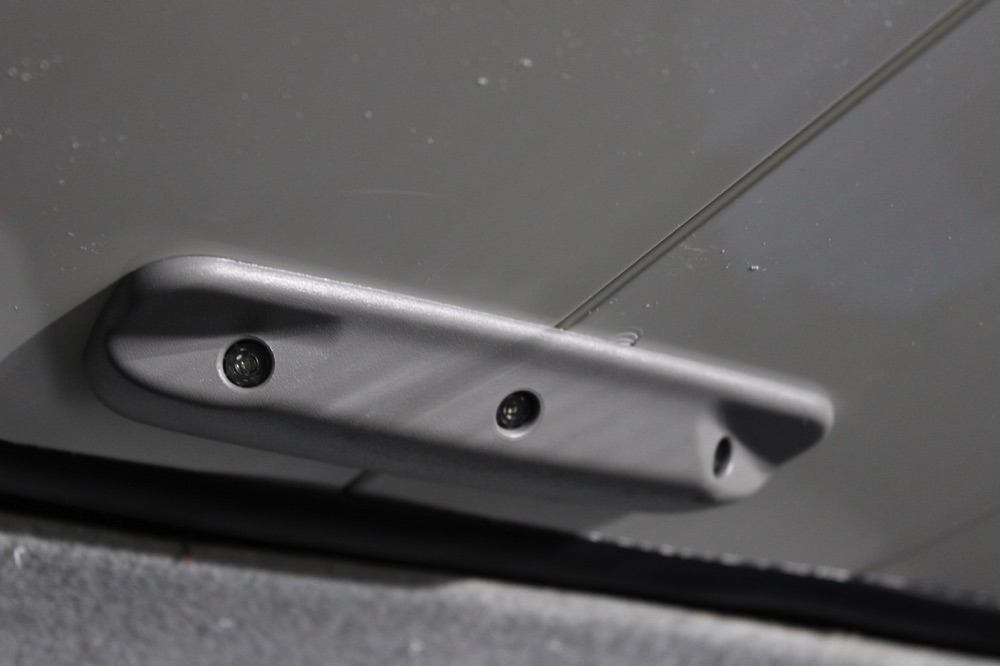
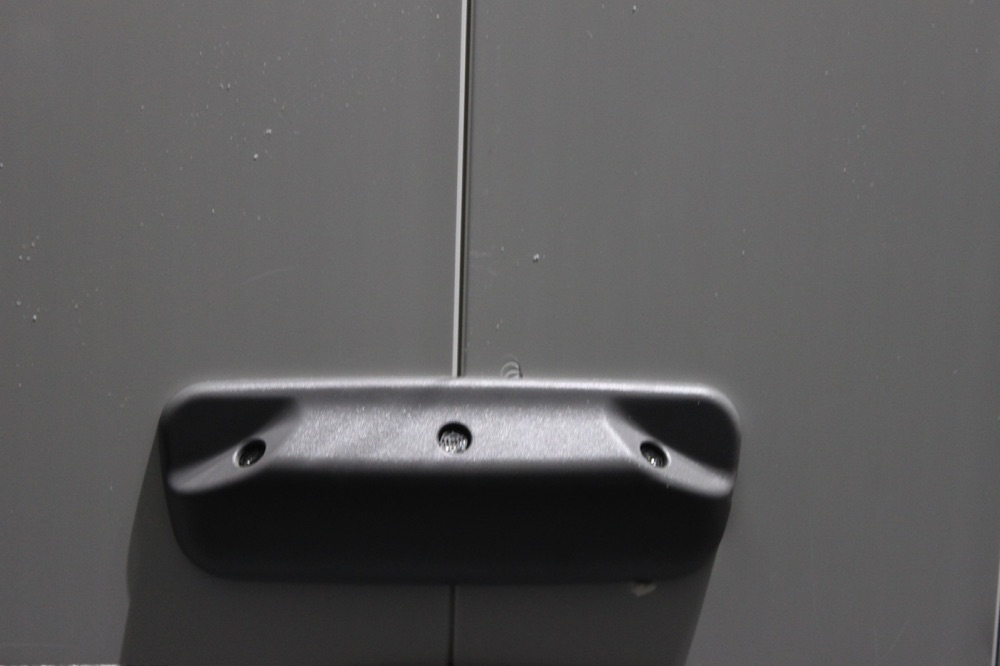
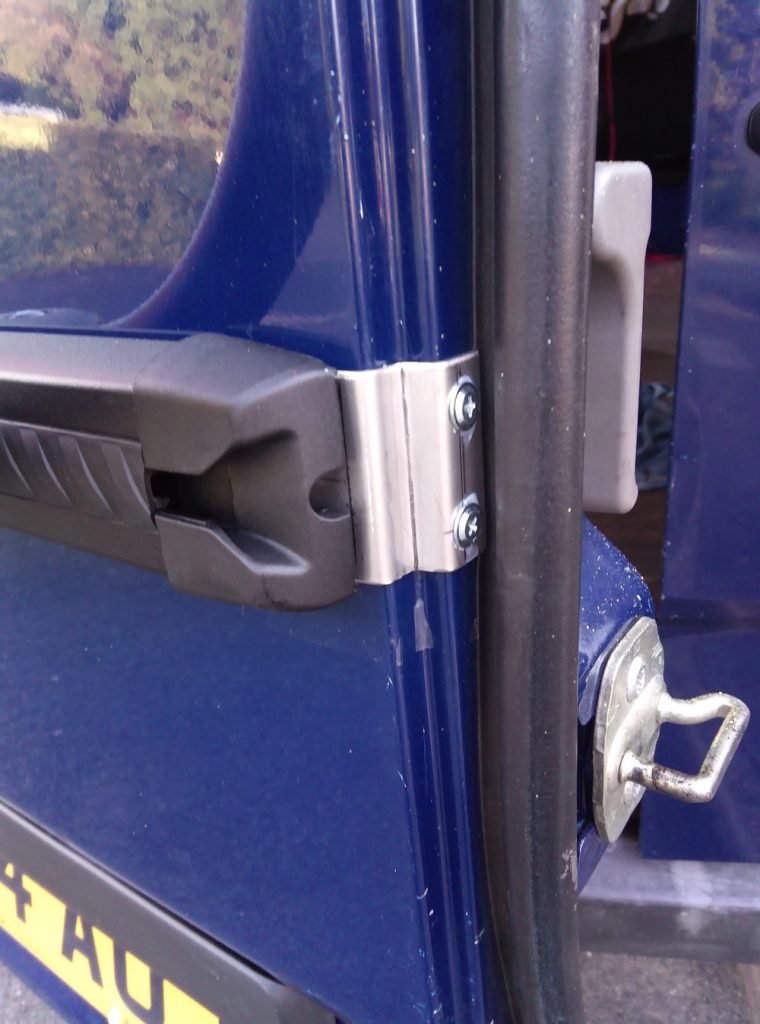
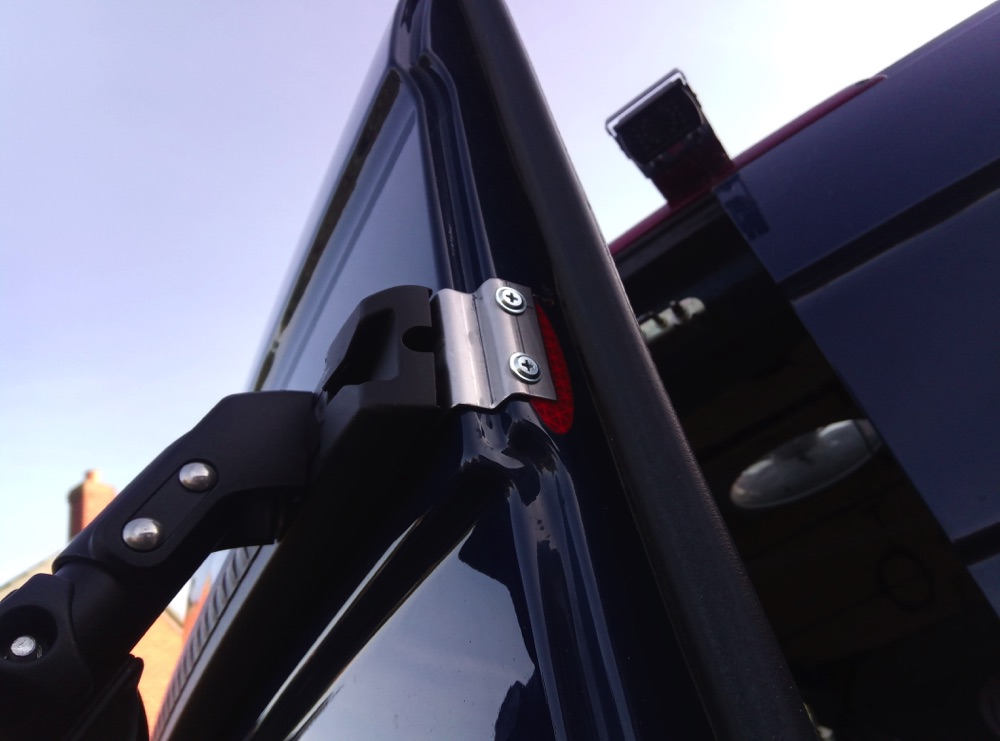
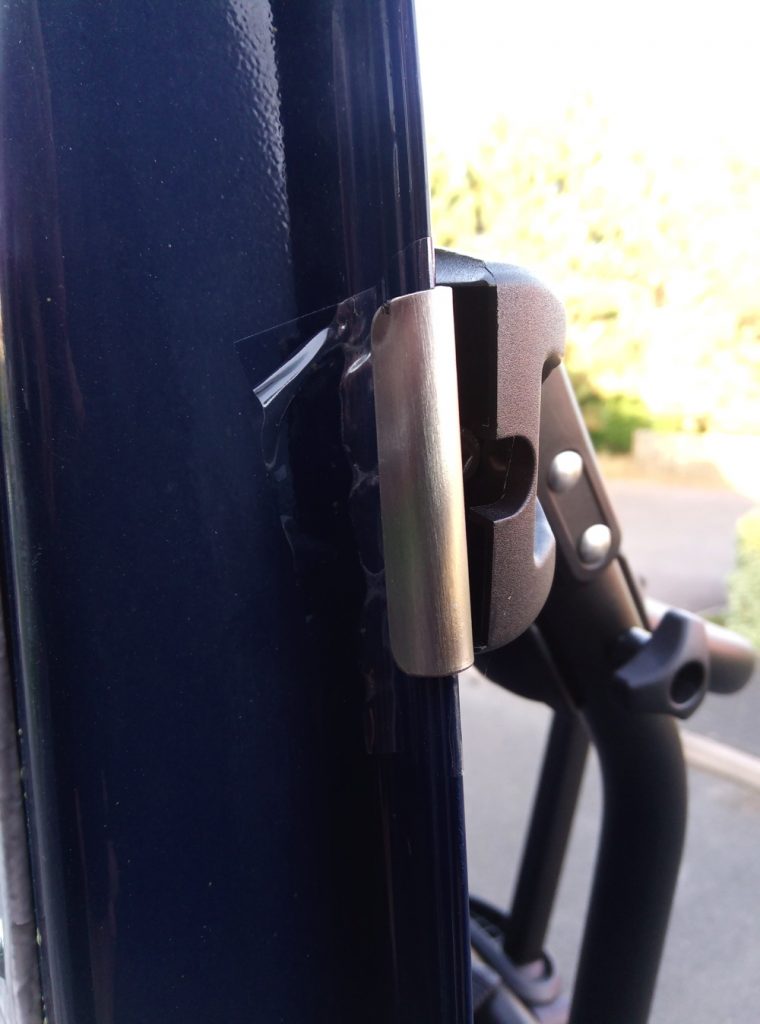
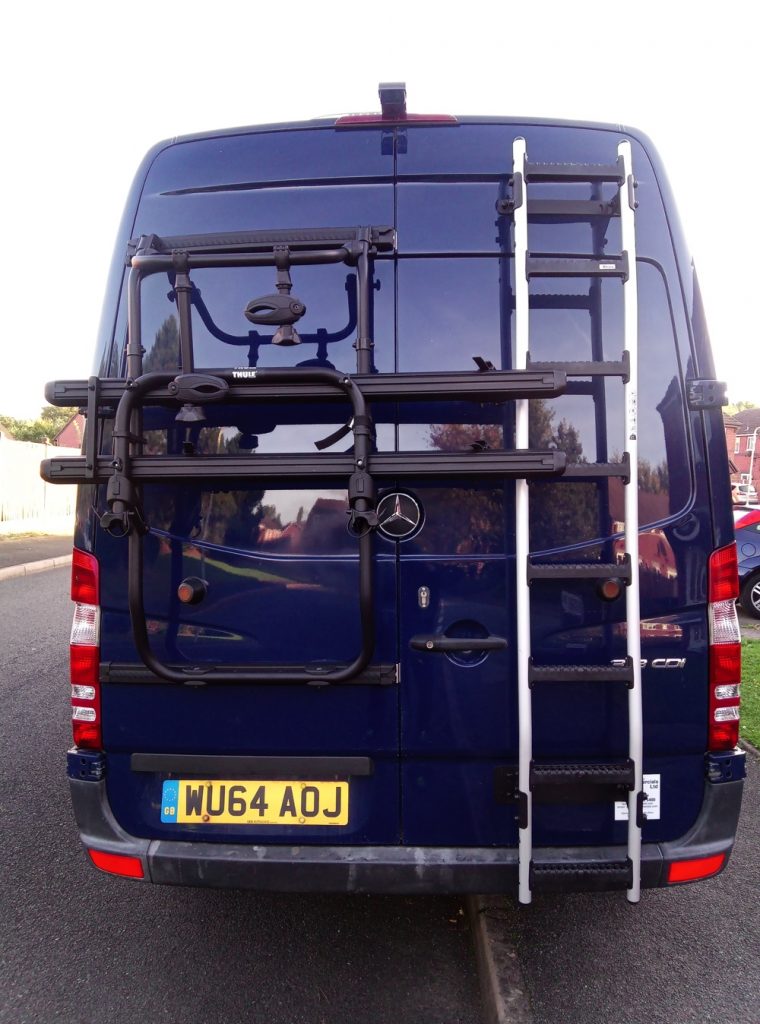
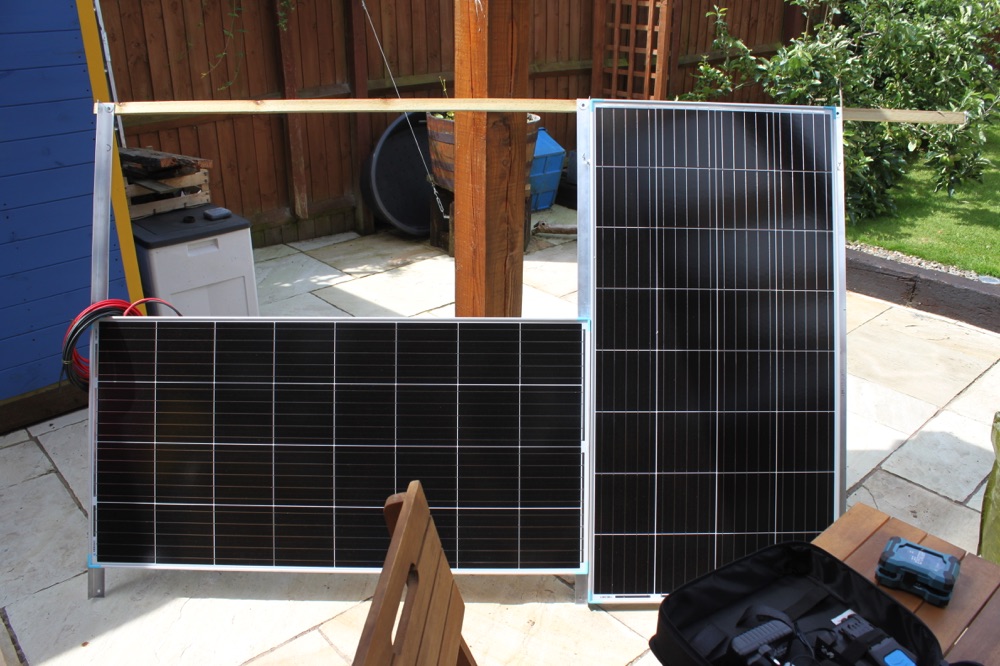
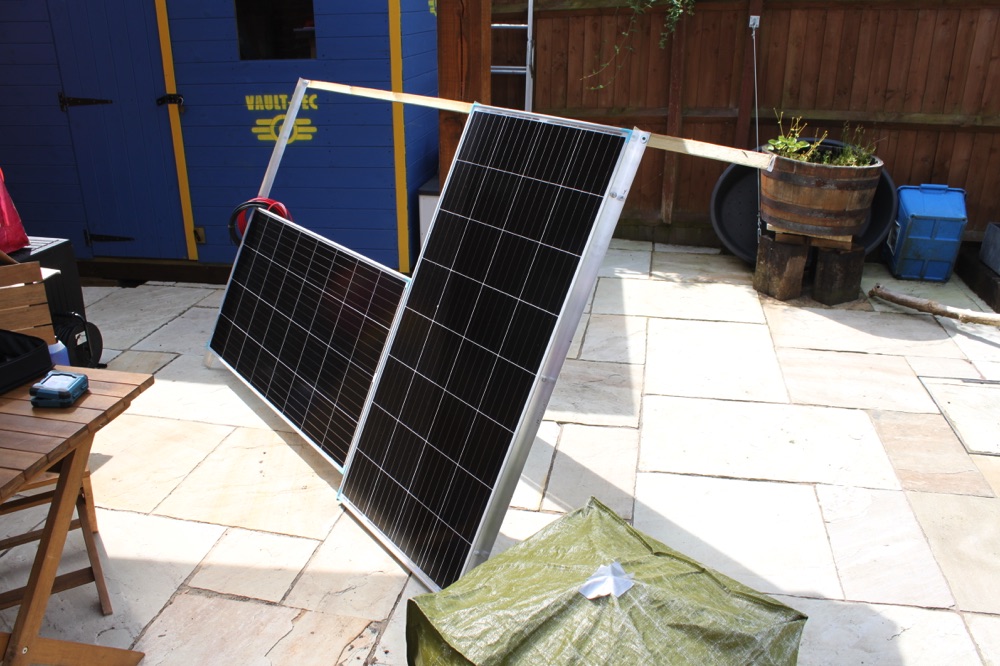
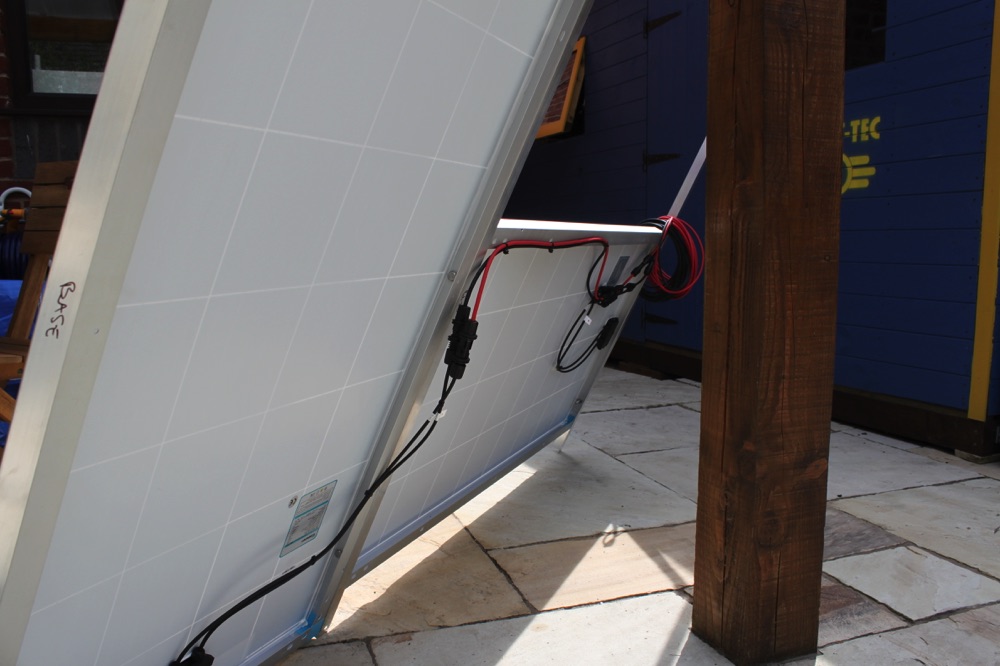
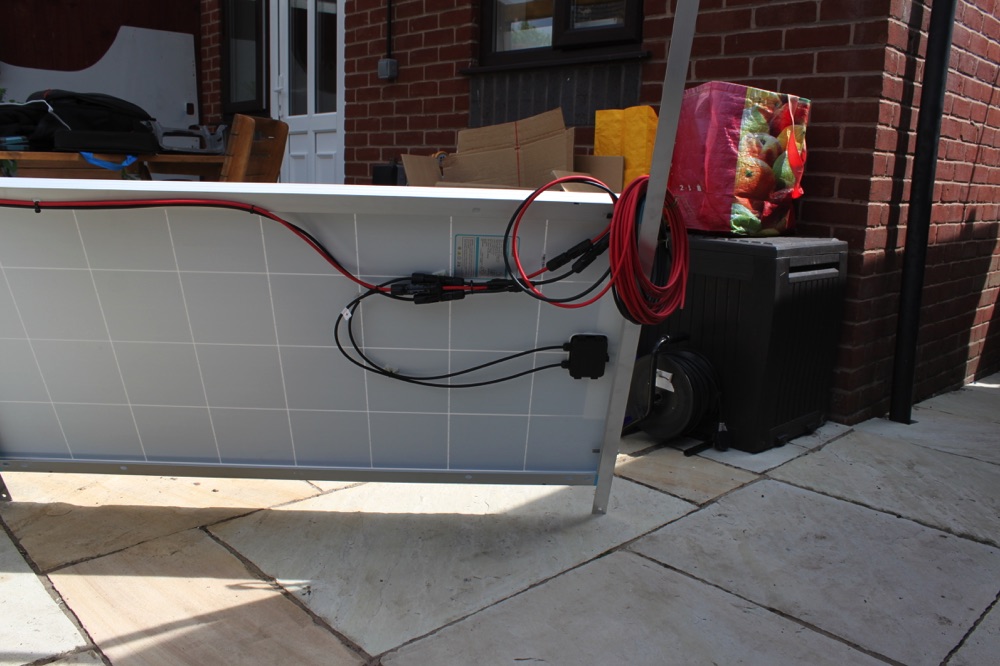
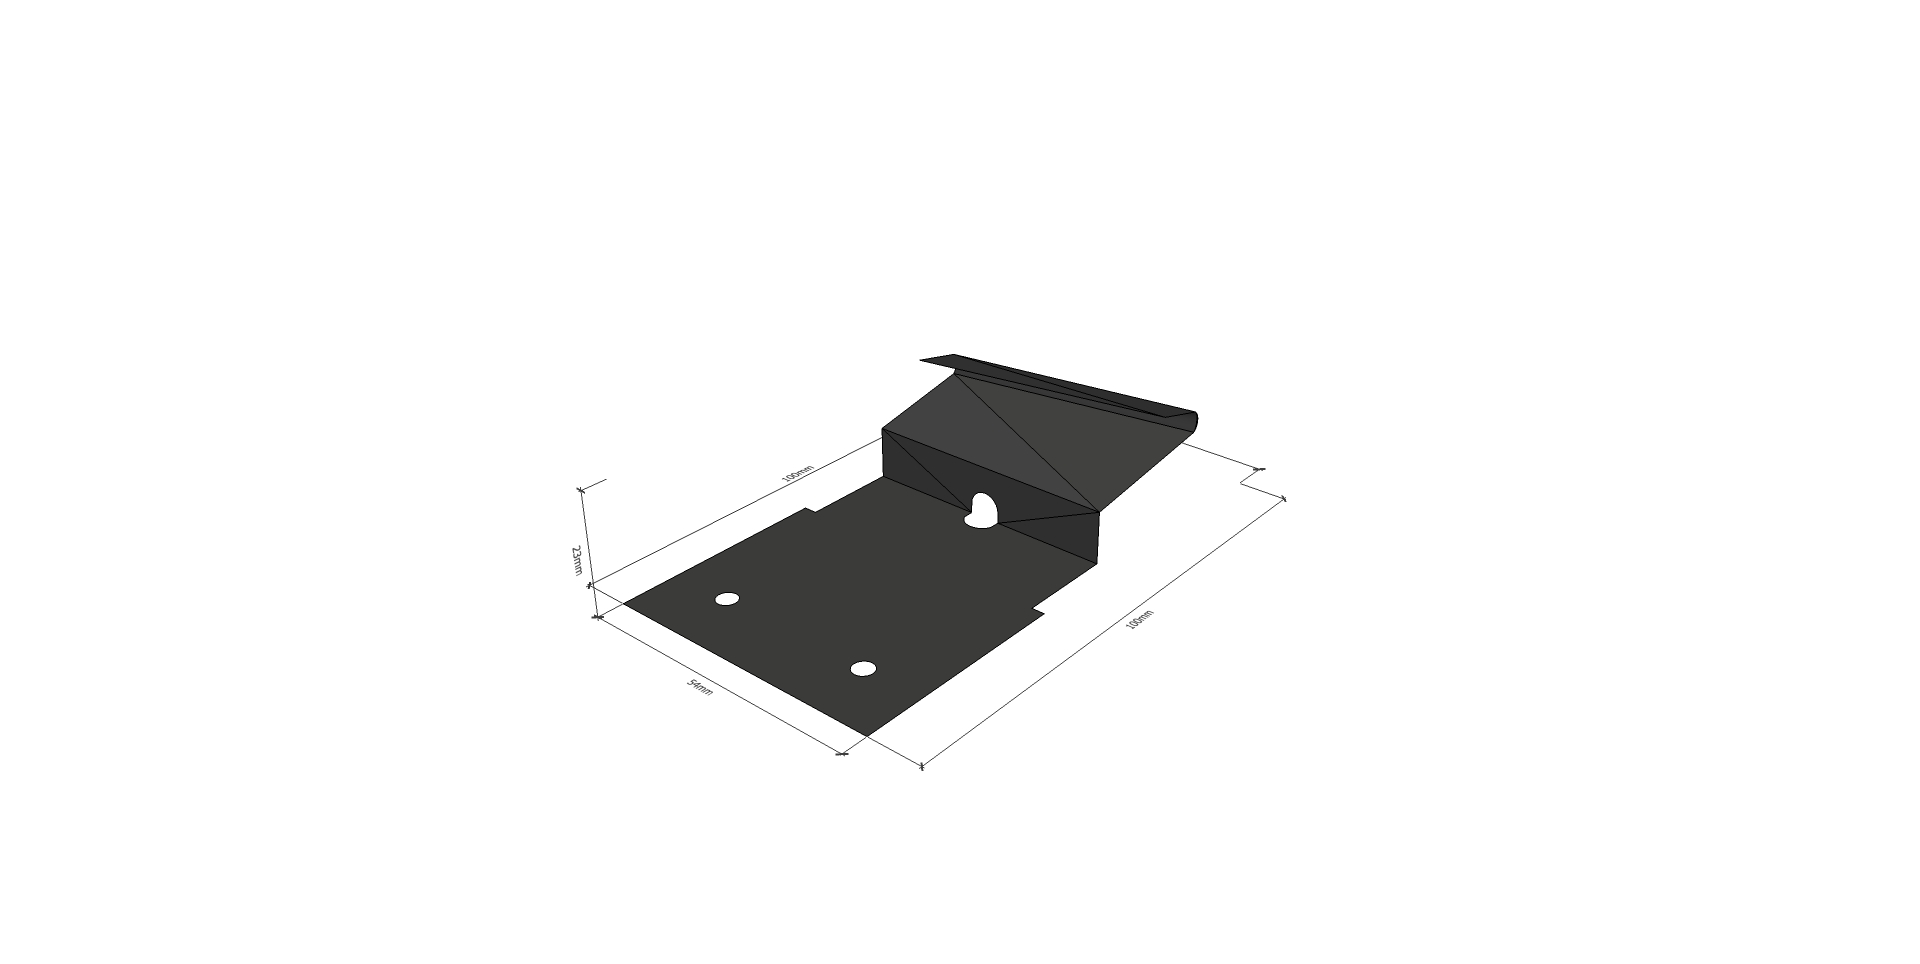
Rear ladder has been installed and the bike rack and the solar panels are ready to be installed to, unfortunately I had to create (a company is making it) some custom stainless steel parts:

  • t-nuts for the solar panel due the non-standard roof rail.
  • left hand plate for the bike rack, due the installation on the left side.

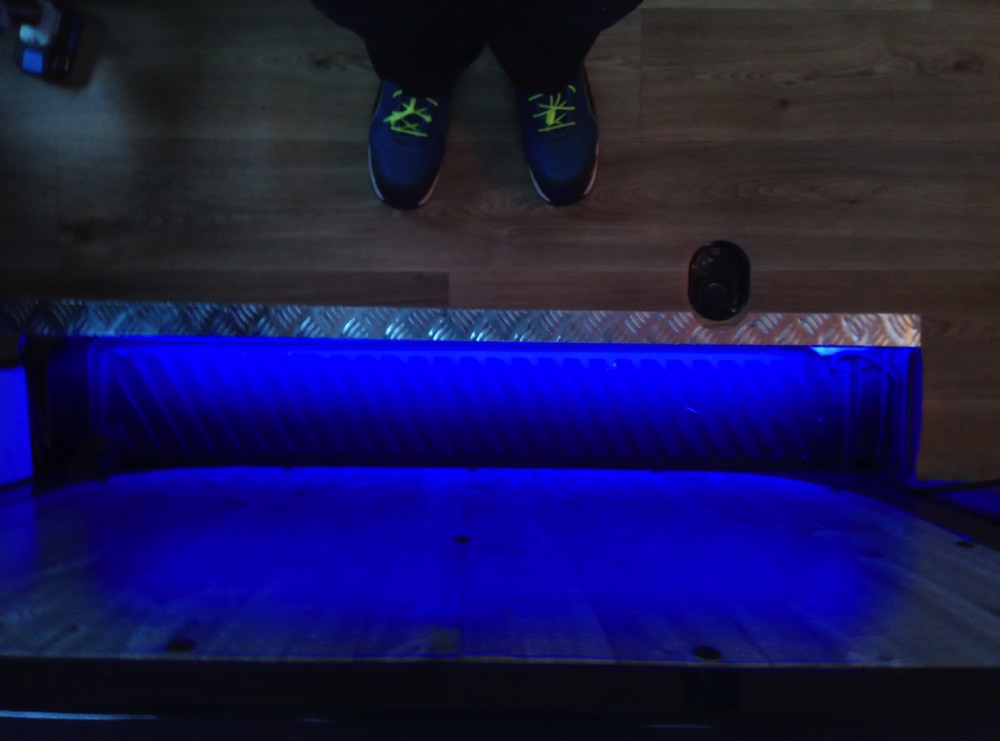
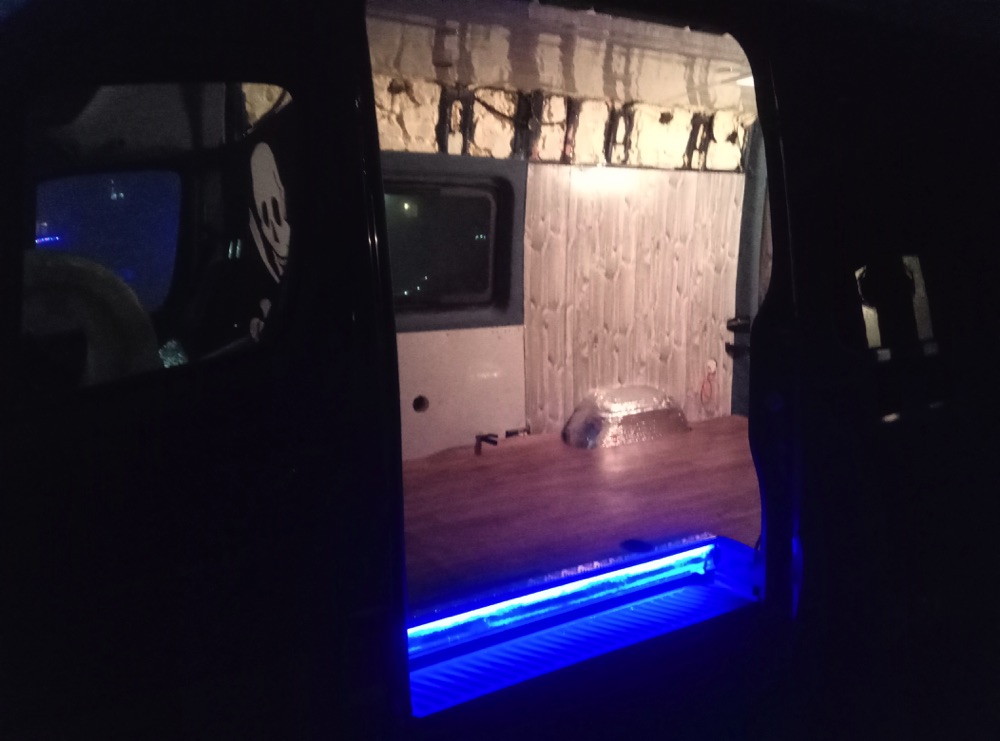
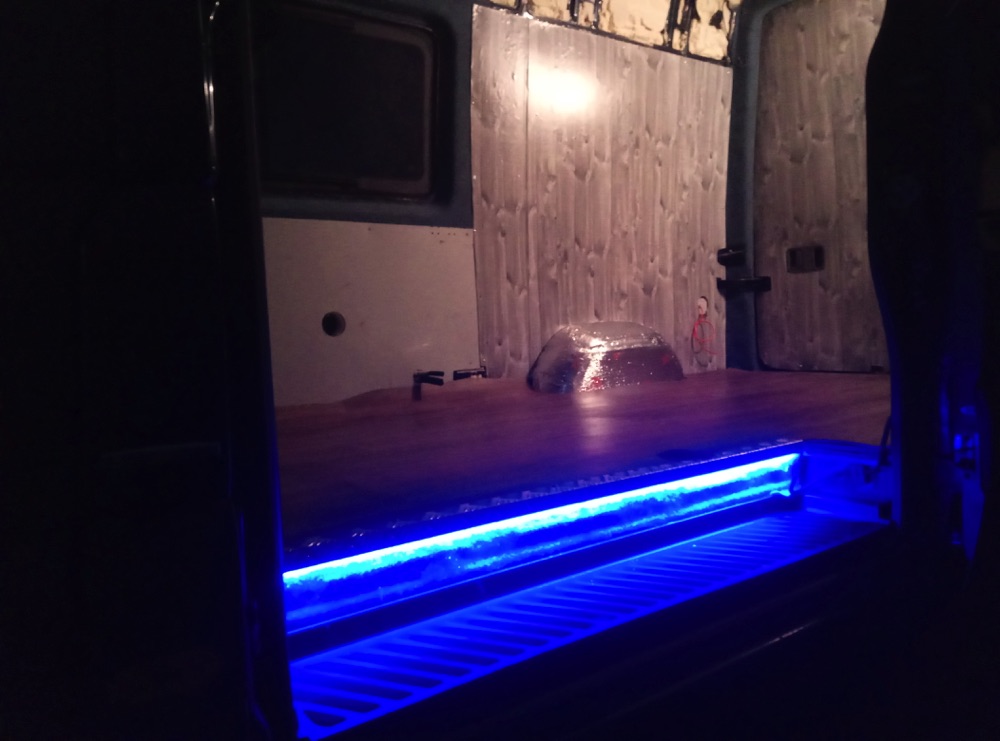
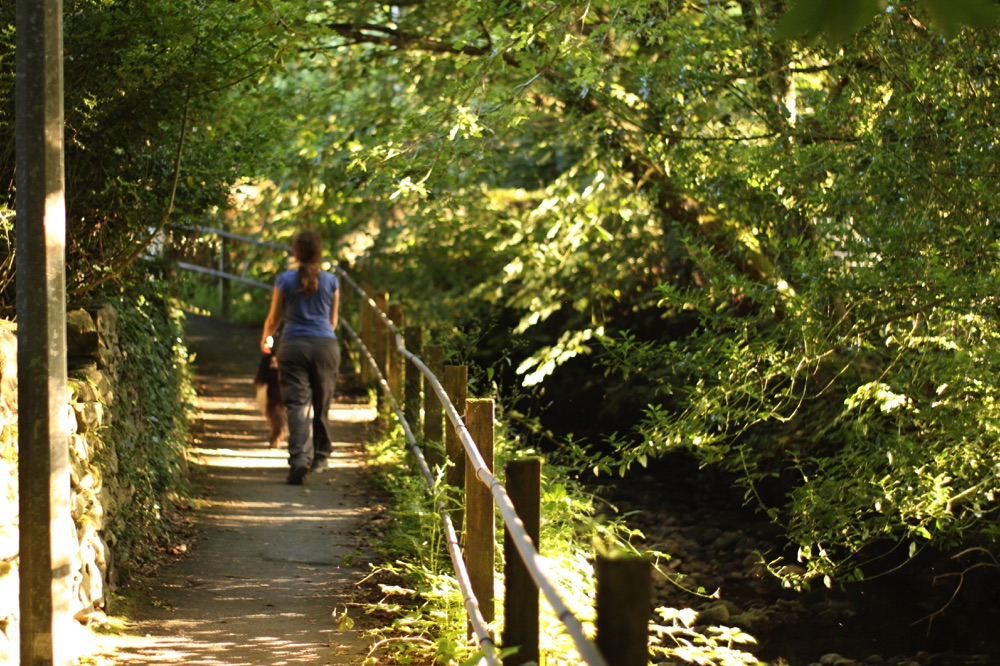
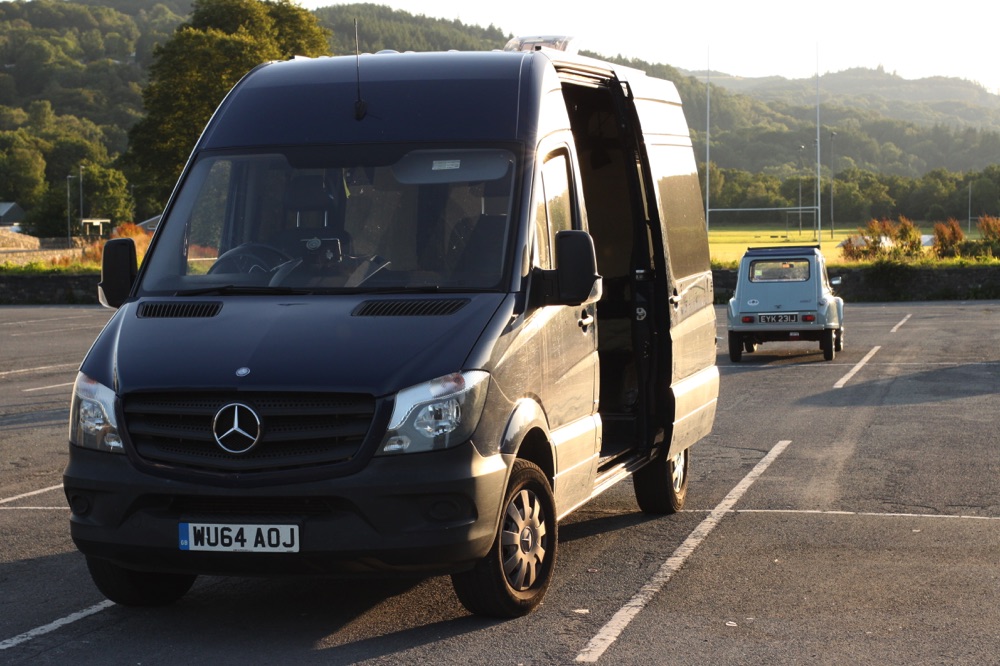
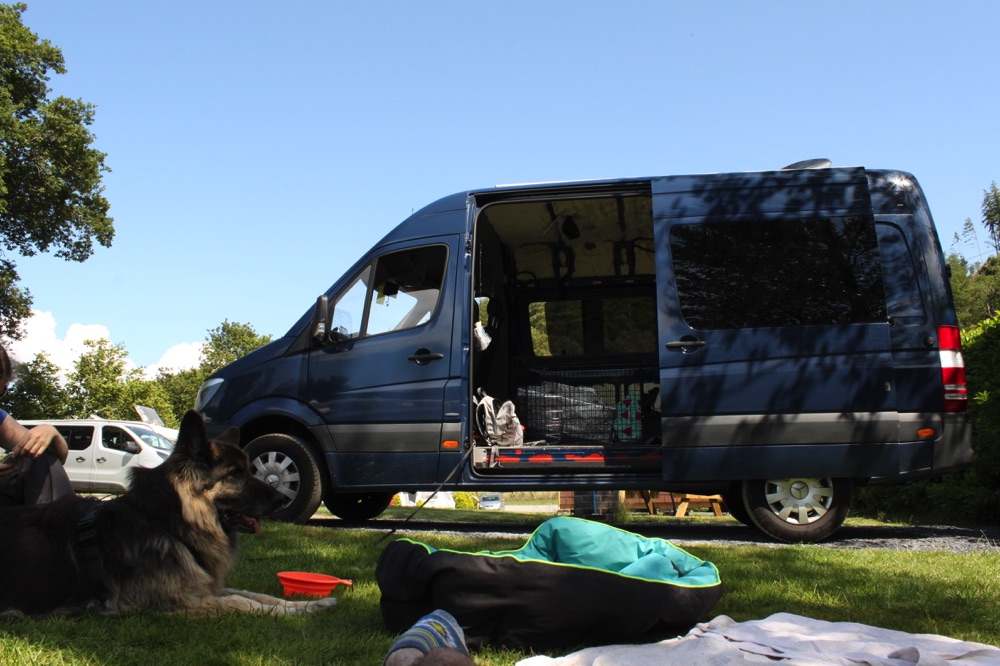
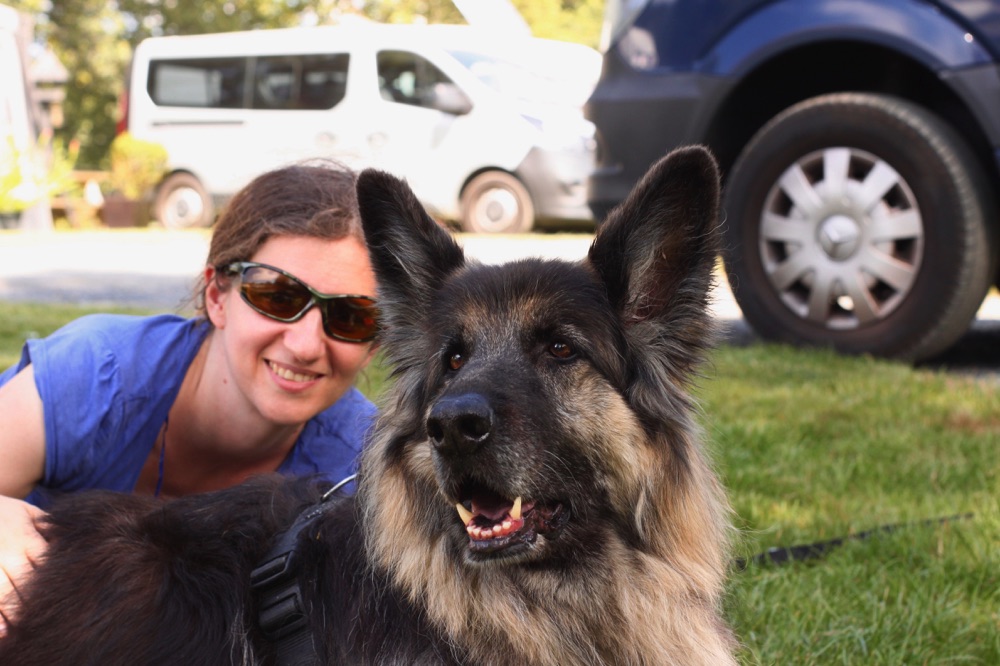
But we did not resist to spend one night in Wales and test the comfort of the van


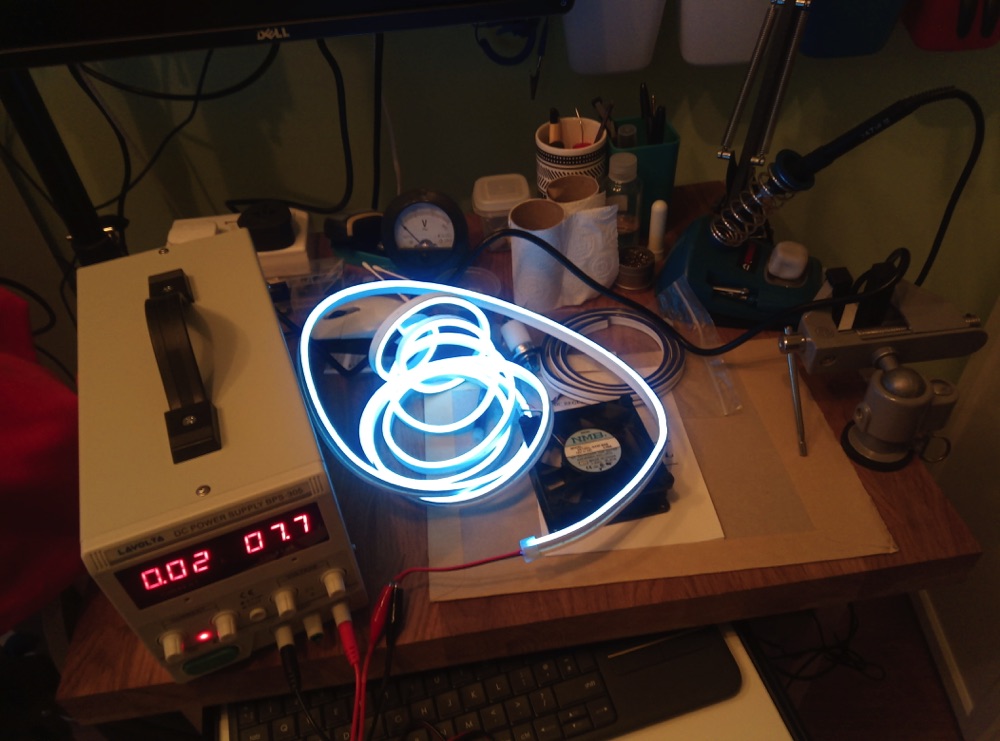
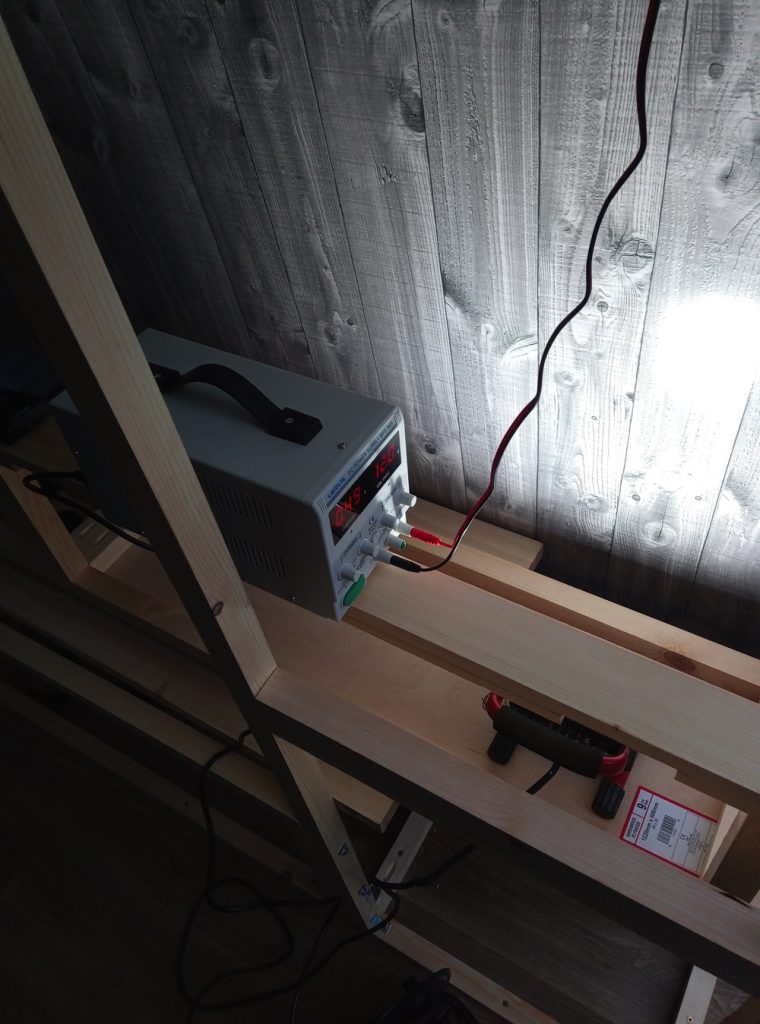
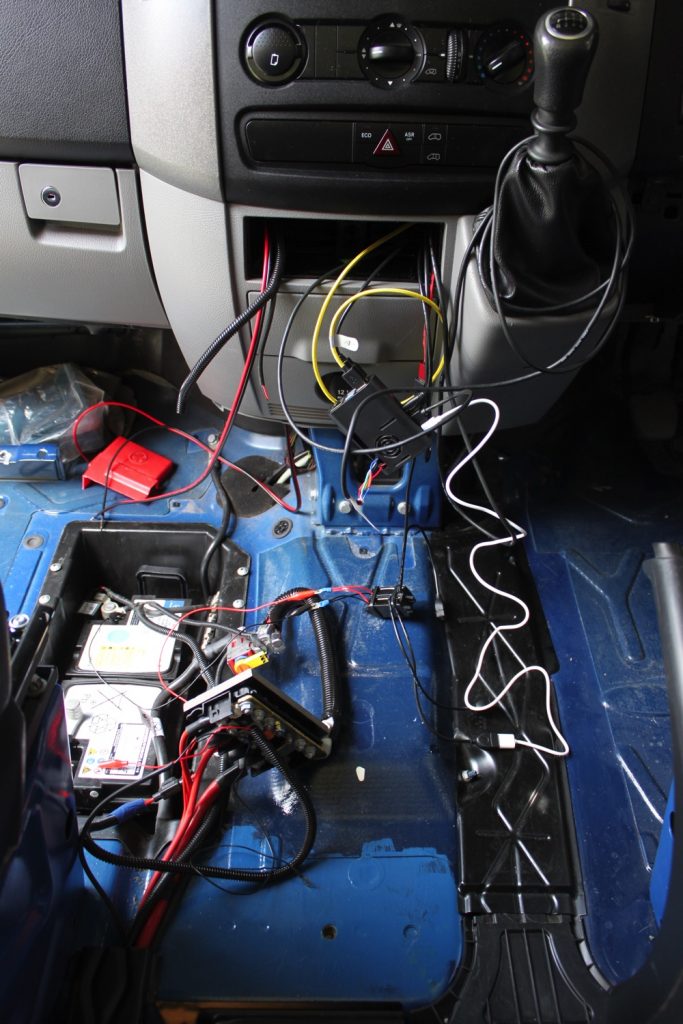
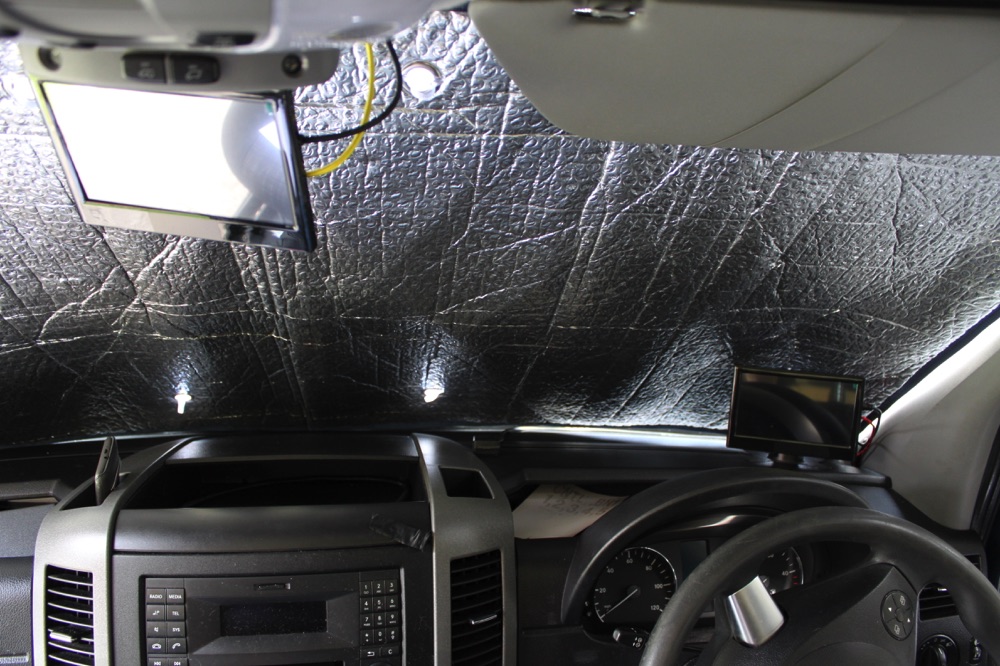
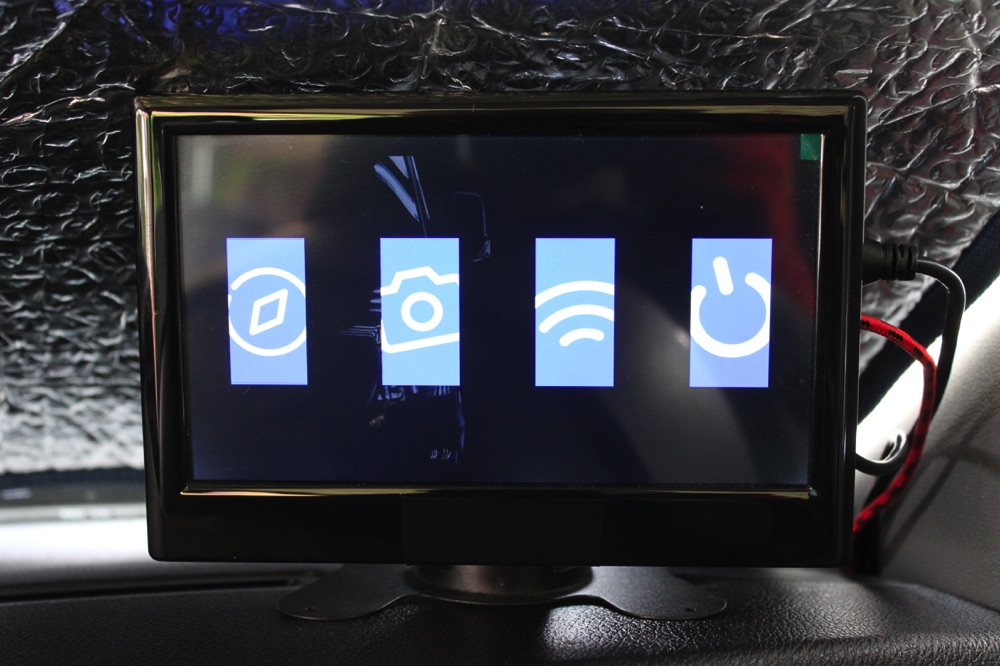
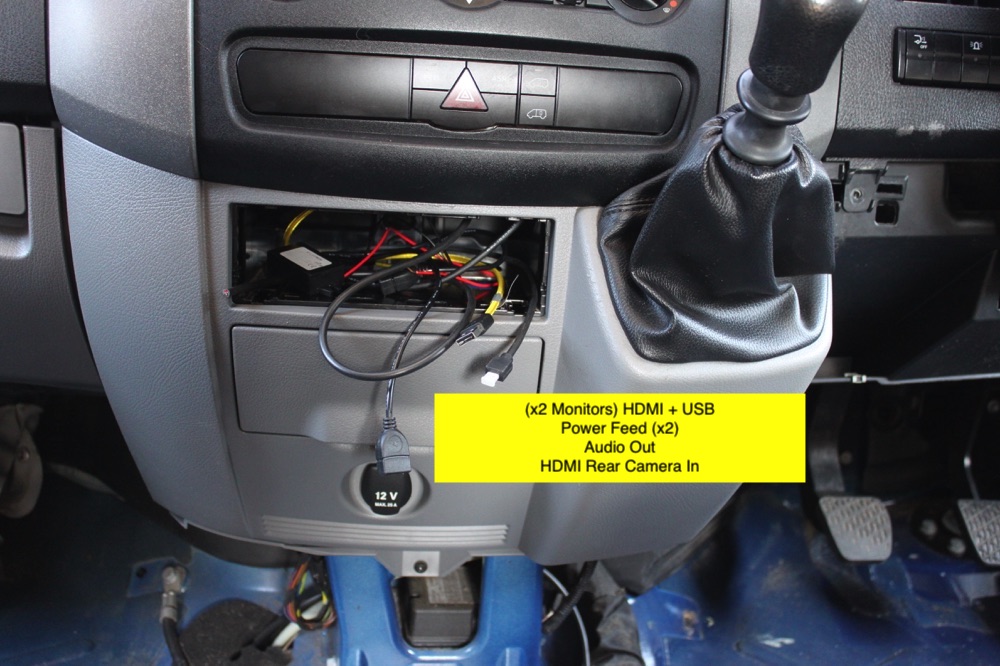
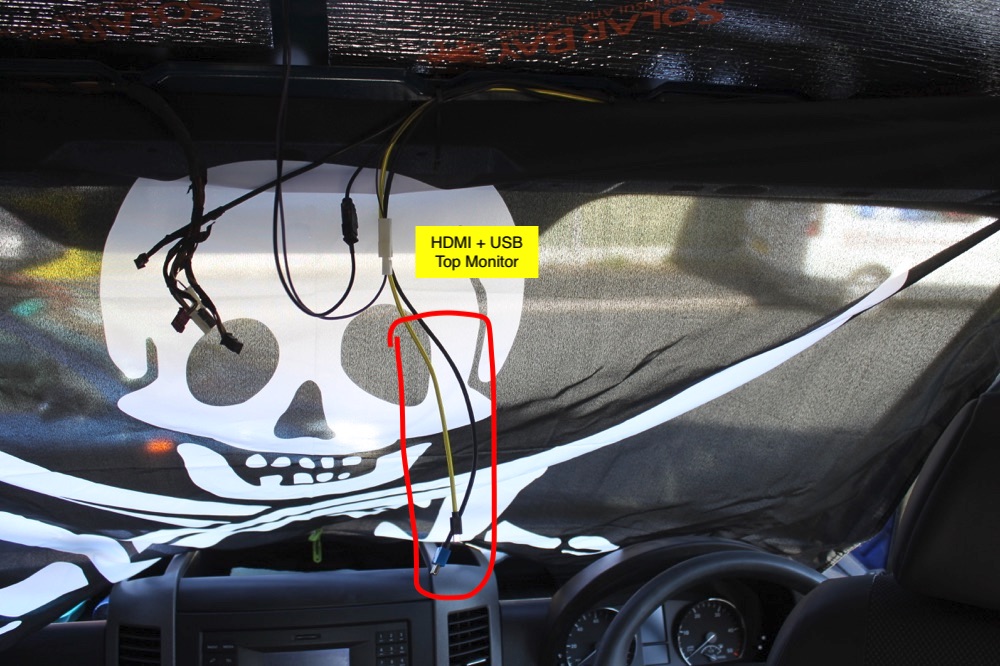
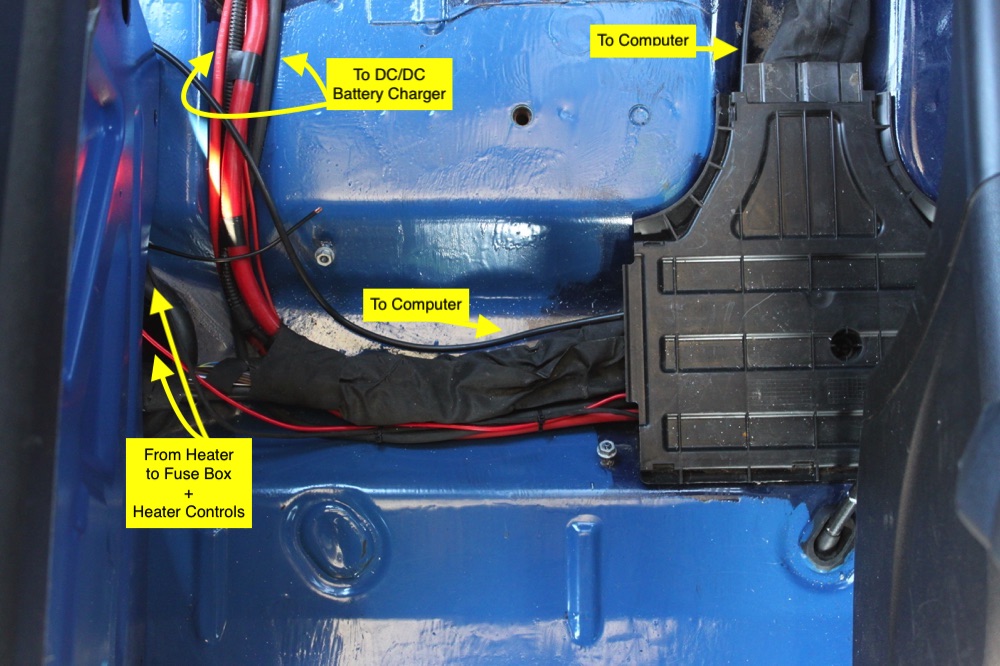
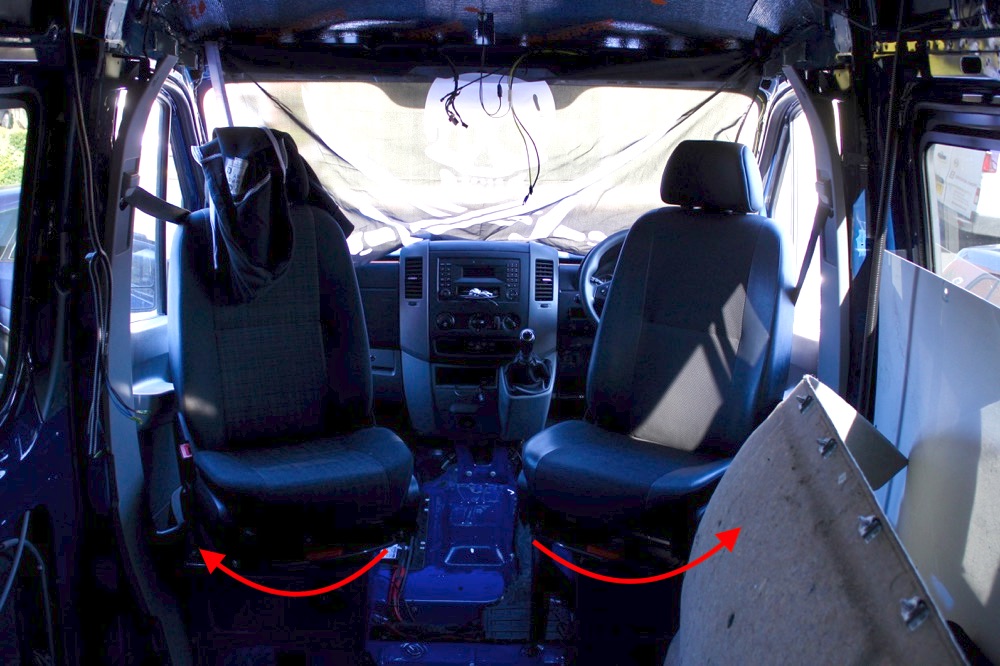
Today I tested the Navigator, I will write a post (with full instructions and code!) about some changes that I made to solve some problems, meanwhile a some media that show the idea of the final design.


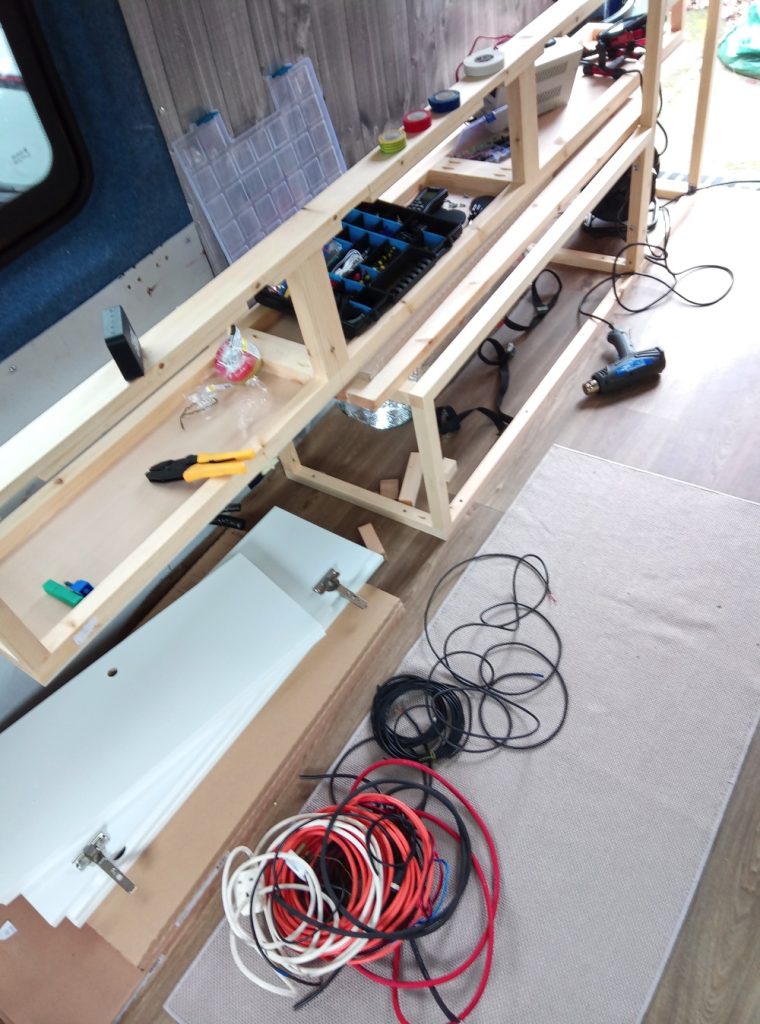
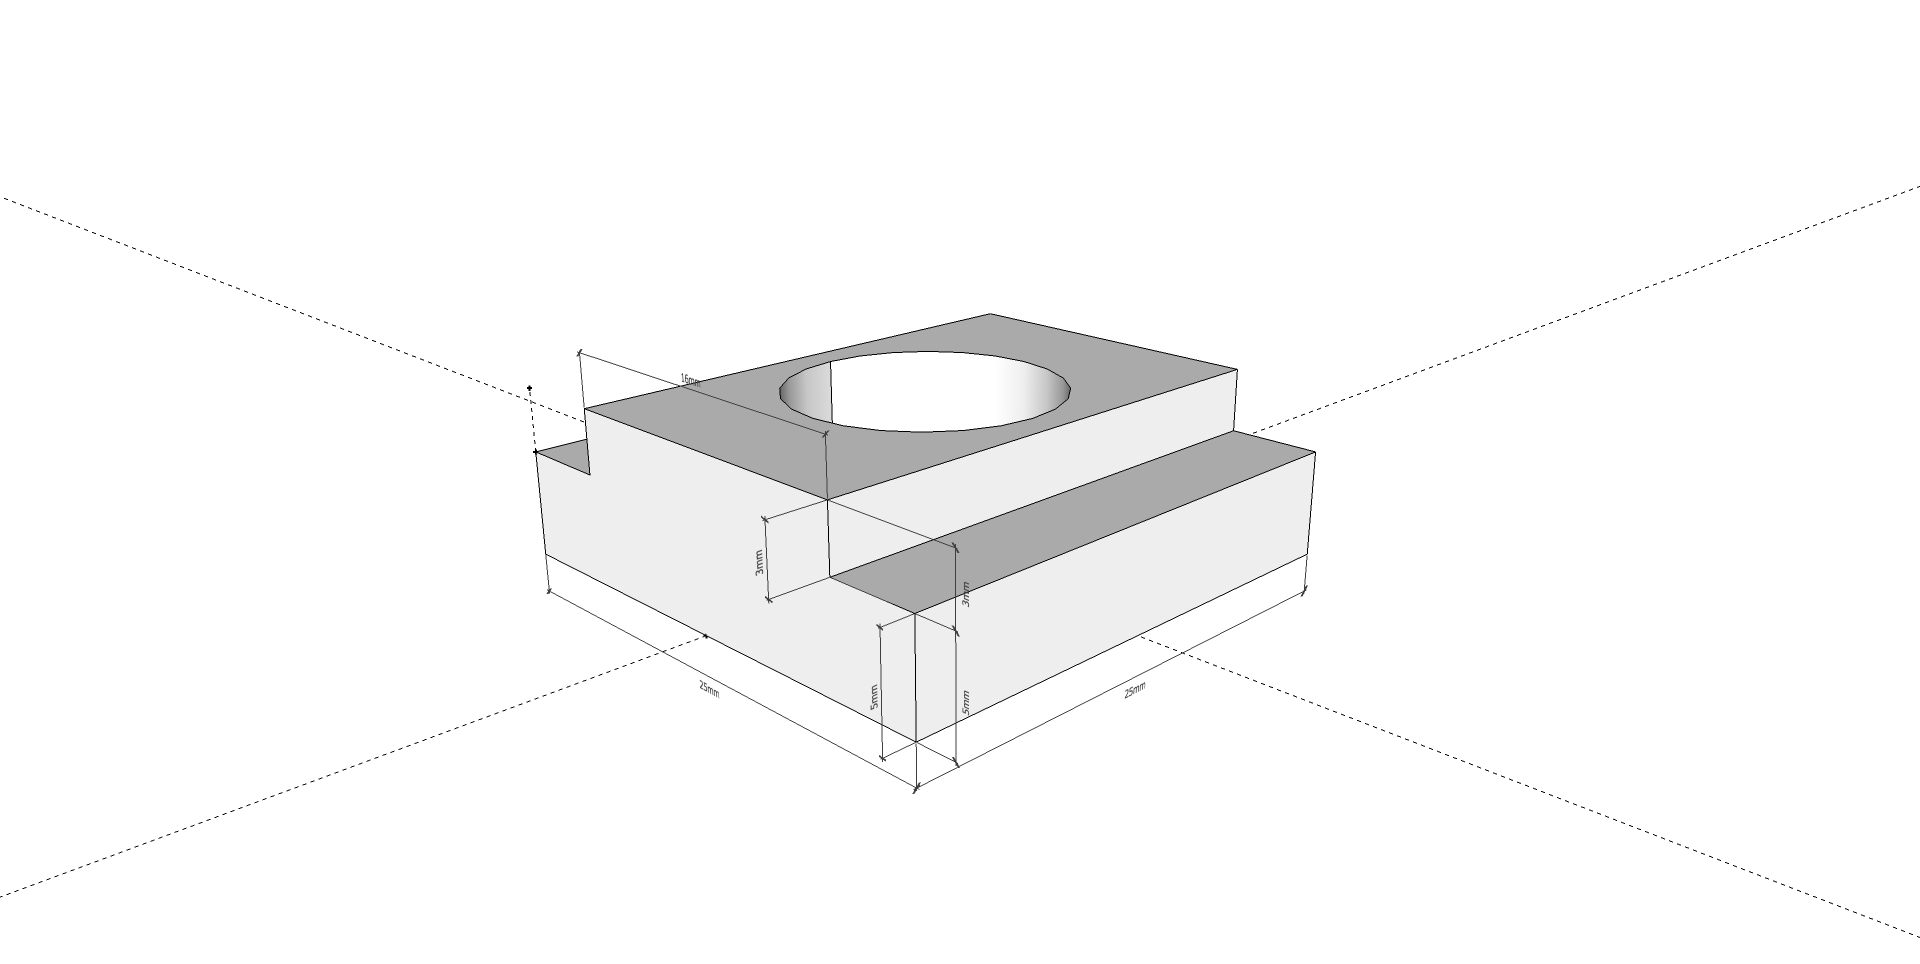
The bed is under design, I have been in contact with a company near home to discuss about. Here’s a sketch:

Campervan: April updates

I am currently working on the computer wiring and the cab is partially dismantled. Is the right moment to work on cab isolation too.

The computer wiring roughly involve:

  • Monitors cables (2x HDMI, 2xUSB)
  • Main Power feed (12v to 5v step-down converter)
  • Rear camera (HDMI cable + ribbon cable and some adaptors)
  • GPS Sensor
  • Switcher


Meanwhile some other parts has been done:

  • Heater system, installed and tested
  • Swivel seats
  • Kitchen extractor fan
  • Skylight fan
  • Wiring from main battery to DC/DC charger
  • Side trims waterproofing
  • Roof painting and some small rust clean up