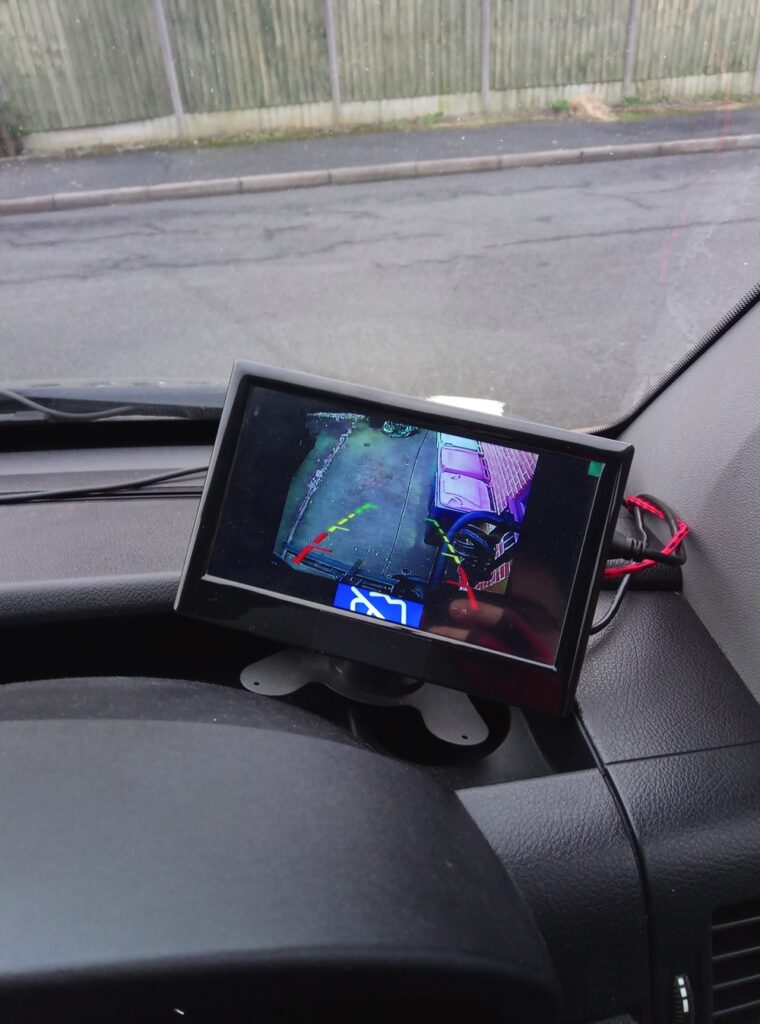
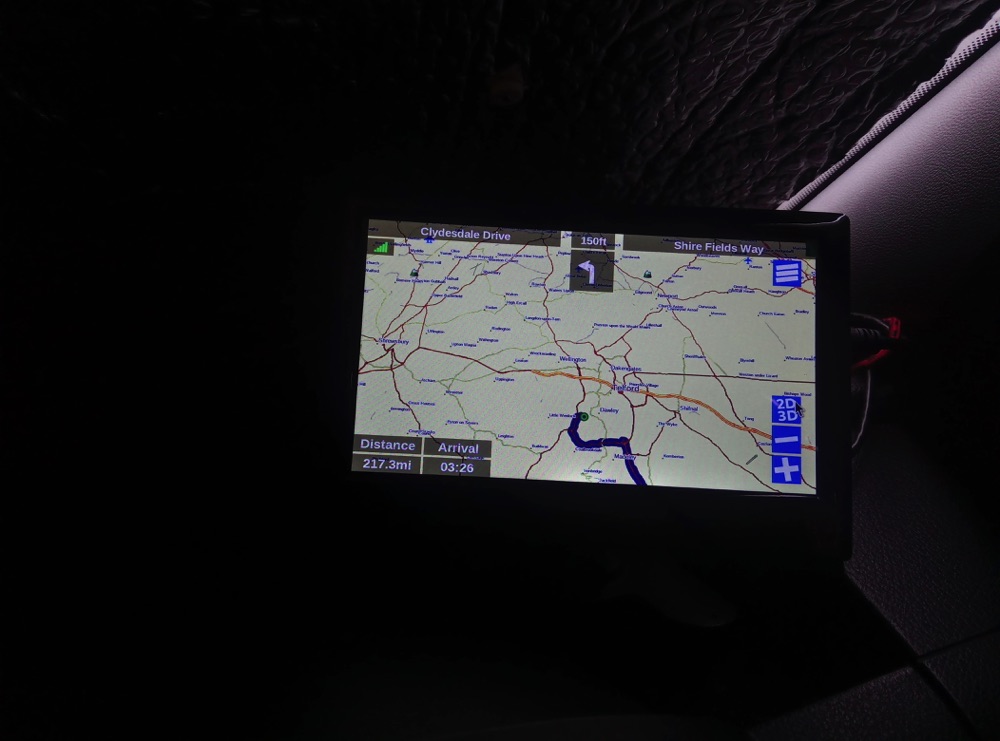
While traveling in Norway, we had the chance to test the Go version. Although the launcher was running fine and the video stream was handled (after some effort) directly by the app, we noticed that Navit isn’t ideal for route planning or on-the-road location searches.
For instance, it was not possible to select a point without having a postal address, and the real-time location feature felt a bit awkward because the screen wouldn’t refresh until the point reached the edge of the map frame.
In the end, we switched to using OrganicMaps on our phones.
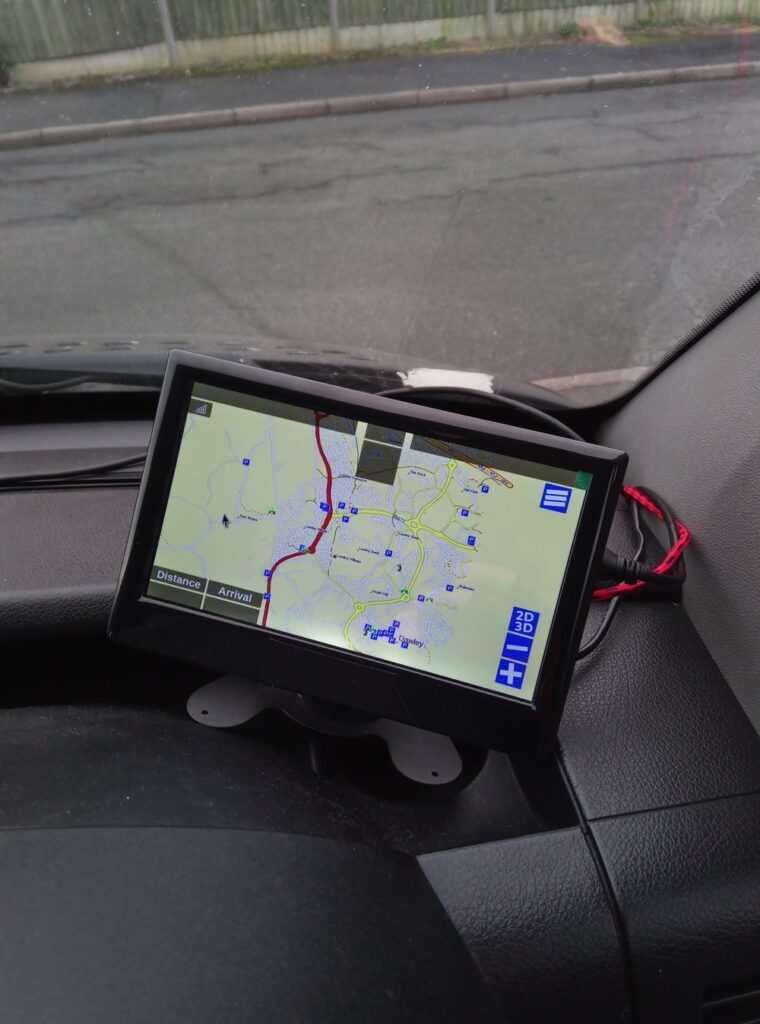
Since there don’t seem to be any good open-source or free options to replace Navit for desktop environments, I decided to switch to Android with LineageOS (Konstagang port).
This setup is essentially like having a phone, but it comes with its own pros and cons:
Cons:
- Booting time is quite long, taking nearly a minute to load.
- While the interface can be customized, it doesn’t allow for creating one entirely from scratch to meet specific needs.
Pro:
- A wide selection of mobile-native apps (e.g., OBD2 interfaces, video recording, music players, sensor readers, etc.).
- The ability to set up custom hardware buttons using the Raspberry Pi’s GPIO pinouts.
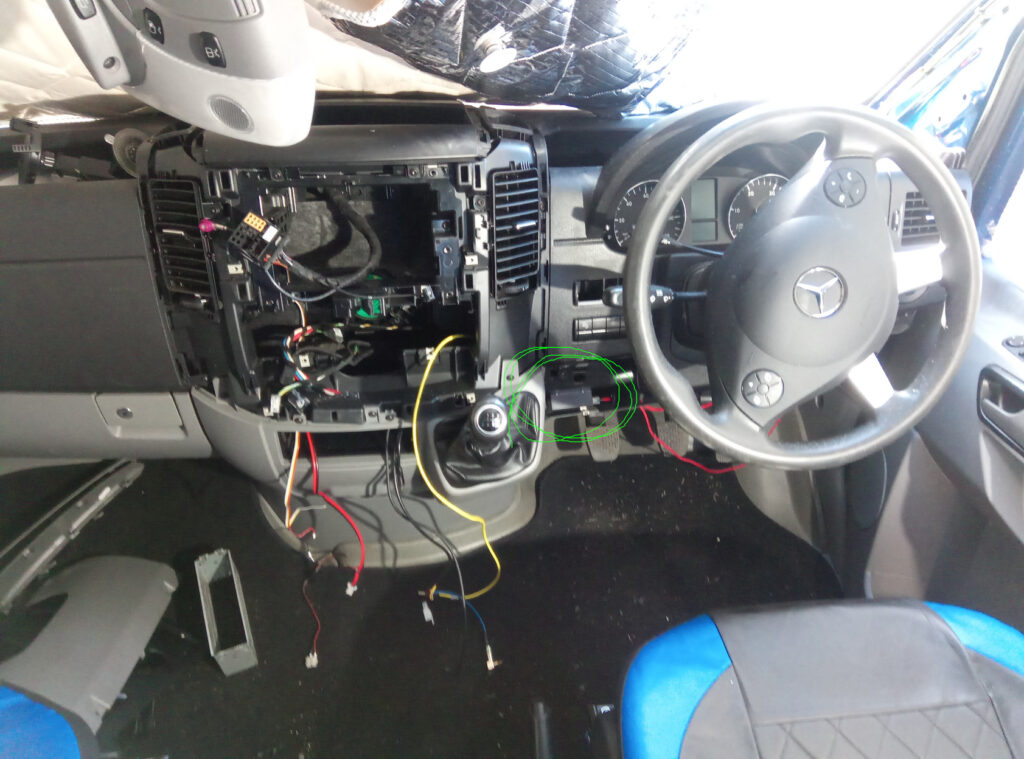
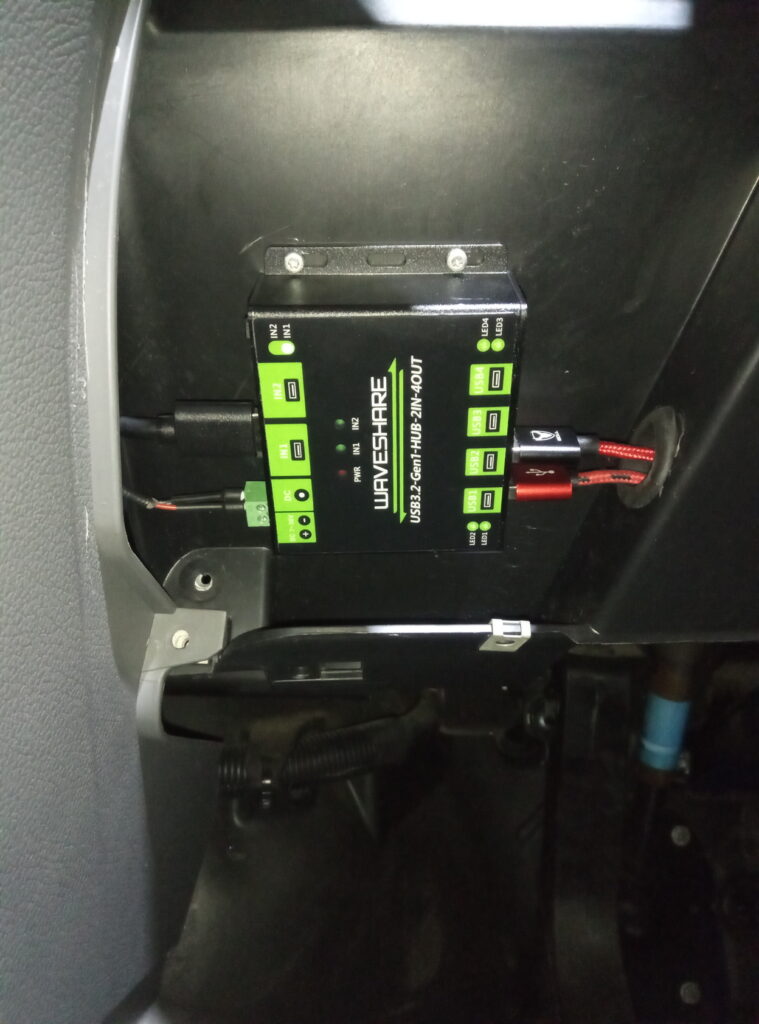
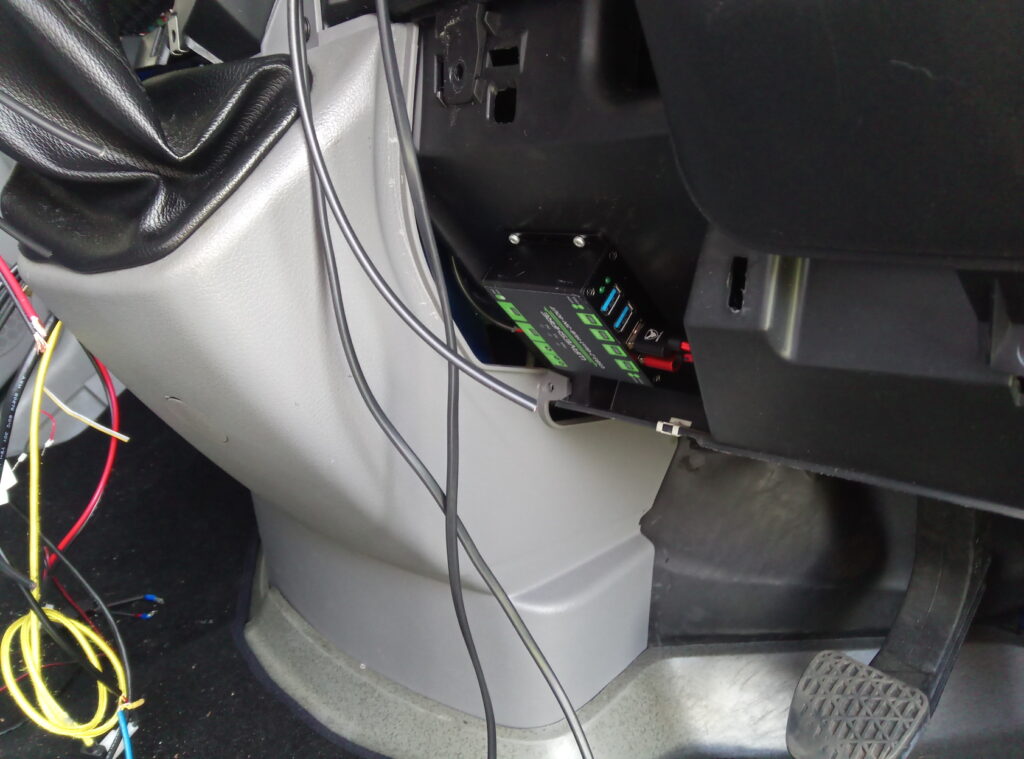
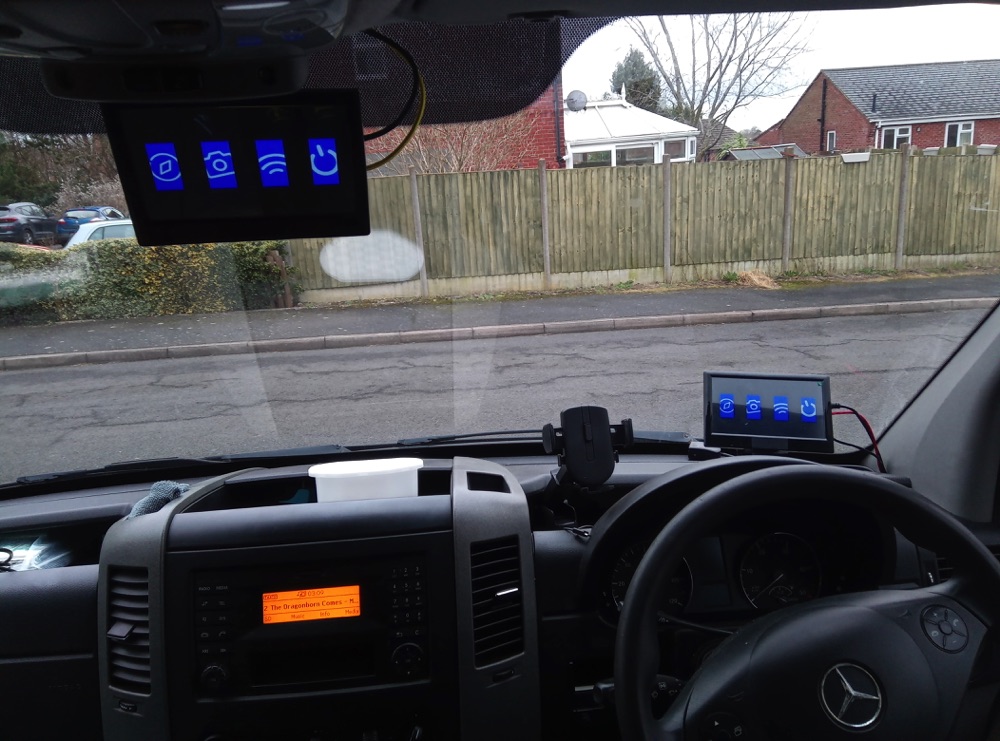
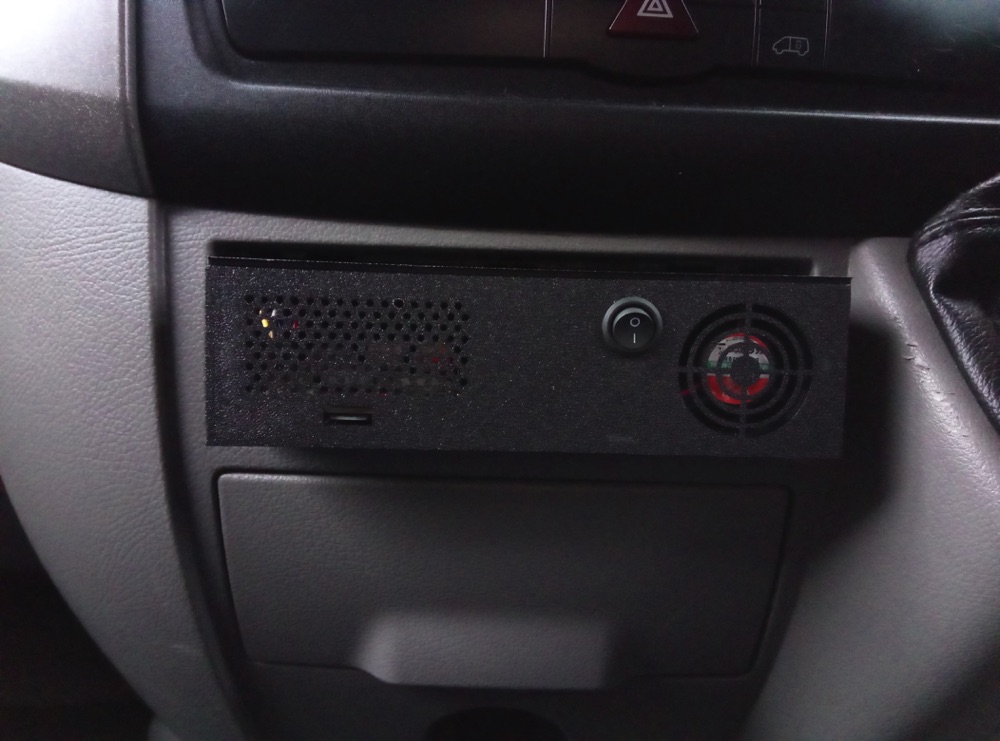
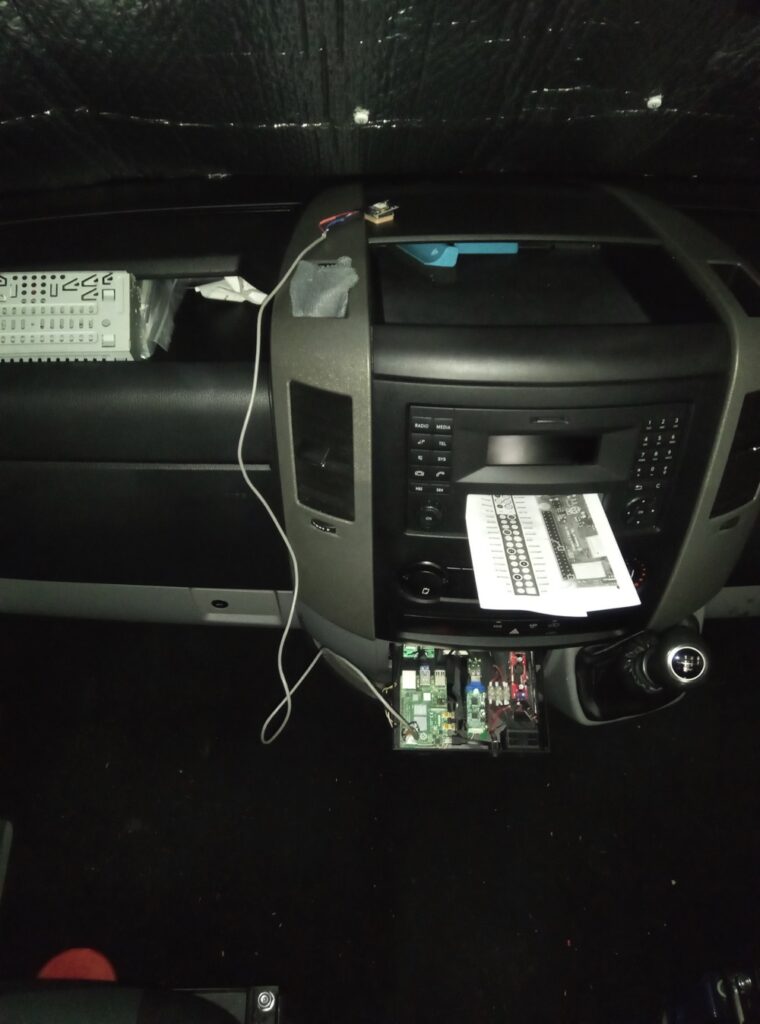
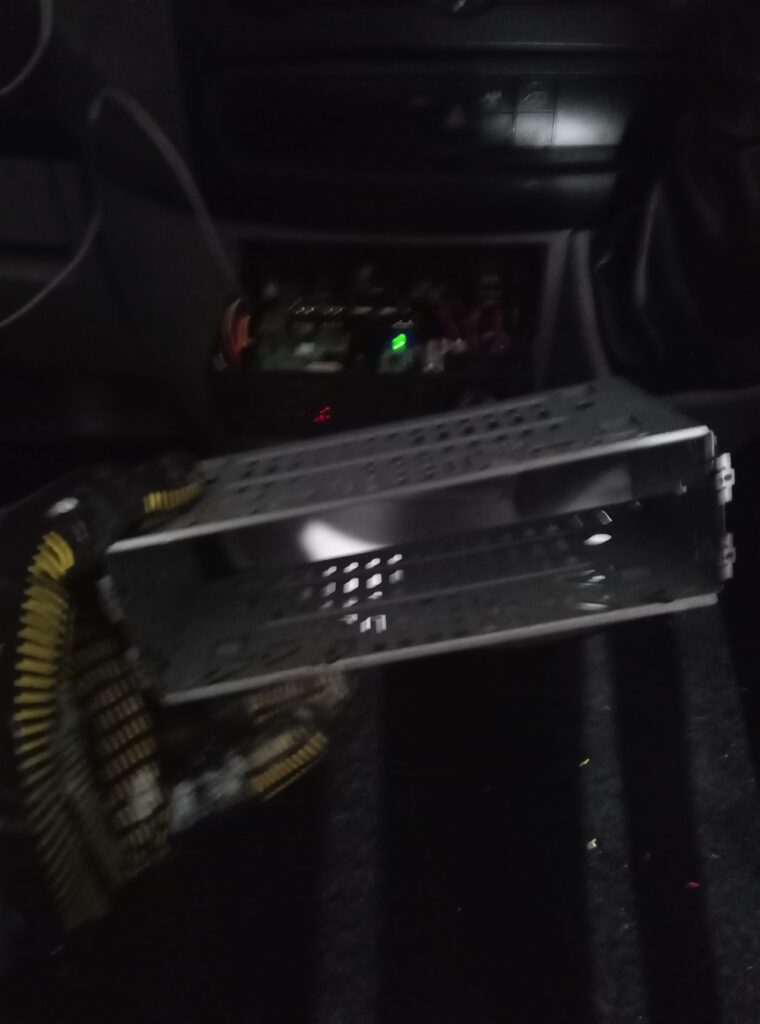
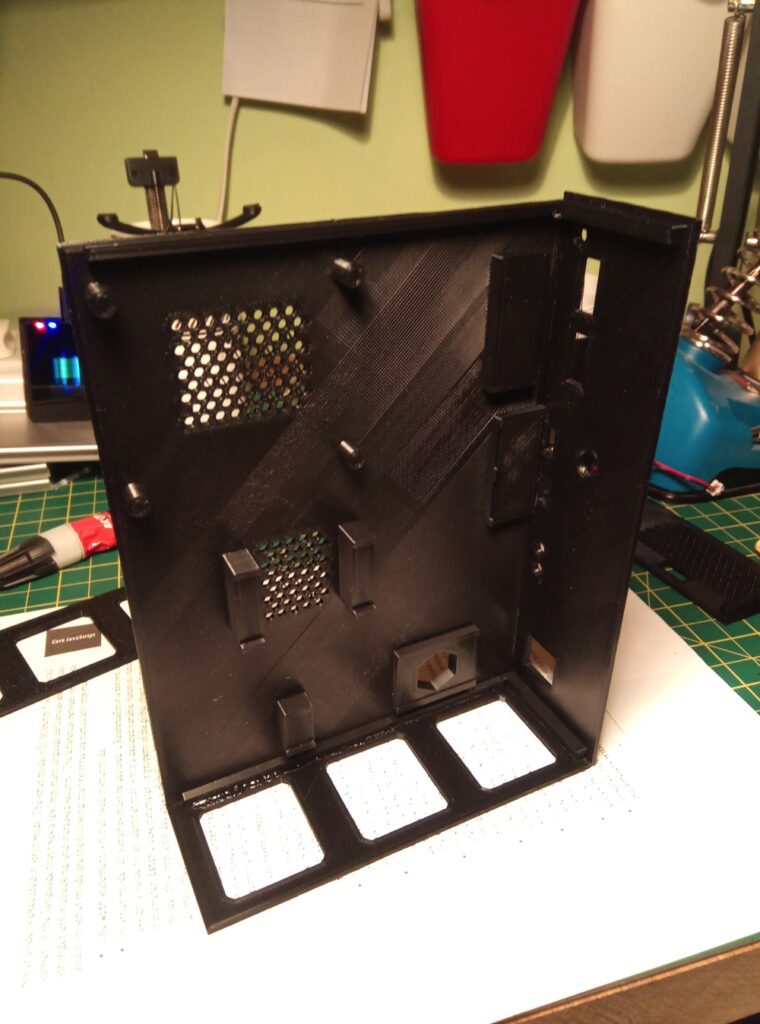
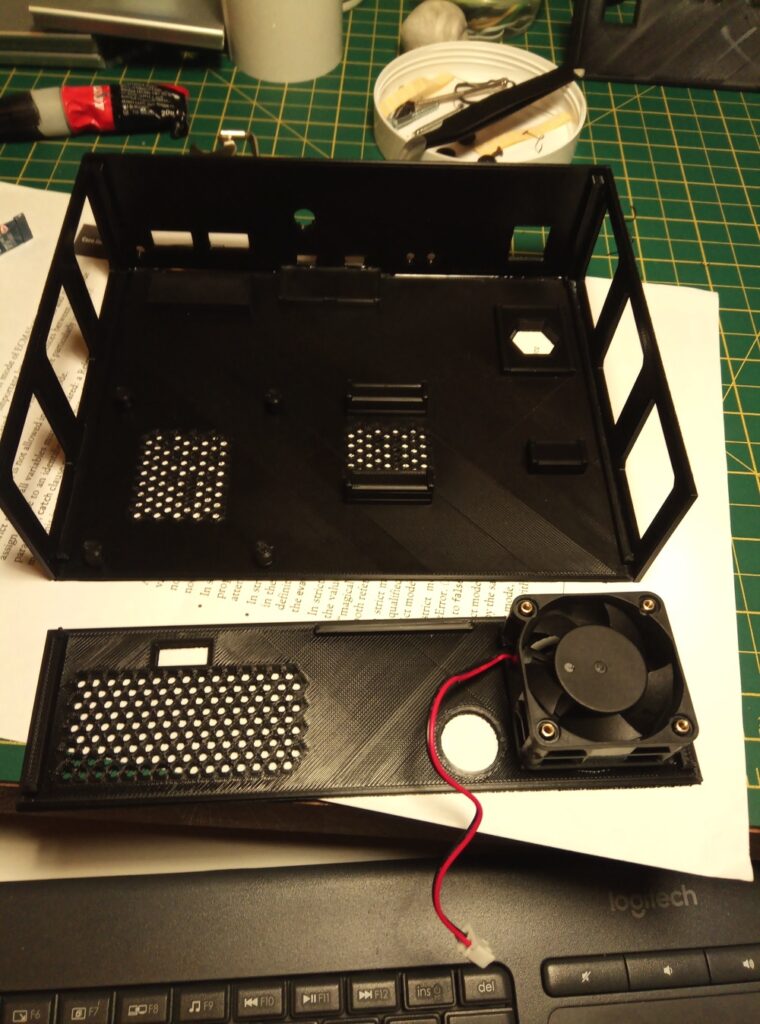
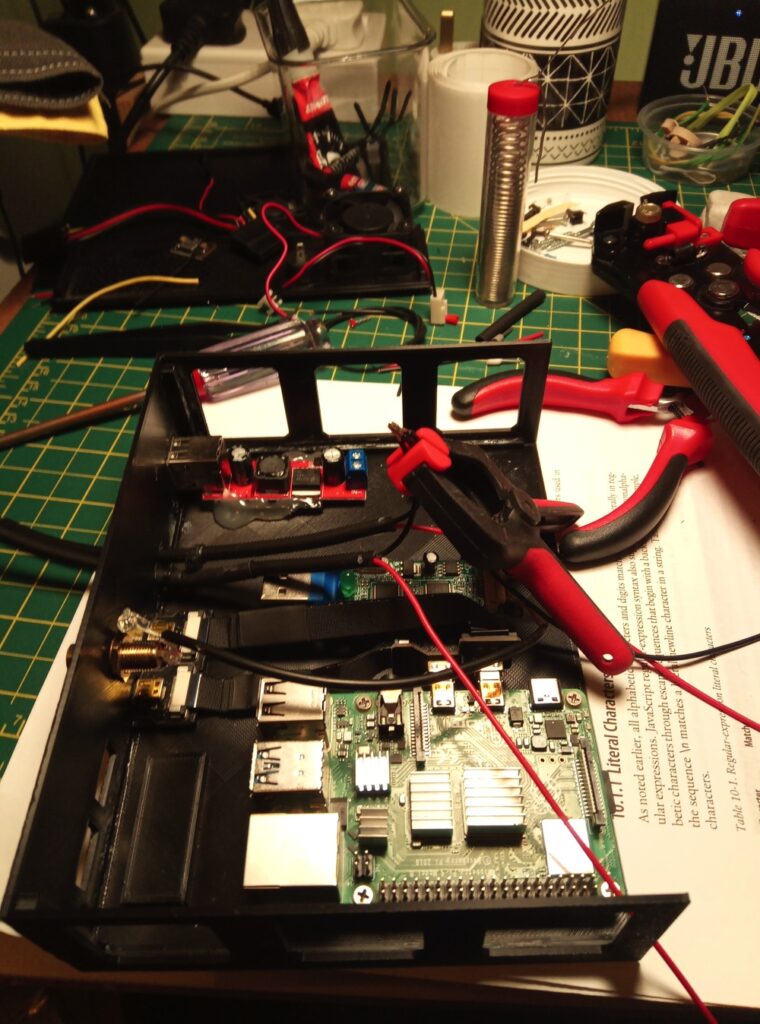
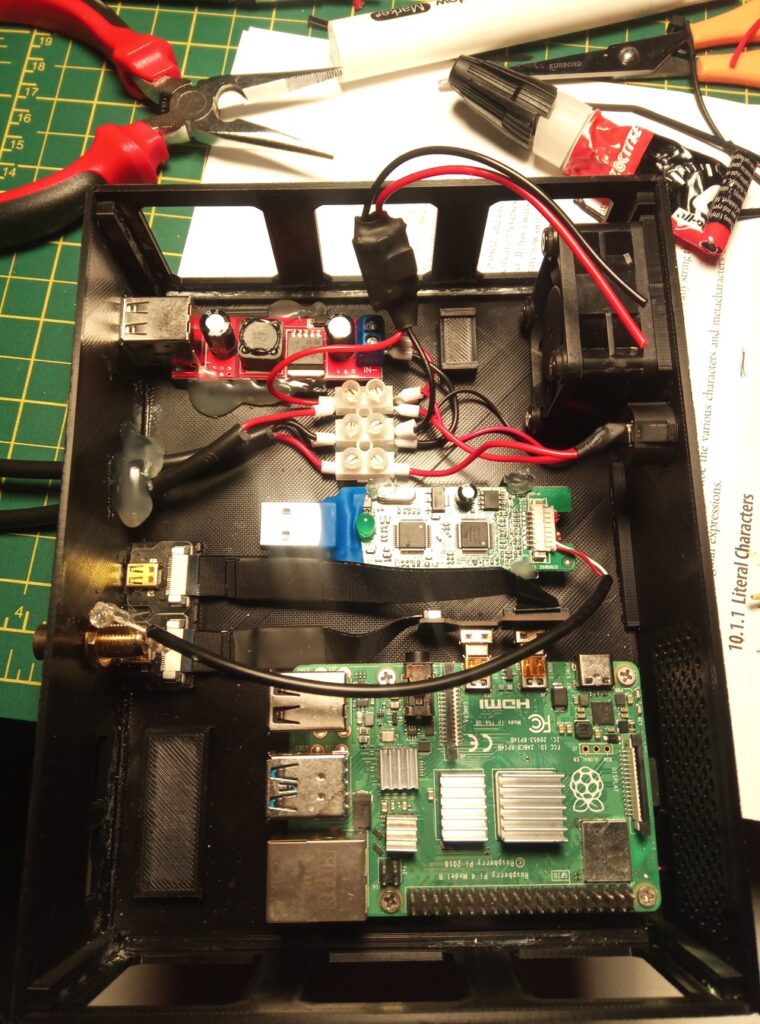
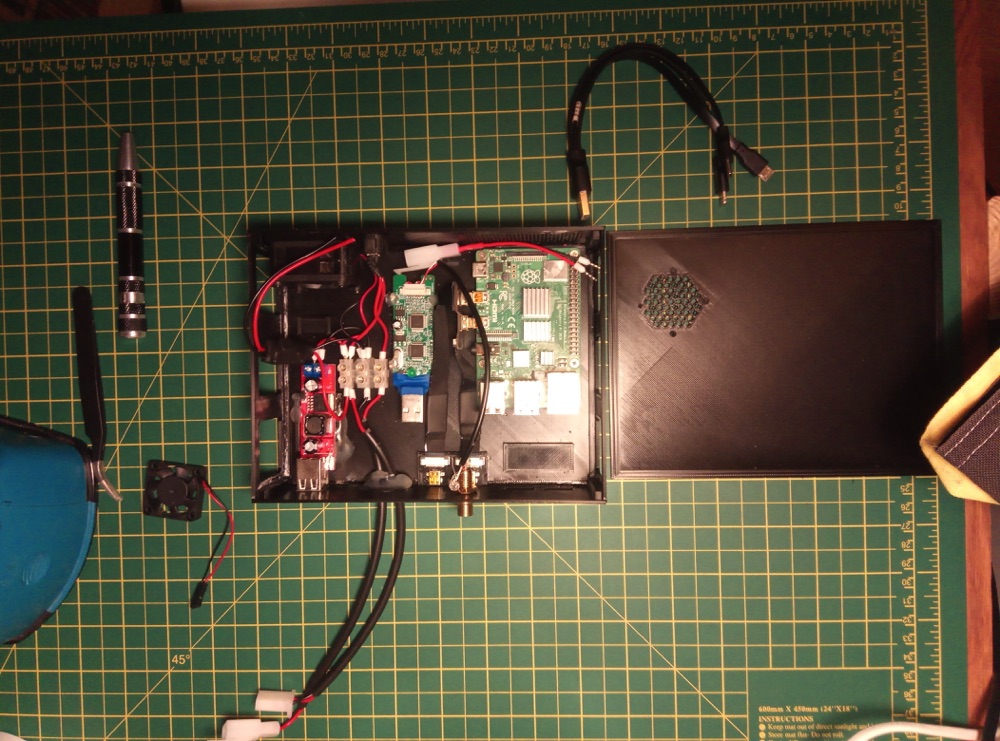
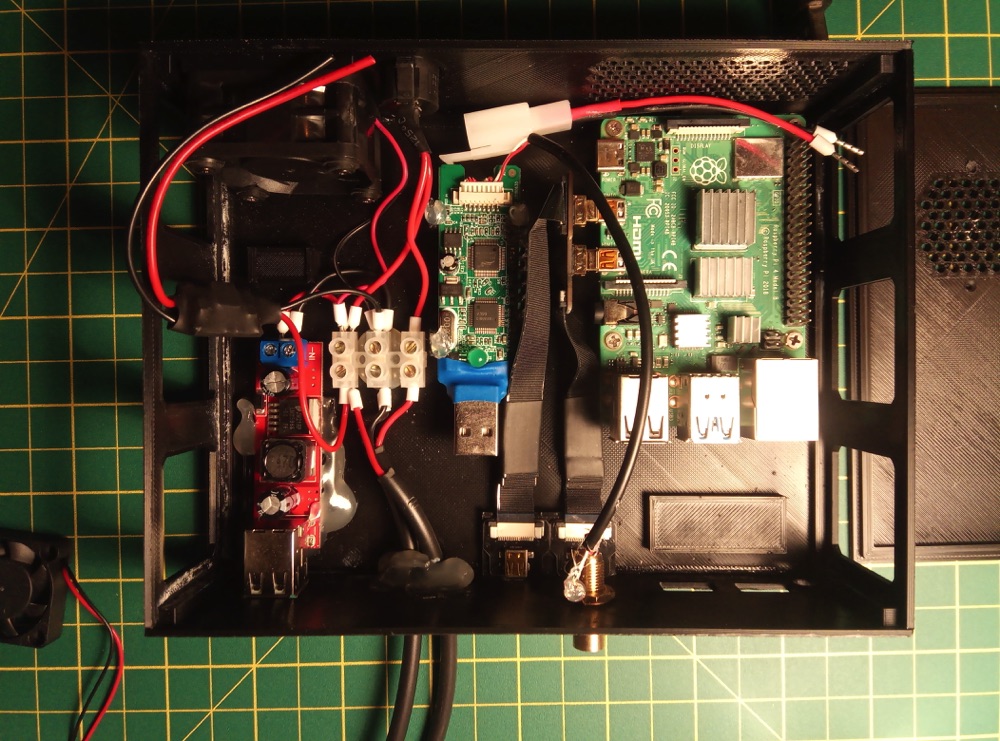
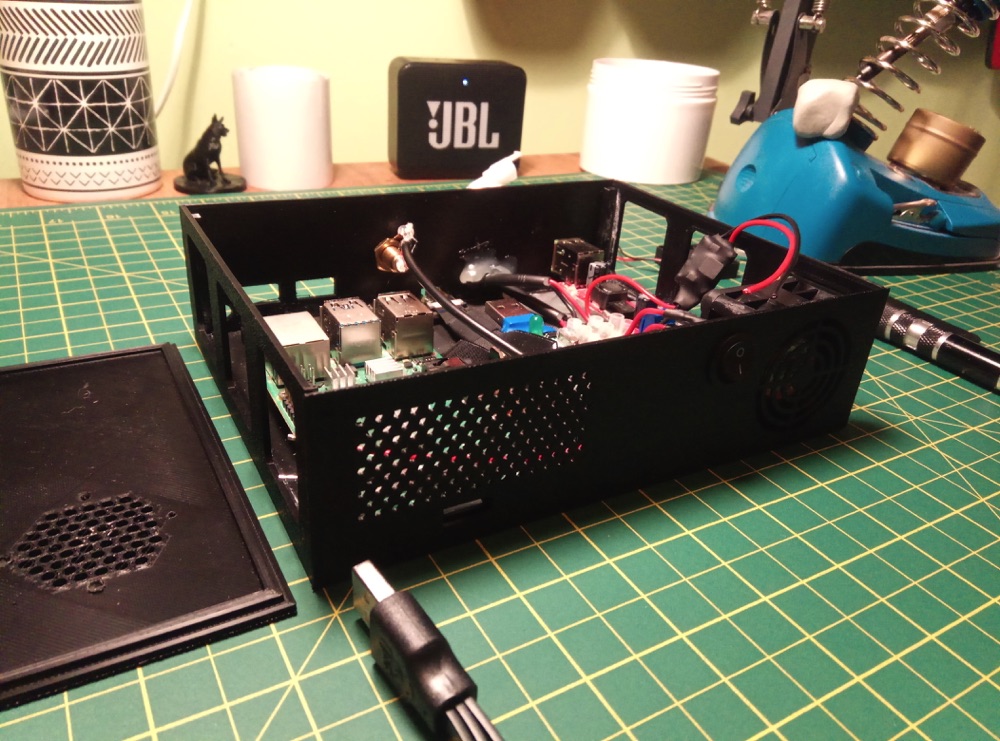
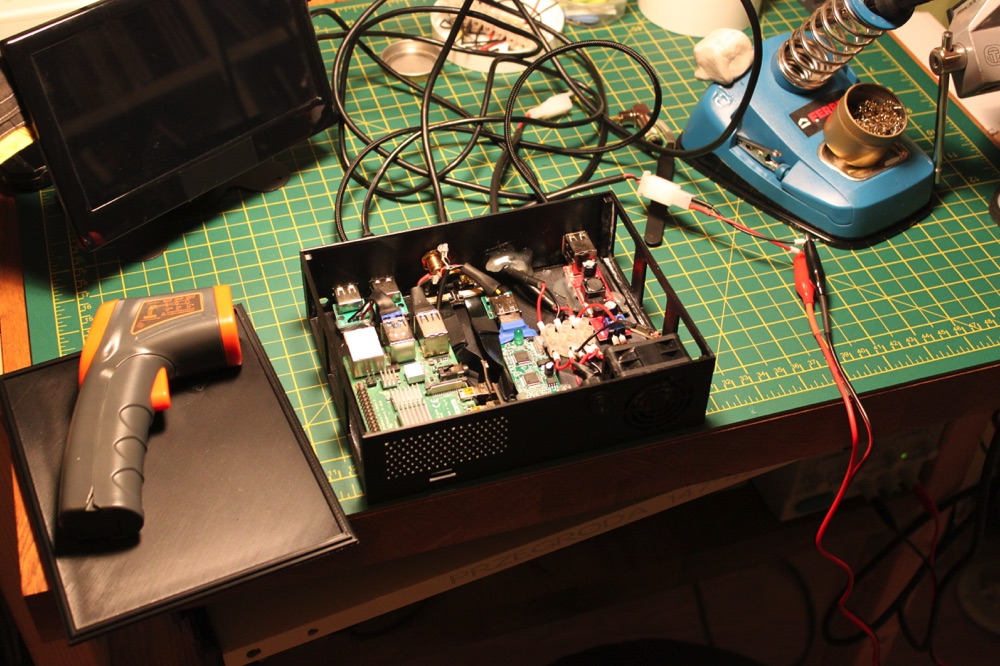
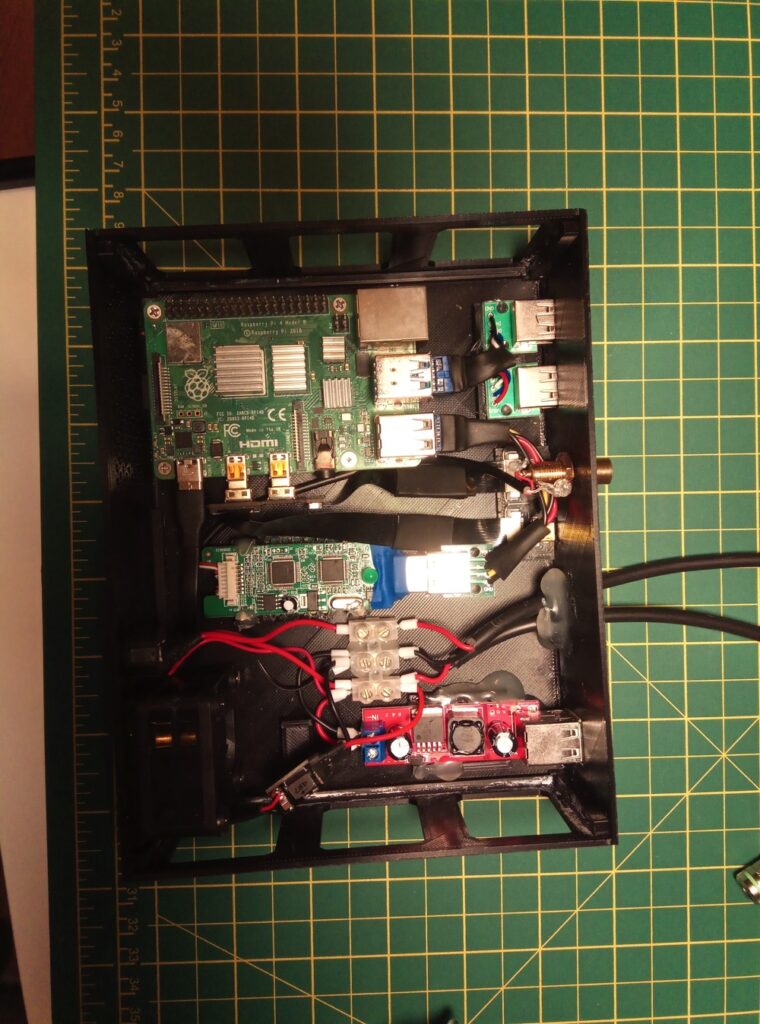
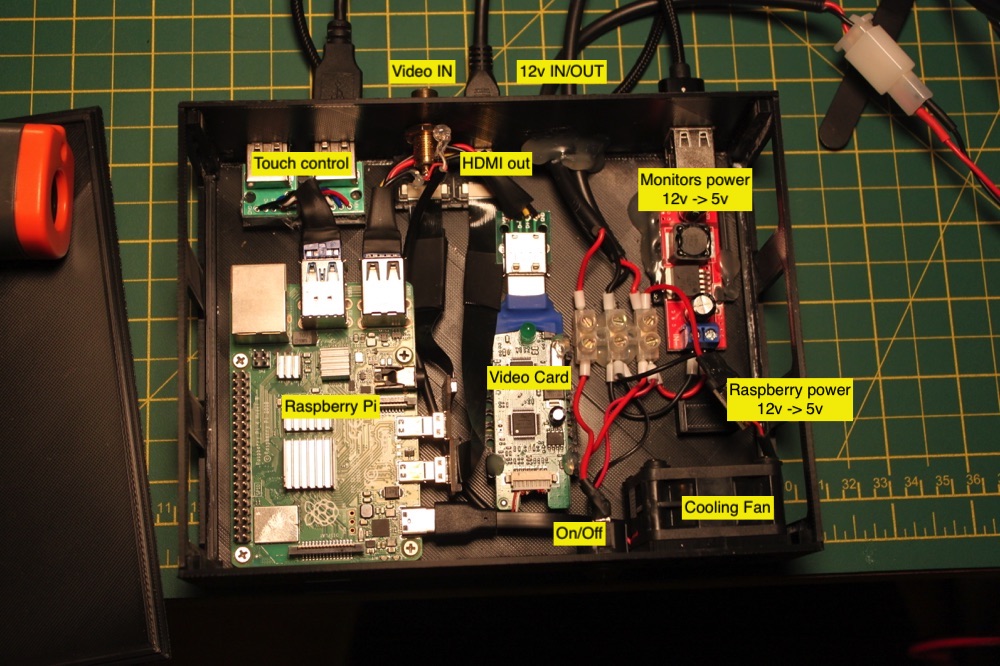
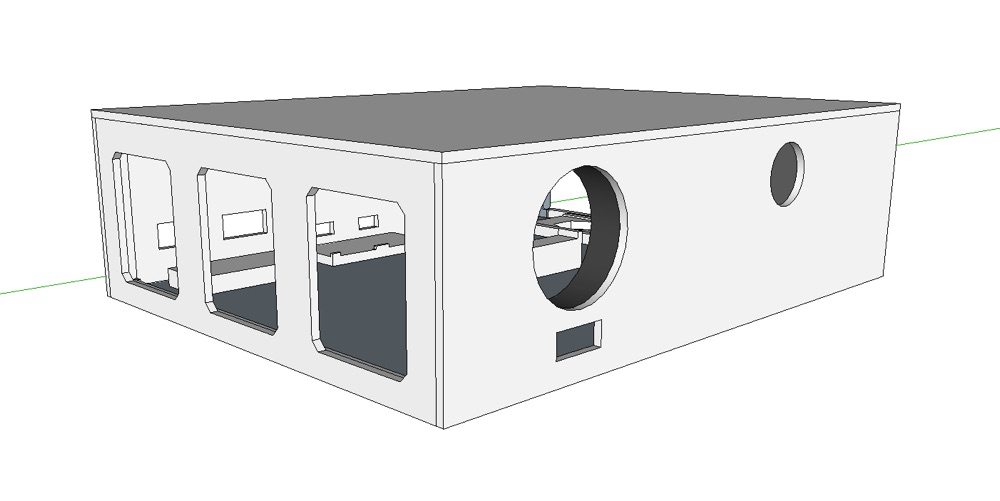
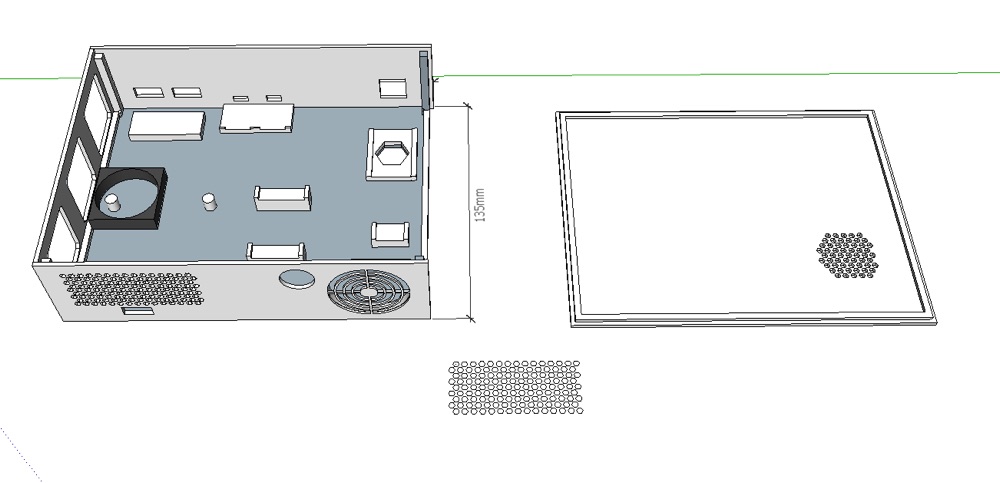
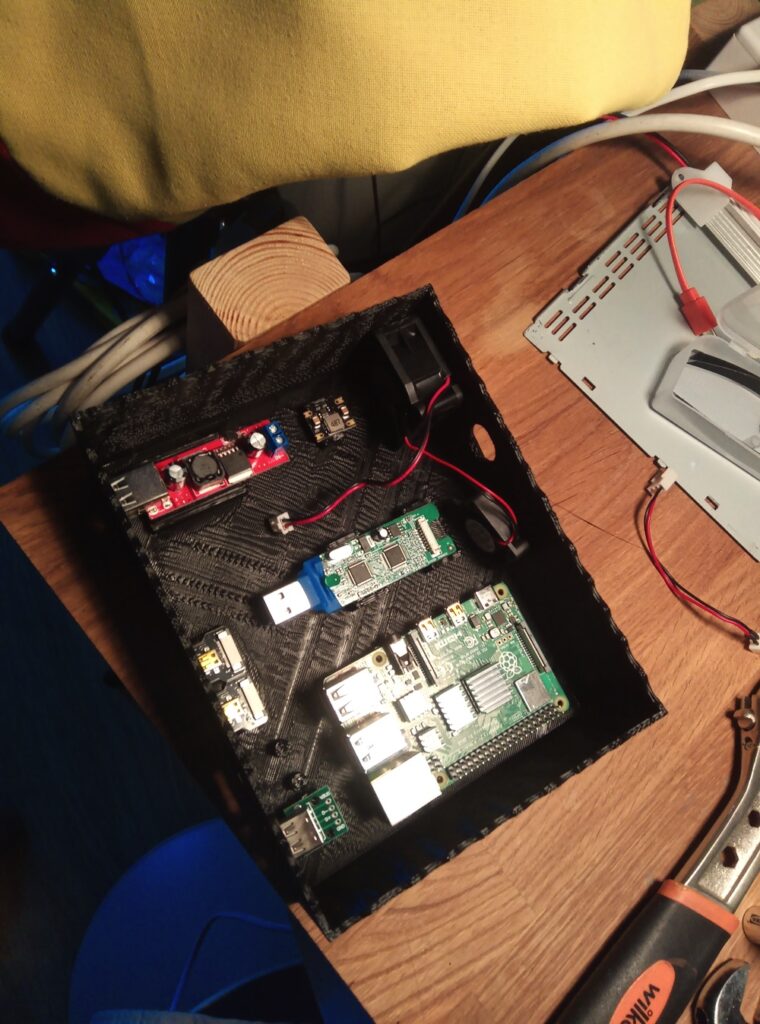
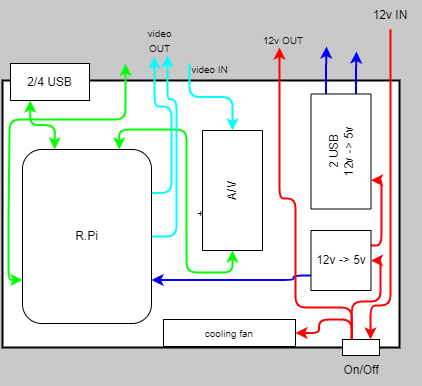
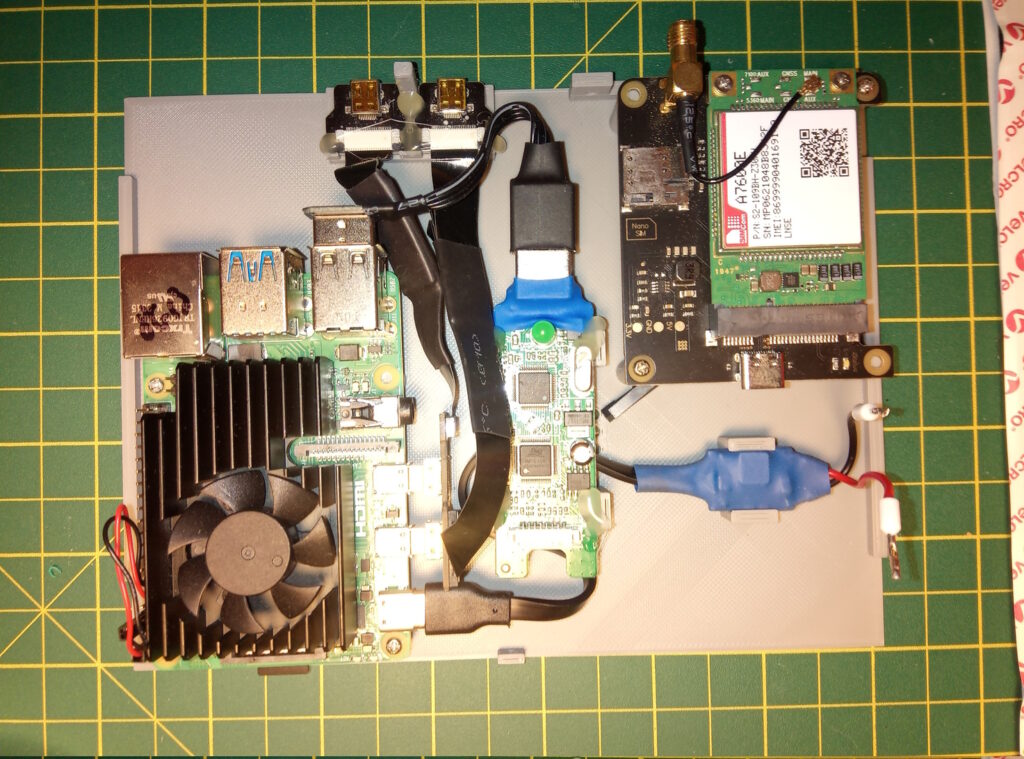
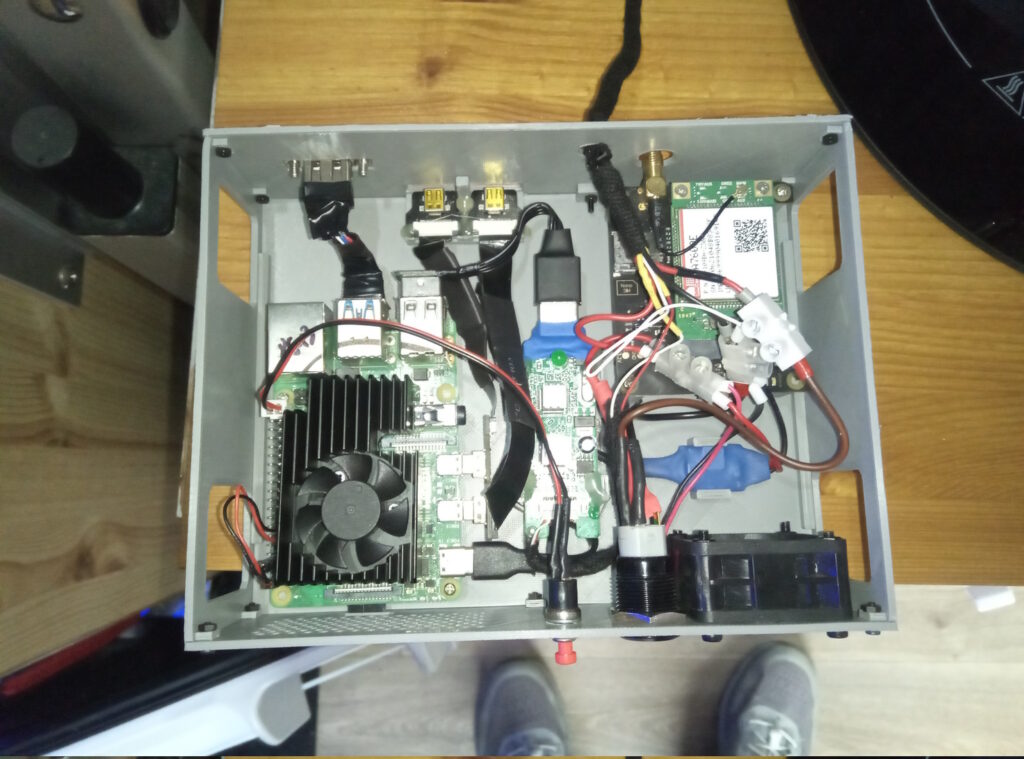
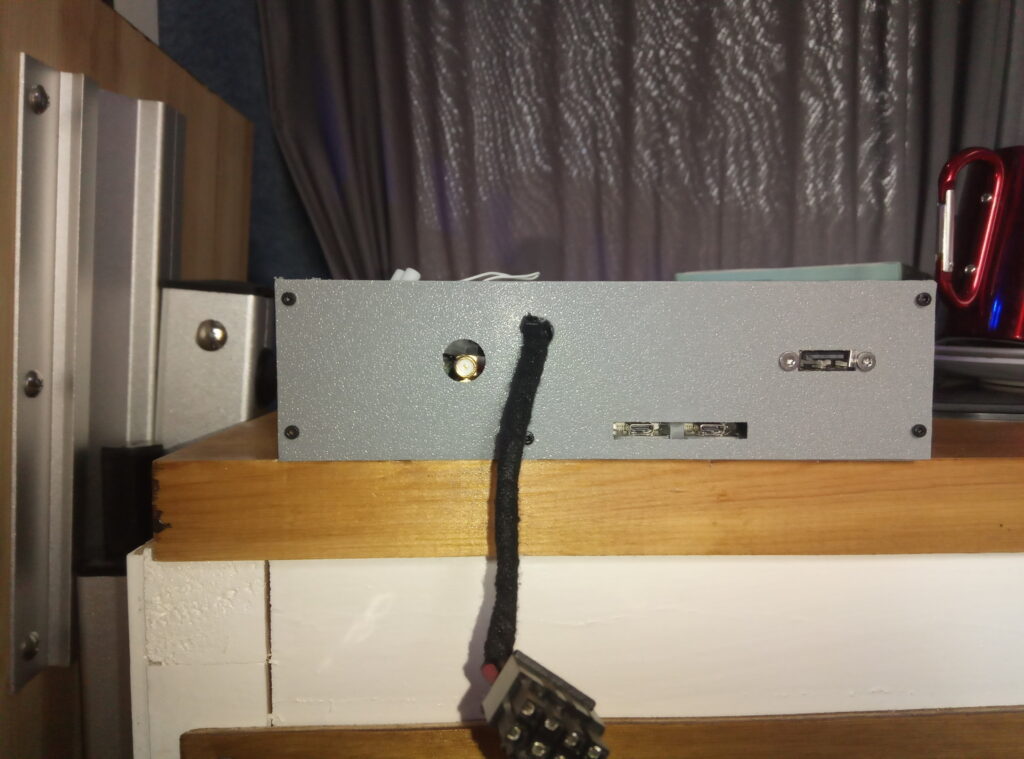
The overall scheme has been redesigned as well. An external USB hub now handles the screens, and a modem has been integrated directly into the Navigator case.
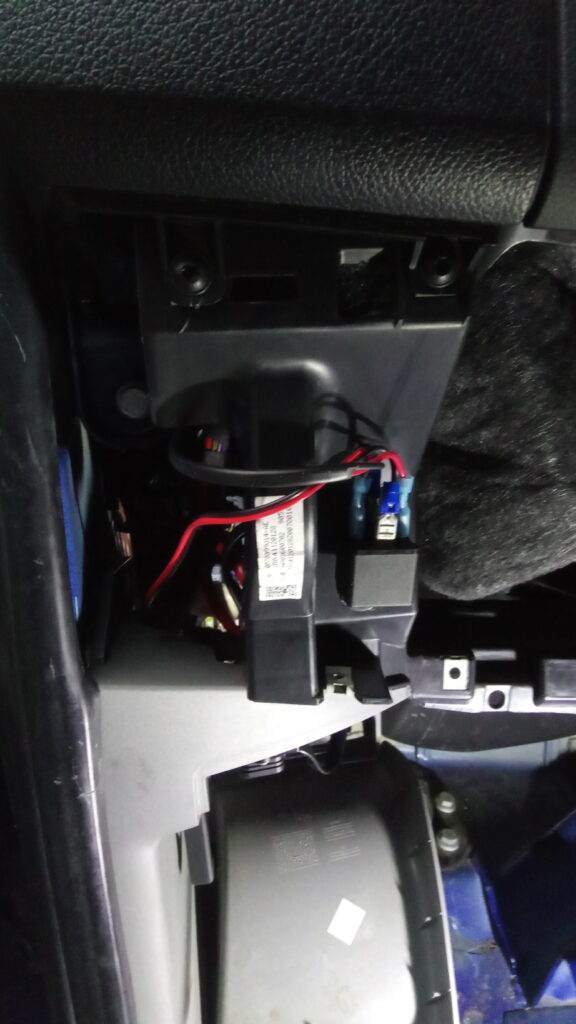
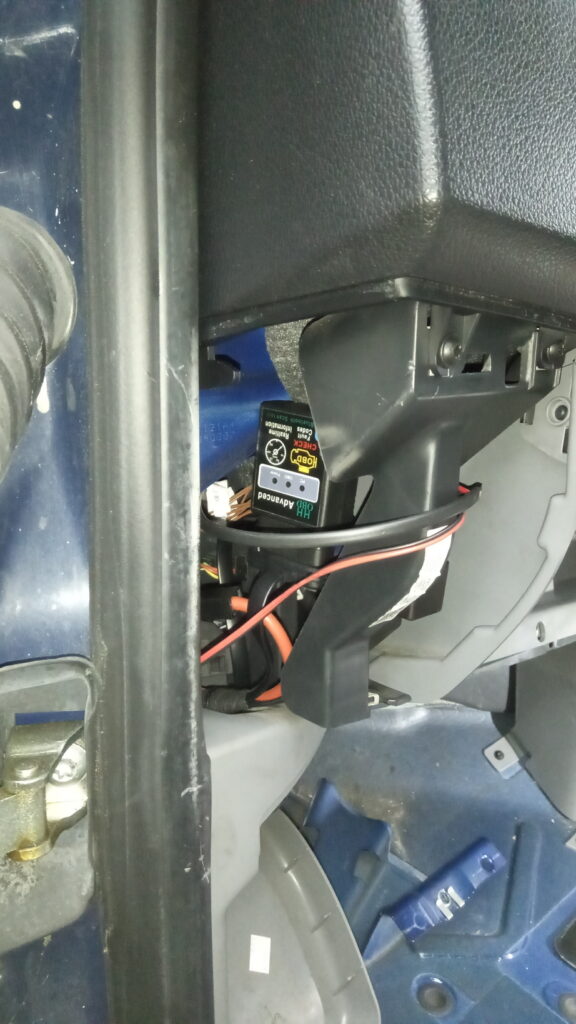
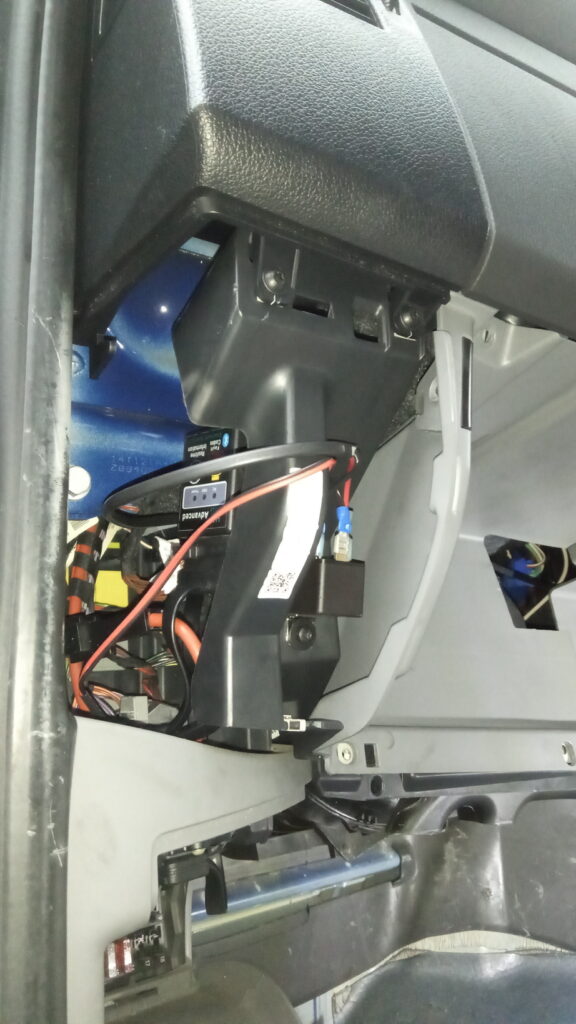
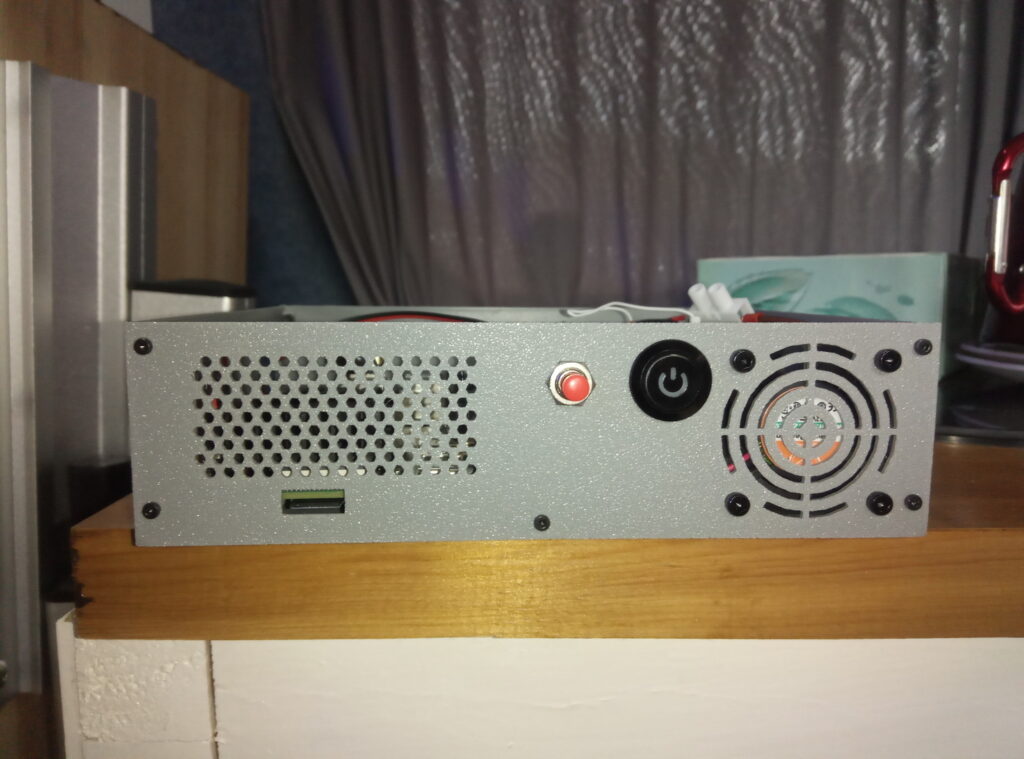
Additionally, an OBD2 Bluetooth scanner is activated via a relay connected to the Navigator’s switch.
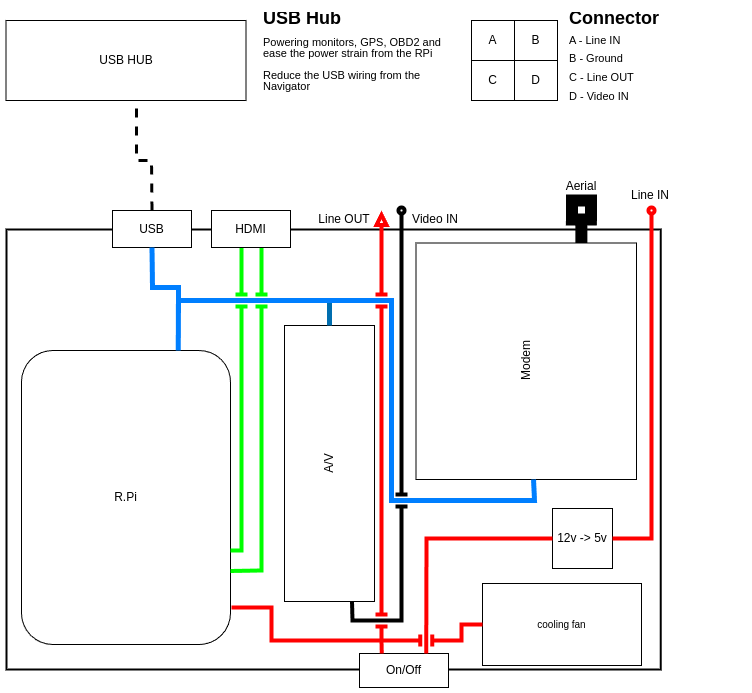
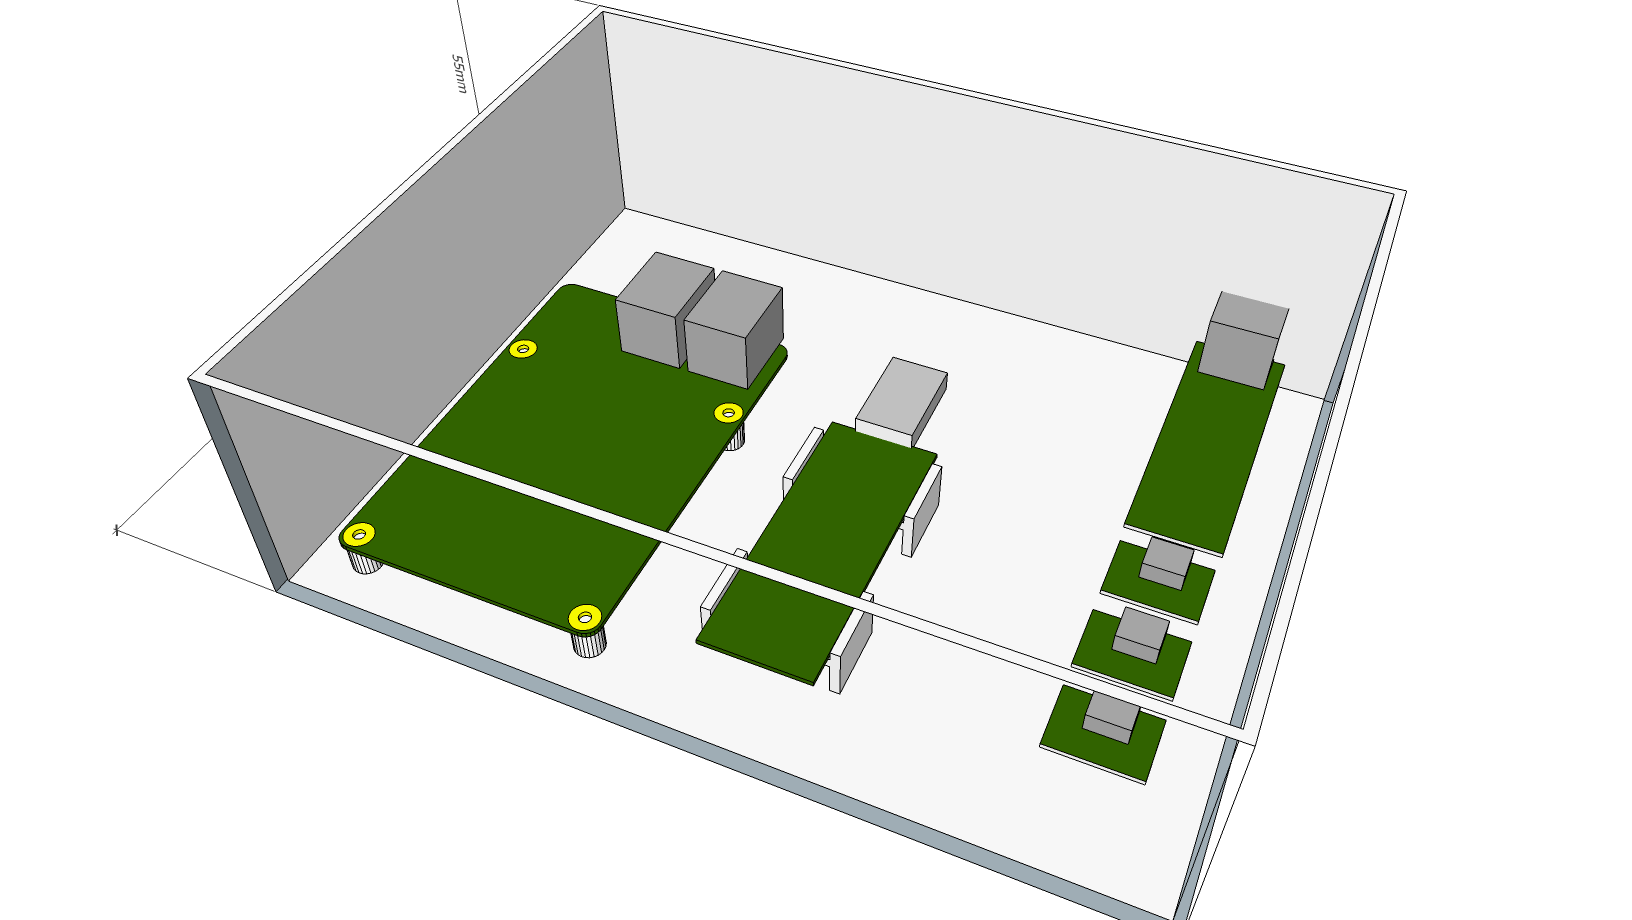
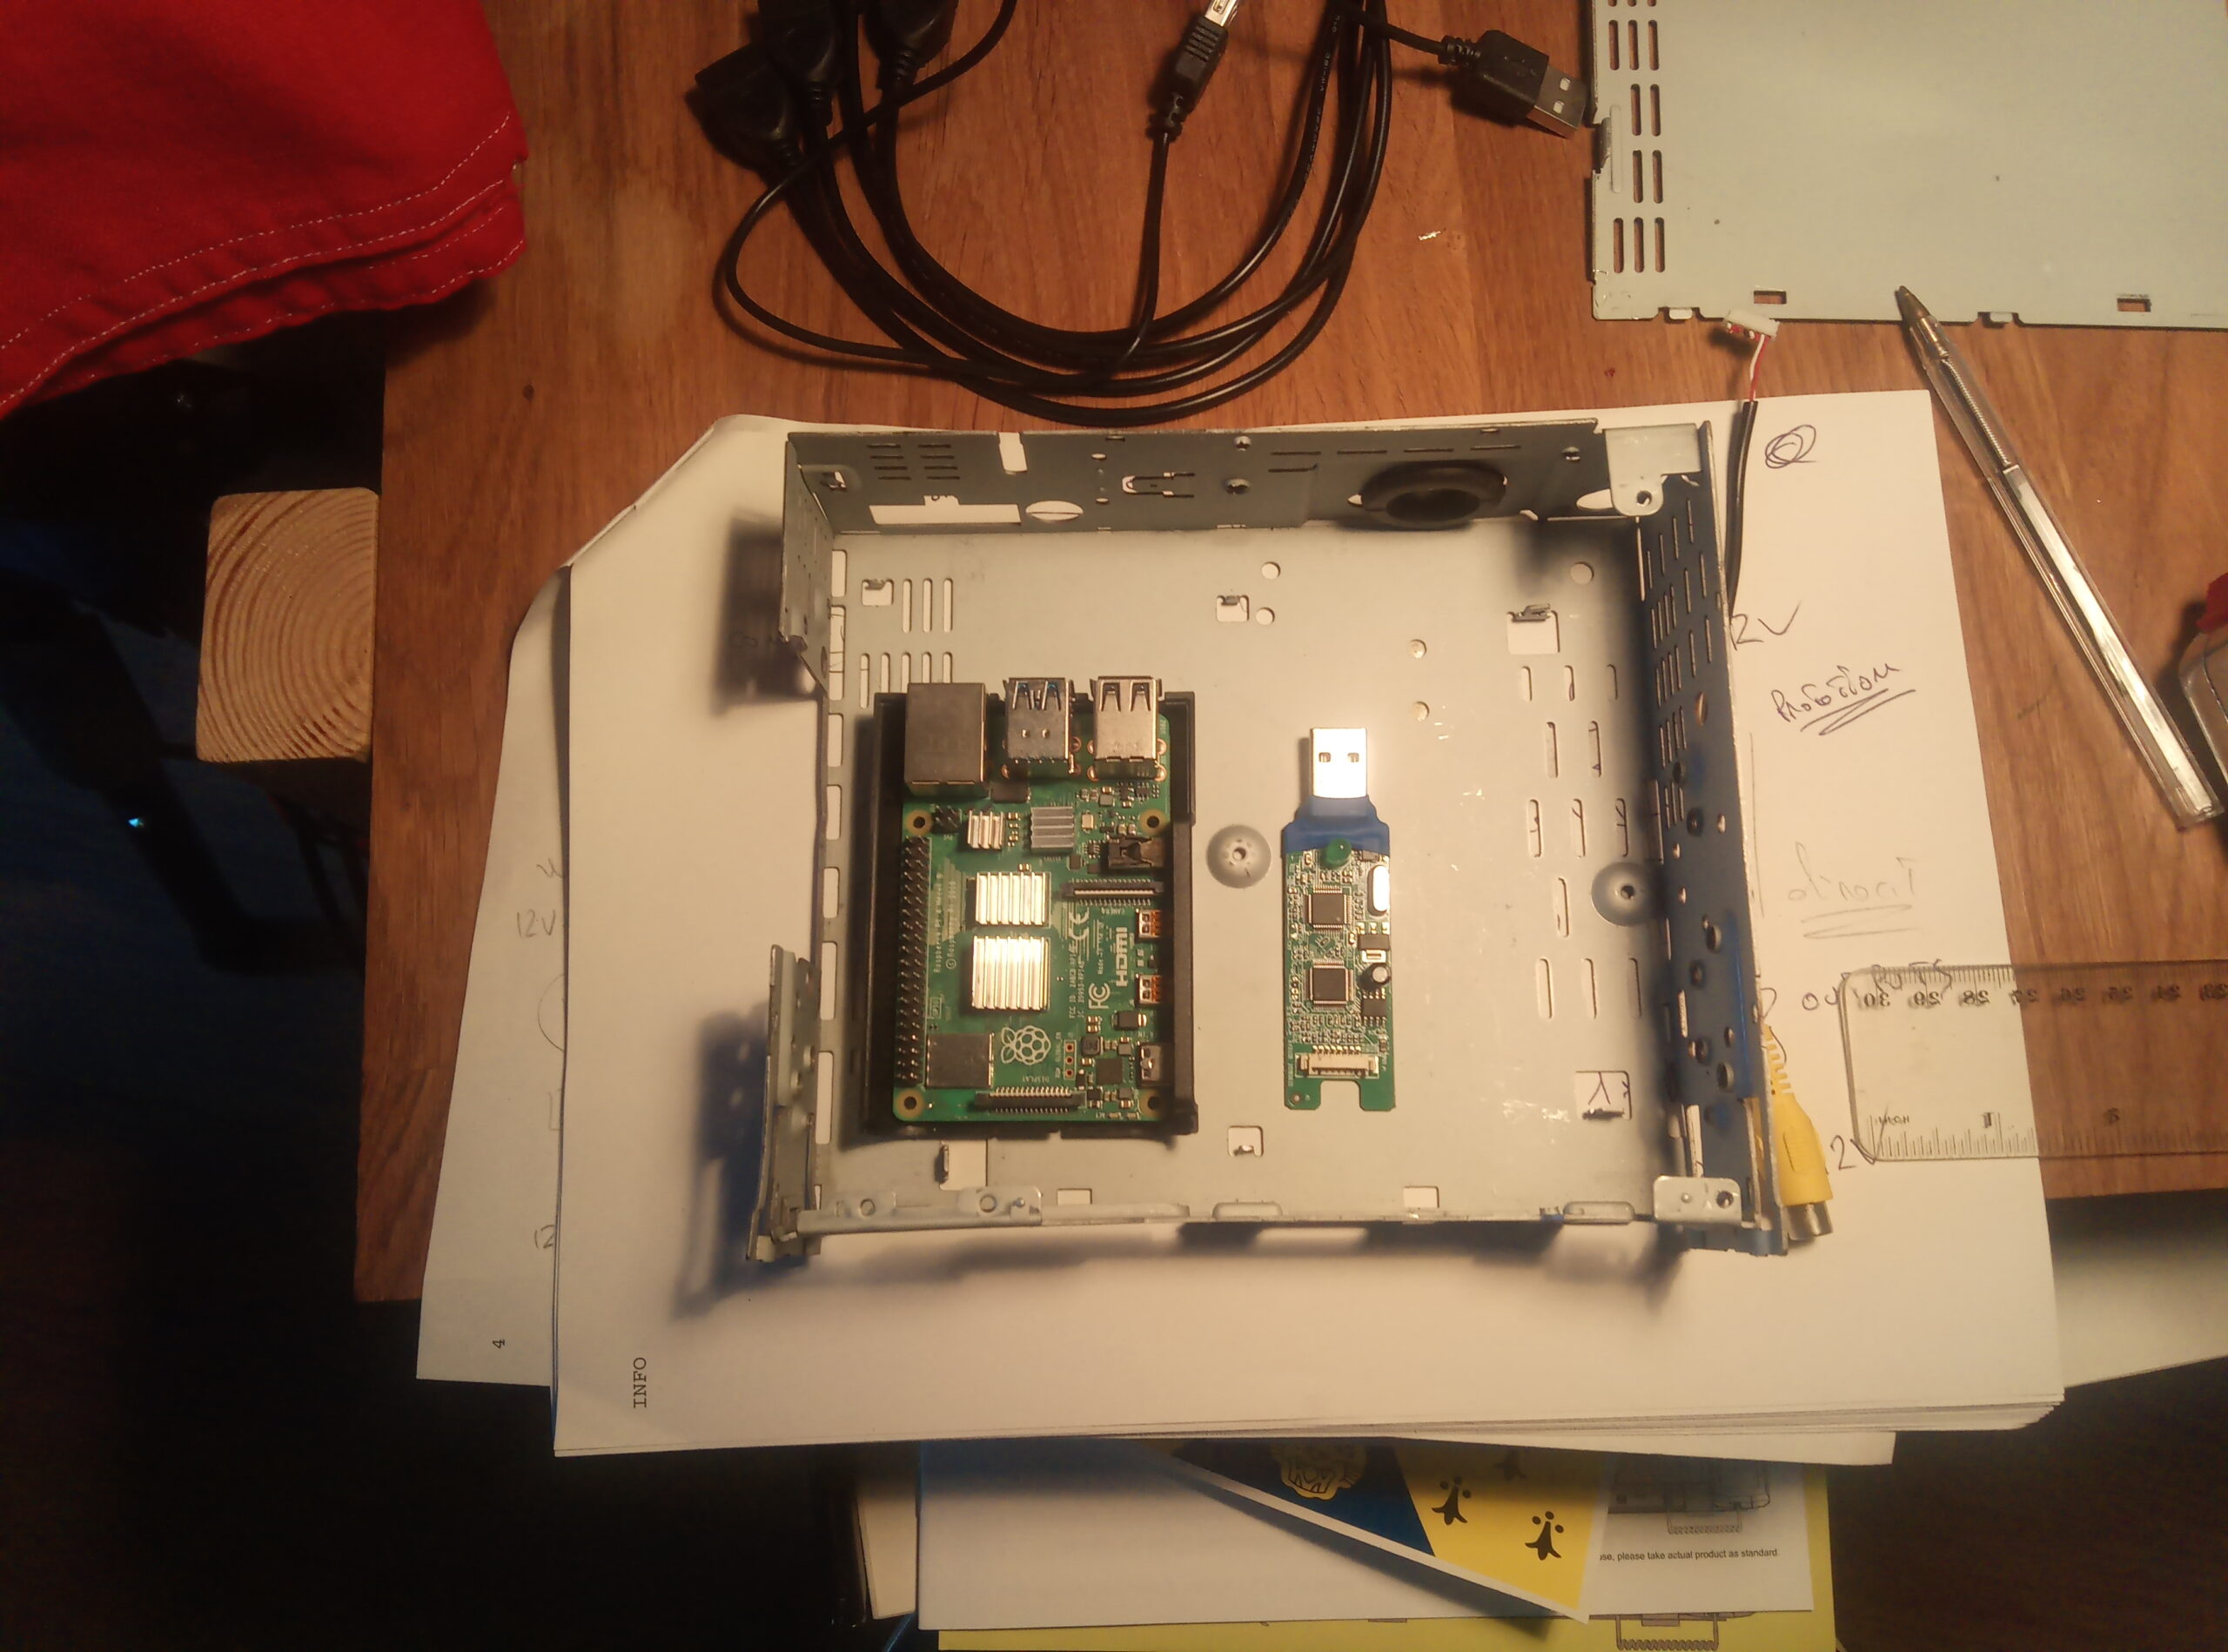
USB Hub and OBD2 transmitter installation